We must resist being taught to
fear..
DR. PETER AND GINGER BREGGIN
Apr 19, 2026
We must resist being taught to
fear..
DR. PETER AND GINGER BREGGIN
Apr 19, 2026
(This blog began 3/15/2015)
MEDITATION:
* Biblical Research Institute – BRI
* Nothing But Bible
EXERCISE:
* Bat Wing workout
* Belly Buster workout
* Vibrating Platform
* Ab-coaster workout
* PT APP workout
–lower body stretch/stengthening
* Face brushing
WATER:
(2) × (32) = 64 oz (+)
EATS:
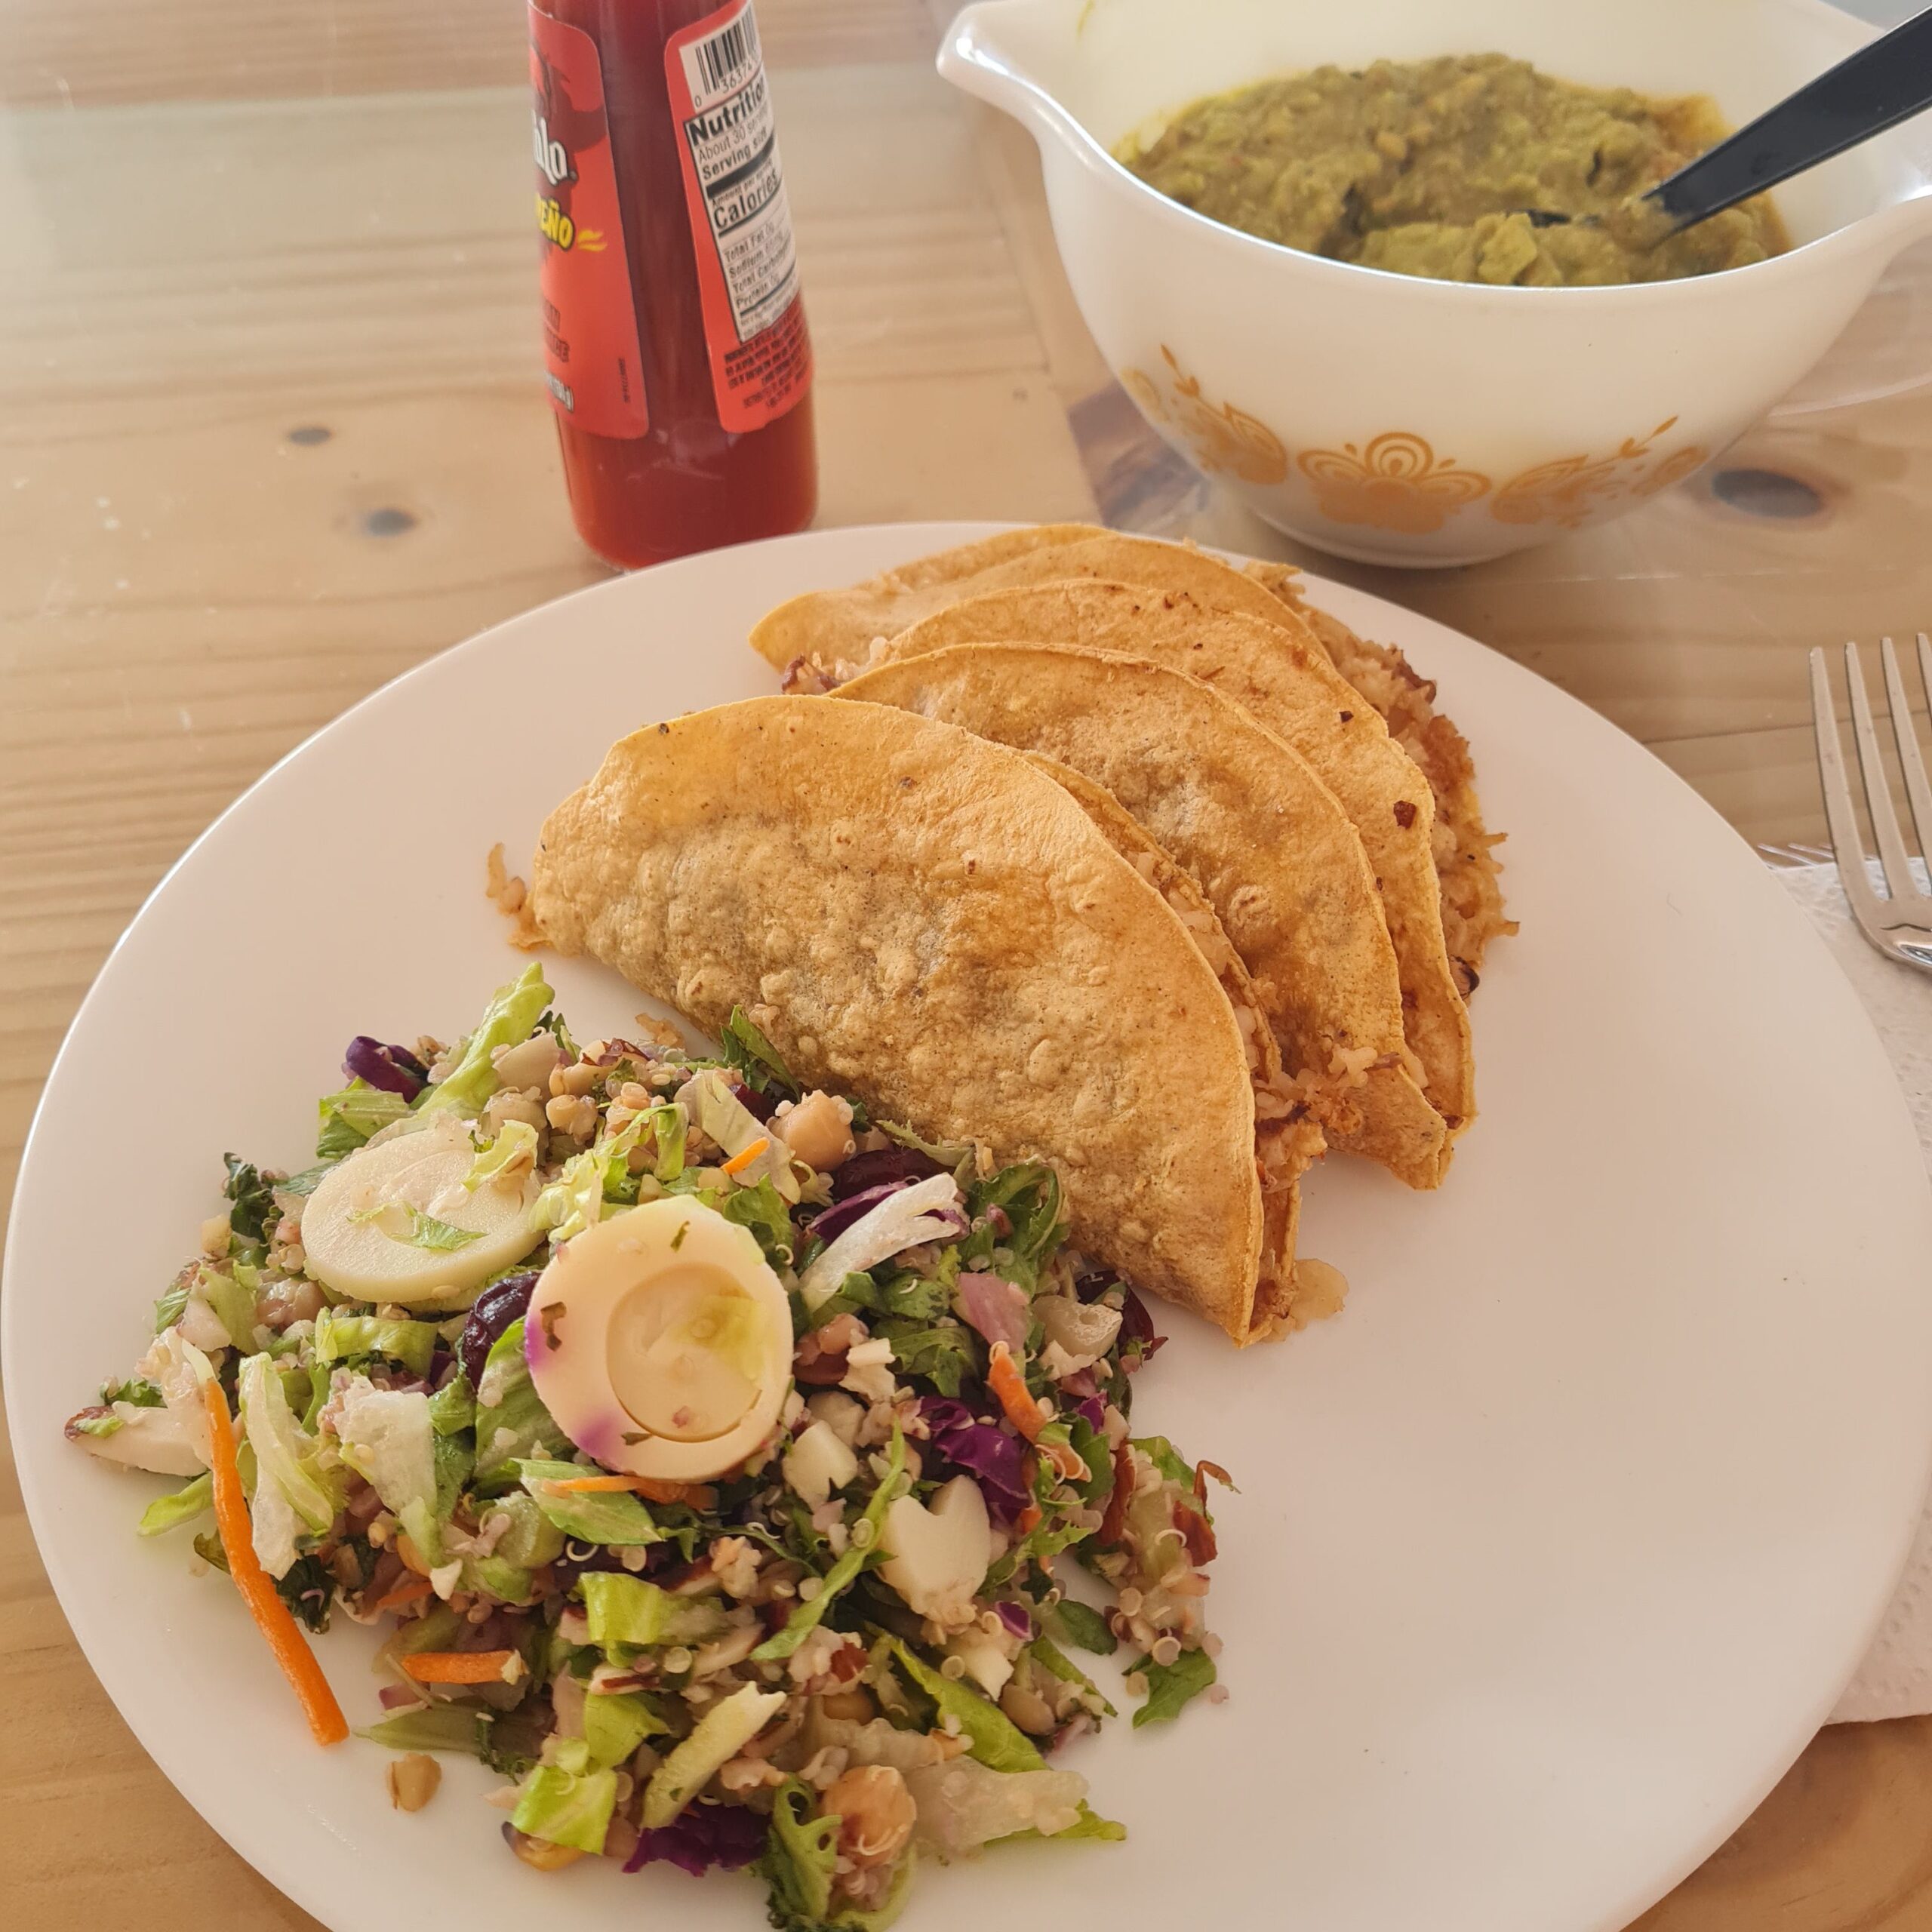
* airfried tacos filled w/ leftover pinto beans, brown basmati rice, Mediterranean grain salad & guacamole
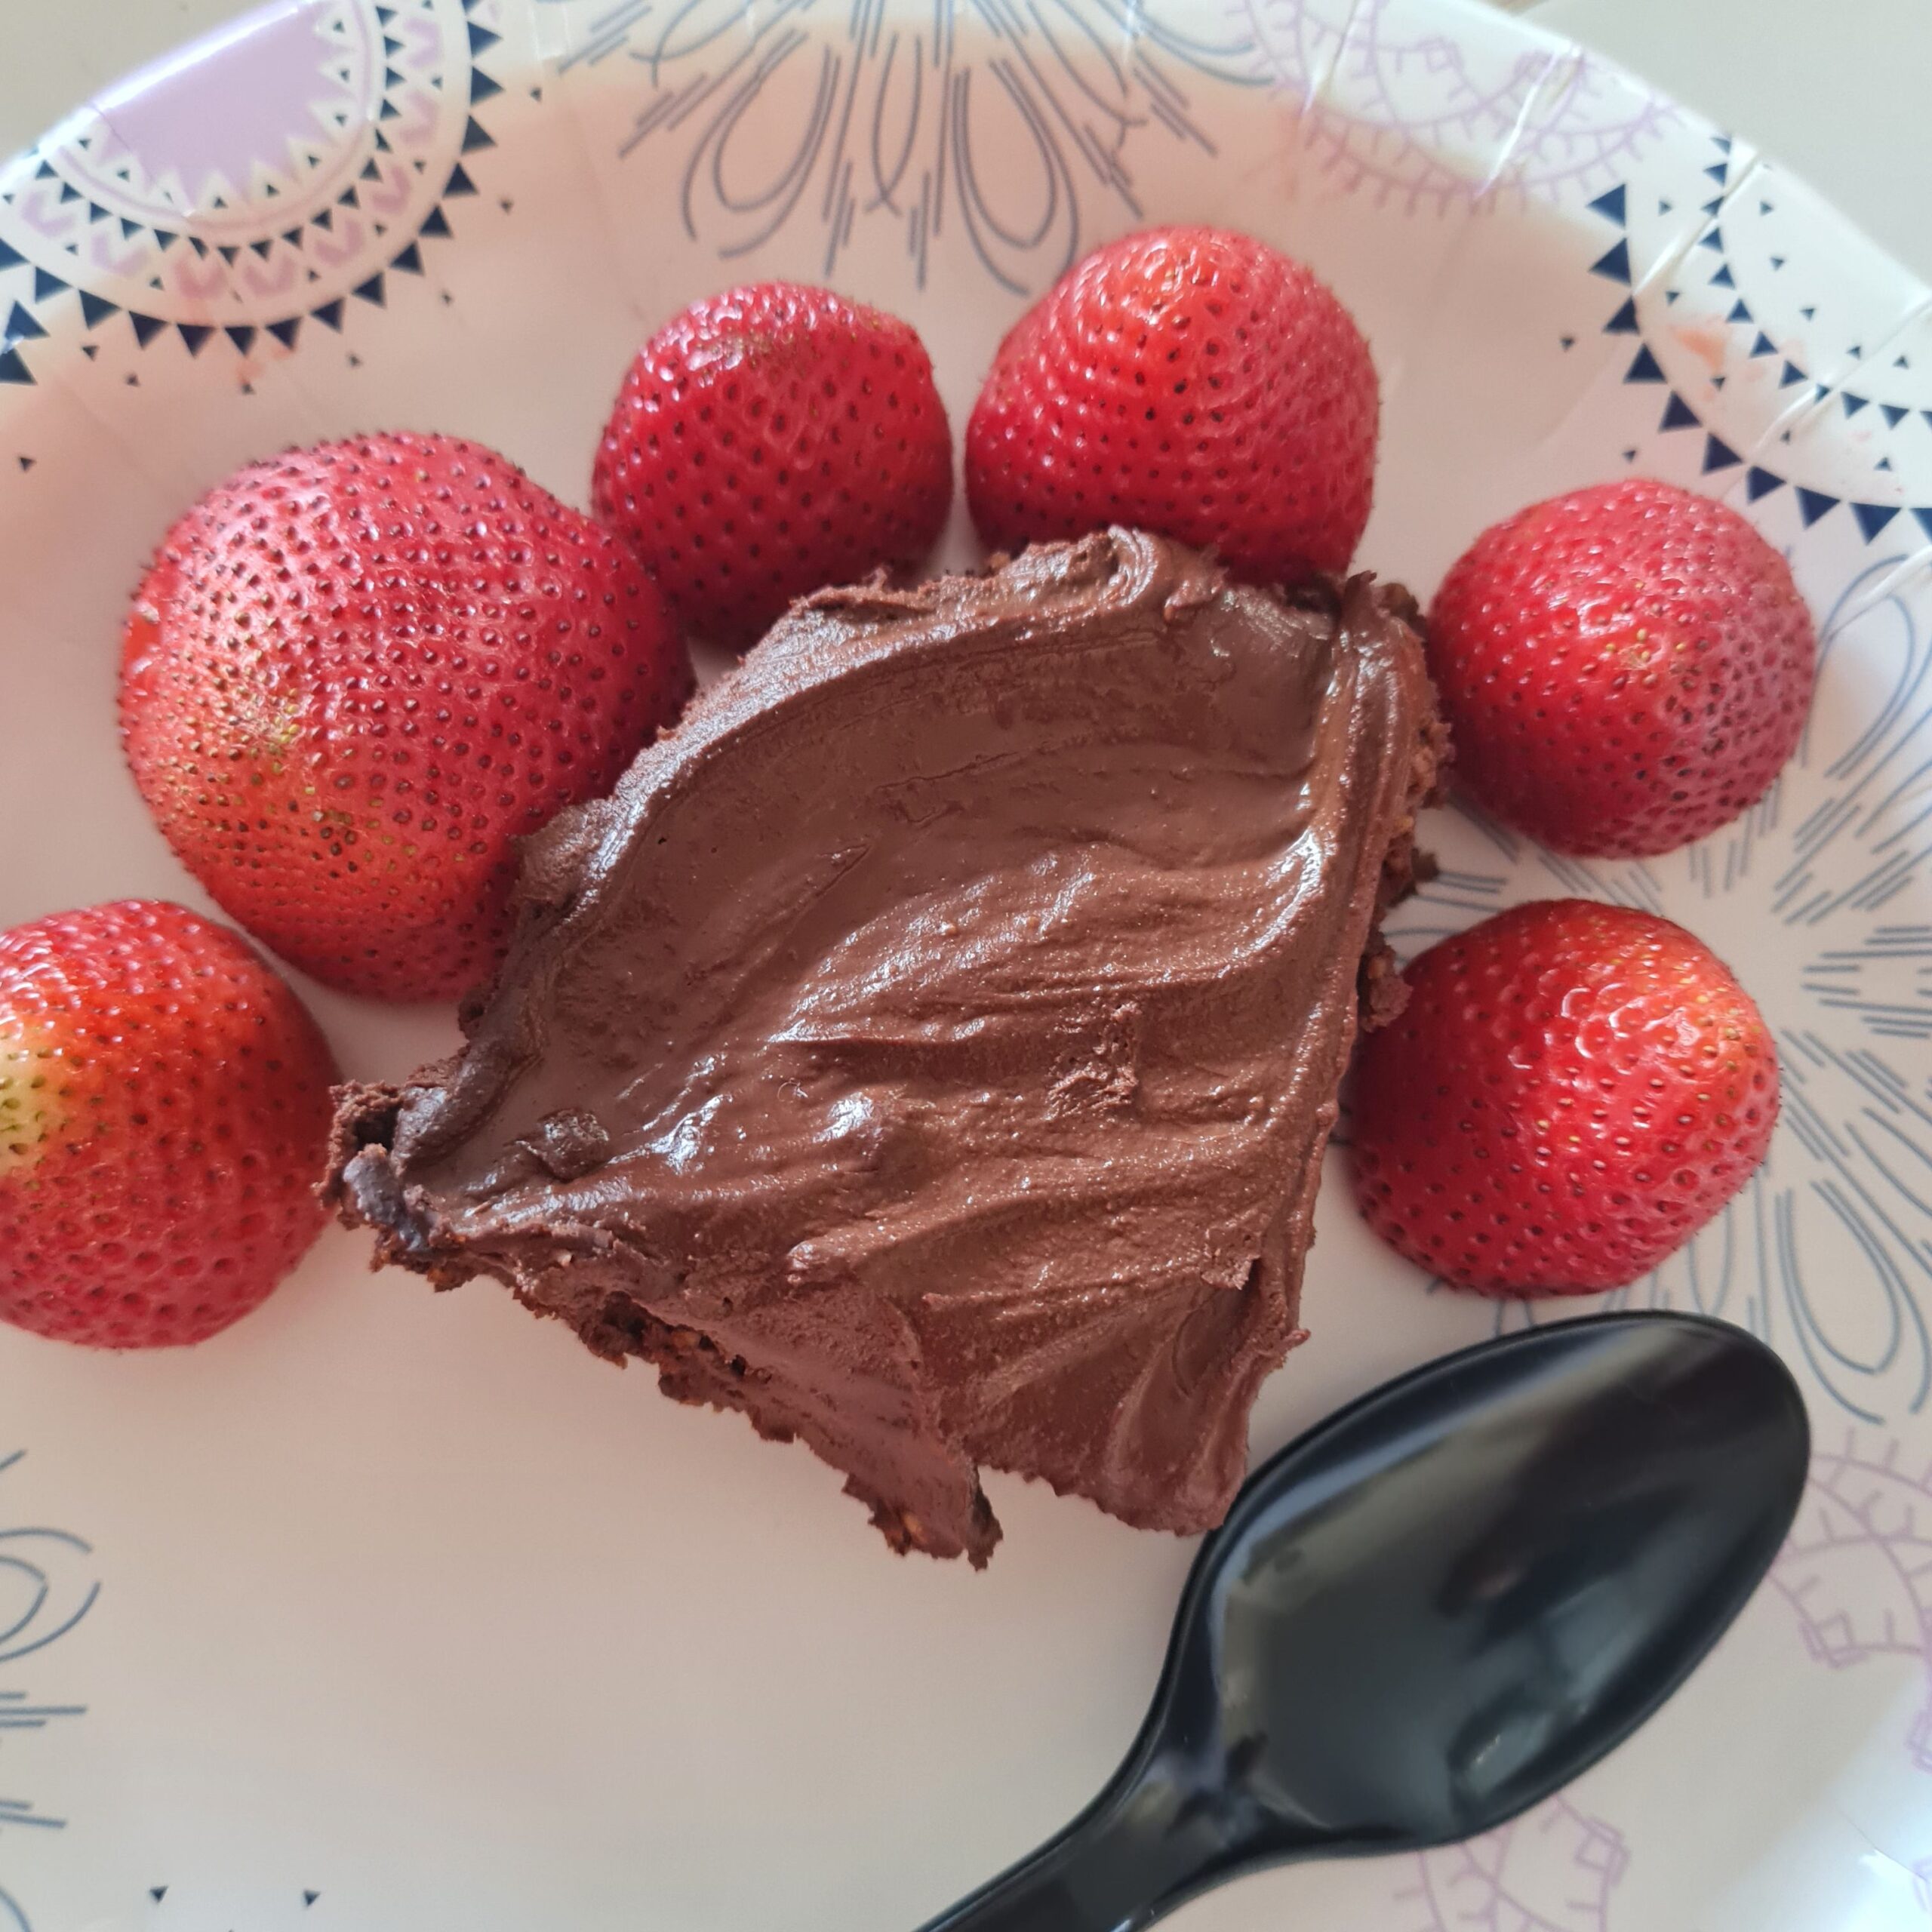
* oat choco cake w/ fresh strawberries
… SUN HAS SET …
Cmmt: XL indicates uncommonly excessive food, and wautéed means water-sautéed
(This blog began 3/15/2015)
MEDITATION:
* Charles Capps podcast
* No Greater Love podcast
EXERCISE:
* Day 21 (day/night) of 21 Day Simple Countertop Challenge party 🥳 🎉 🥳 🎉 🥳 🎉
* PT APP workout
–lower body stretch/stengthening
* Rebounding outdoors
* Bicycle outdoors
* Face brushing
* 30 minute post meal walk
WATER:
(2) × (32) = 64 oz (+)
EATS:
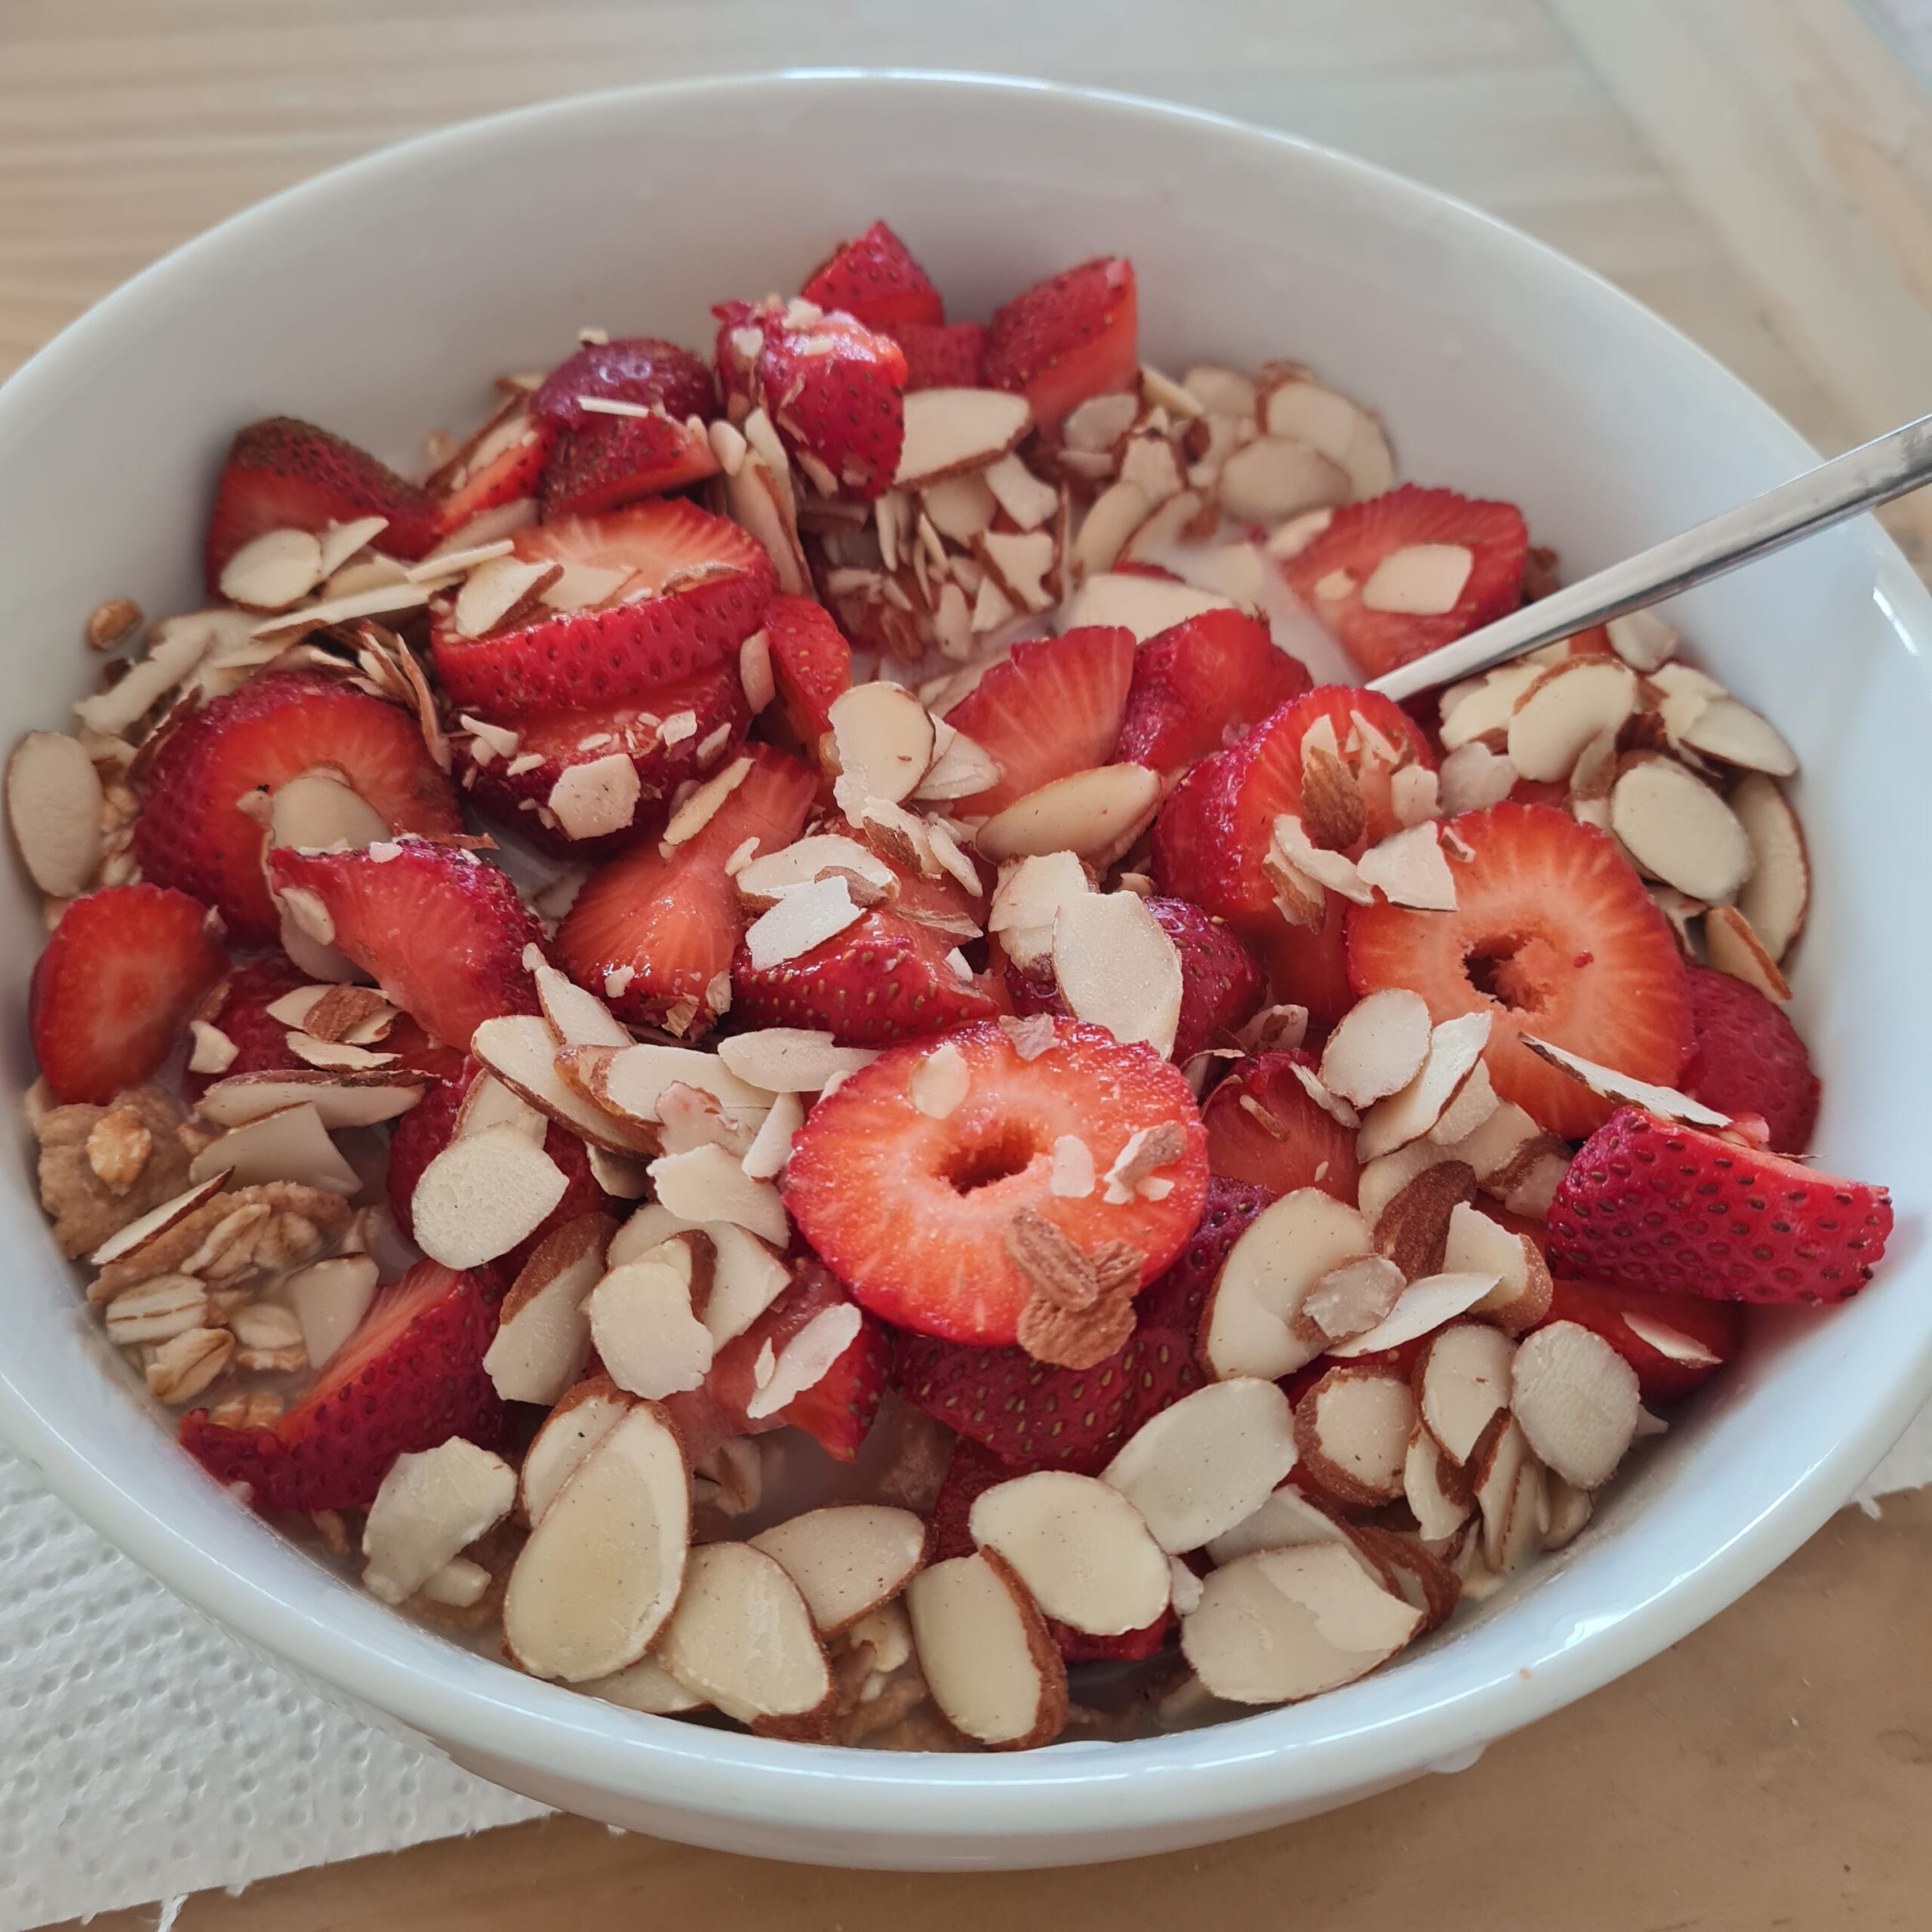
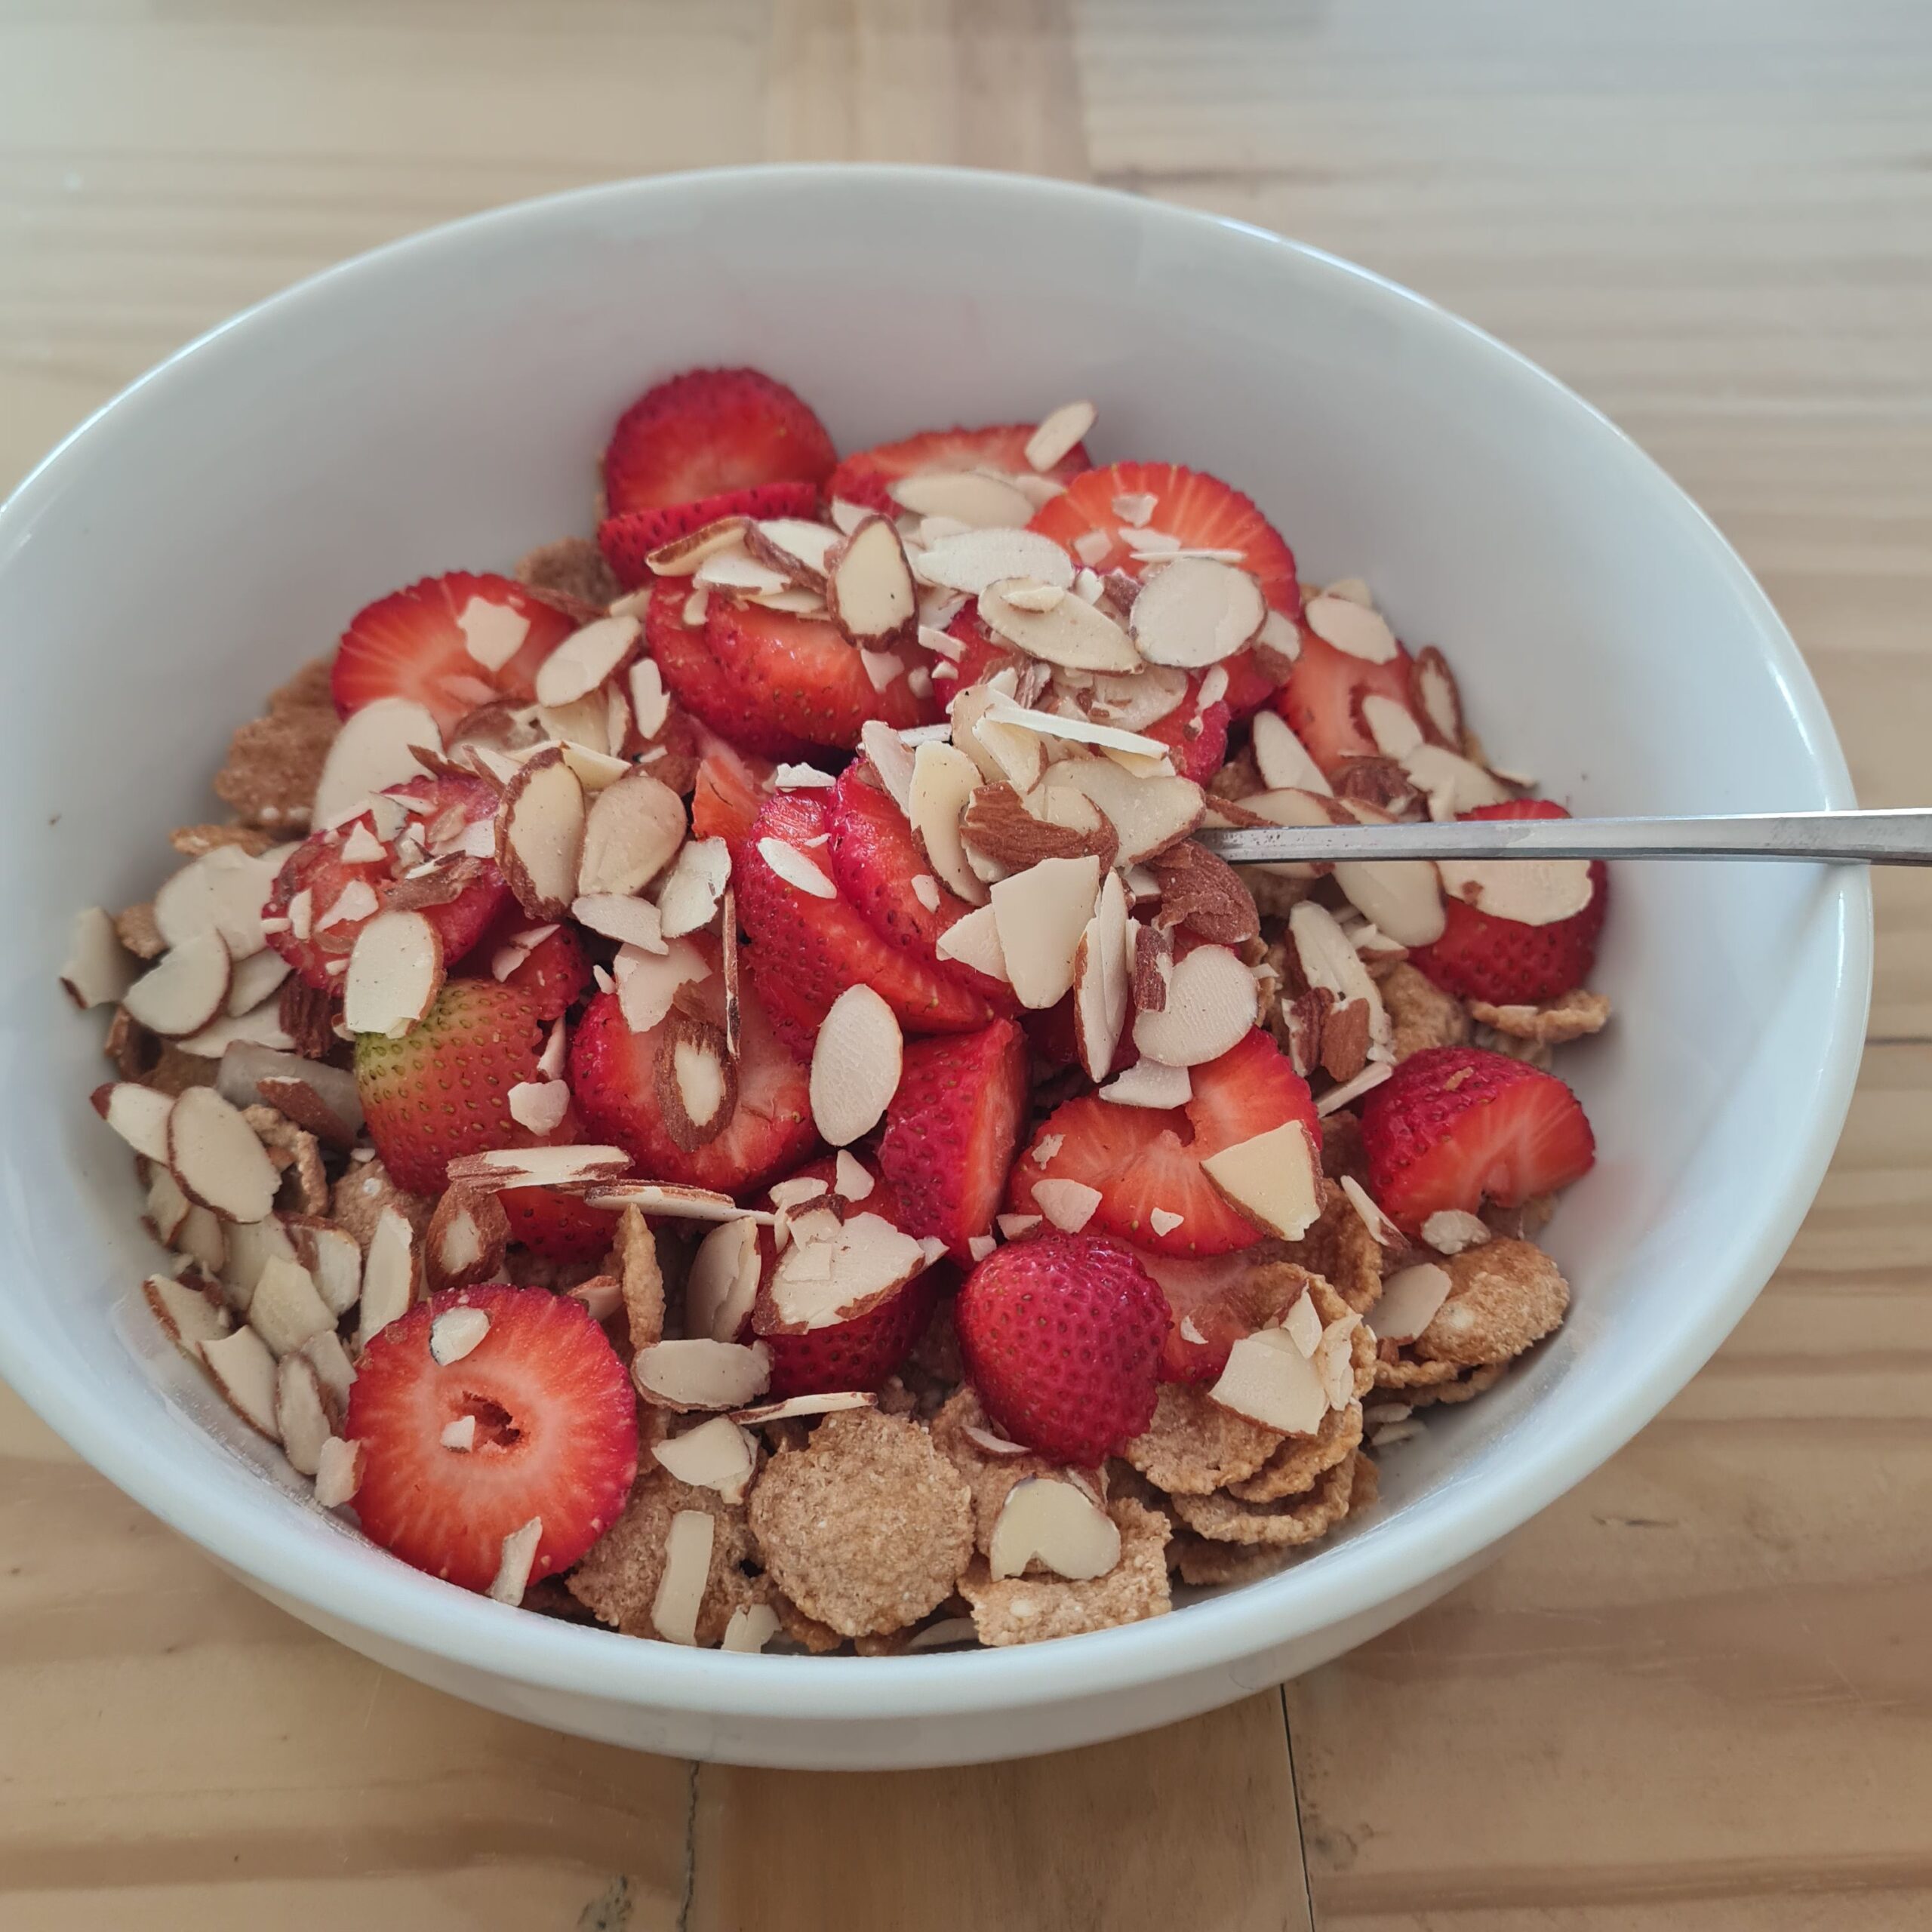
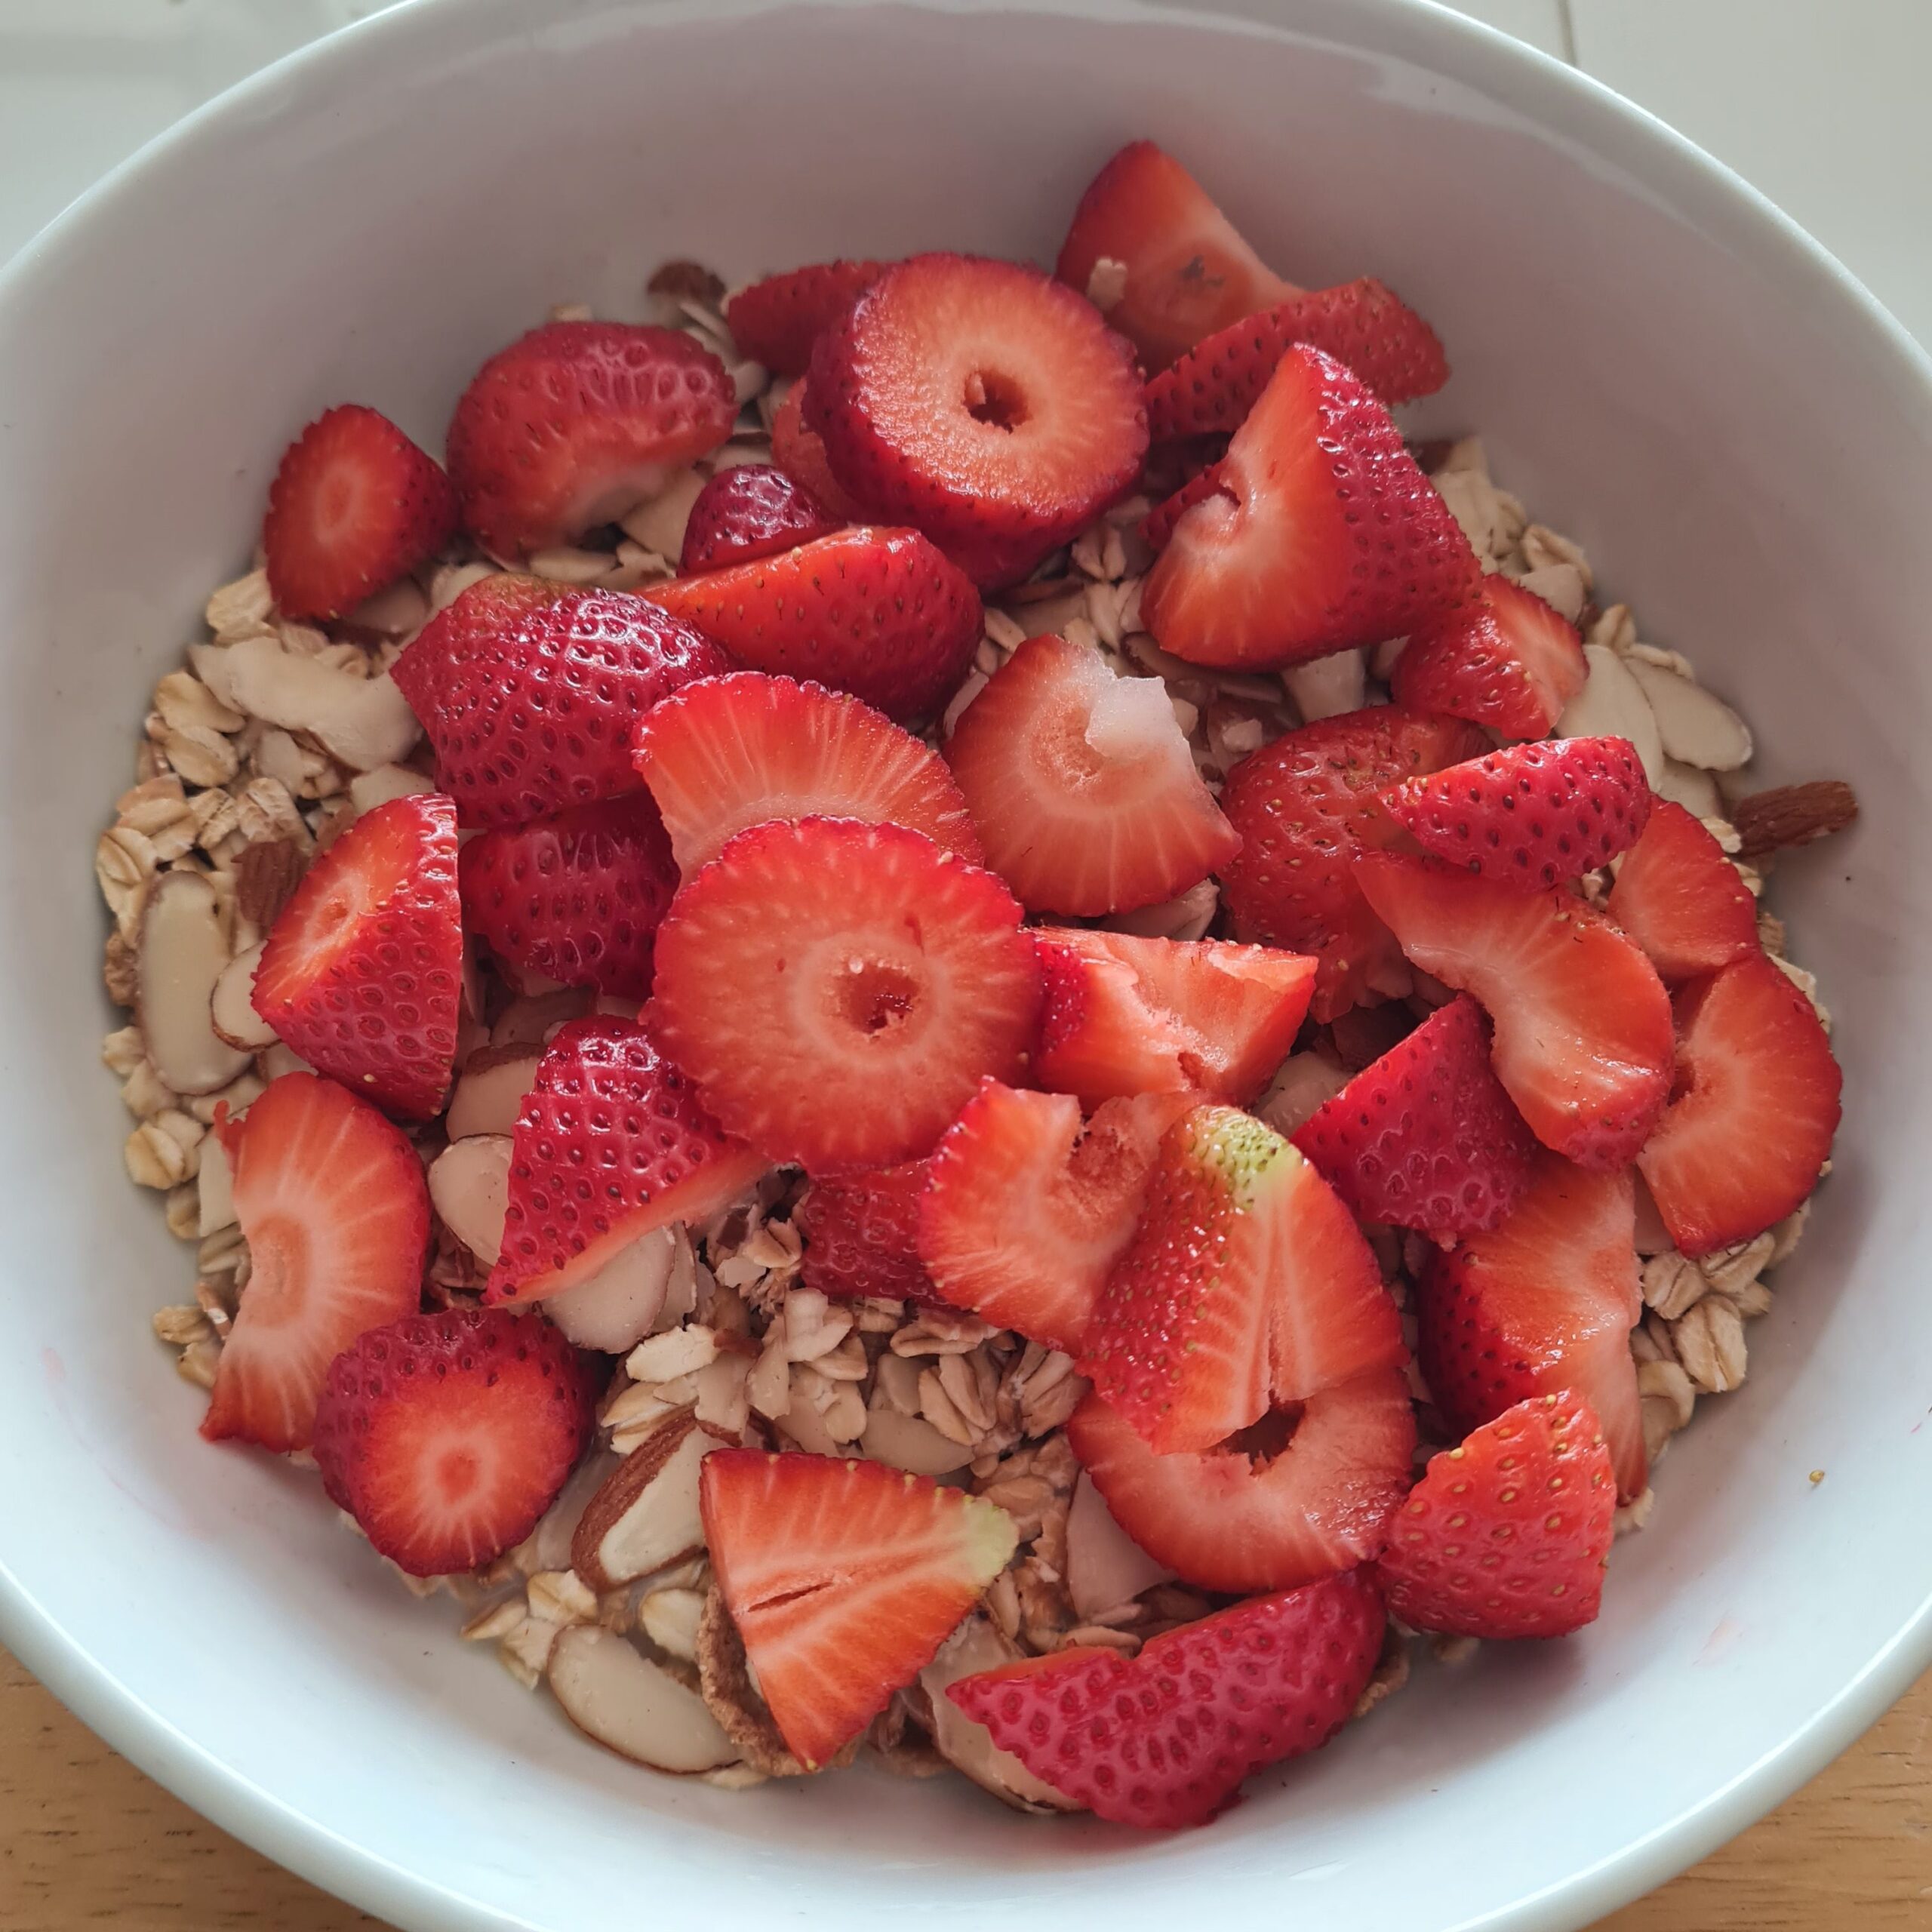
* Heritage Flakes, spelt & oat cereals w/ fresh strawberries, sliced almonds & homemade almond milk
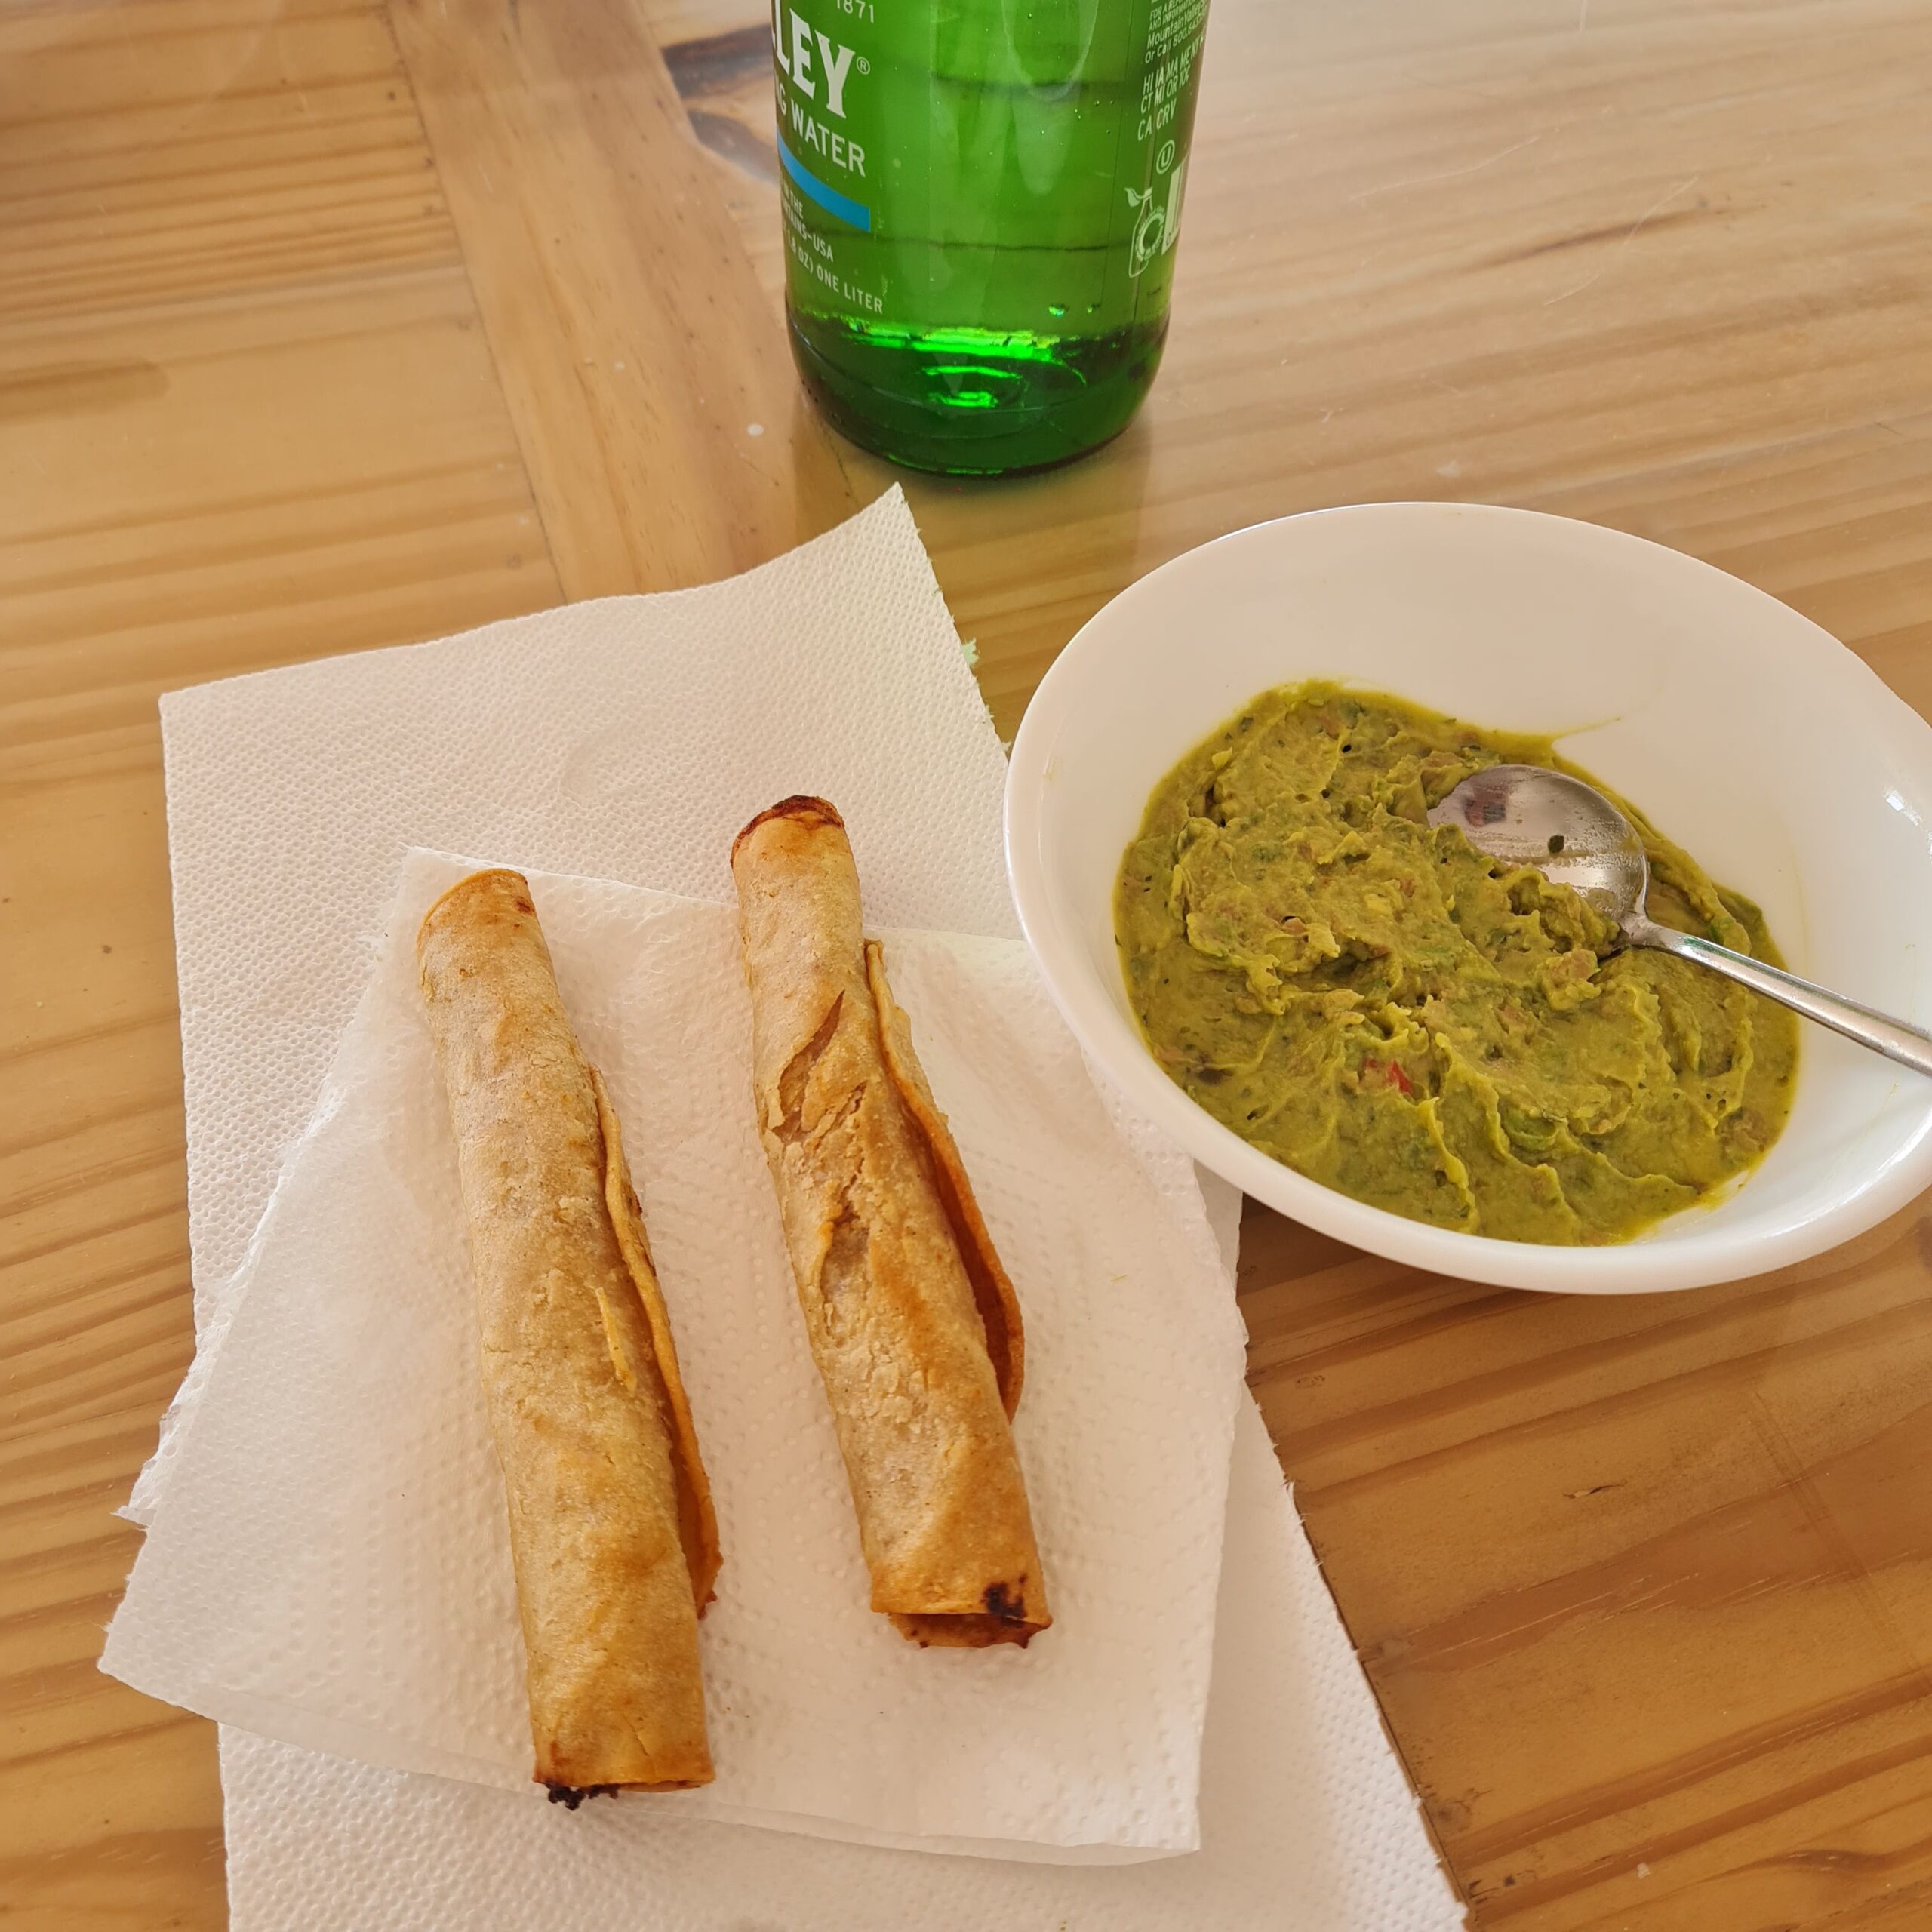
* two mushroom taquitos w/ avocado
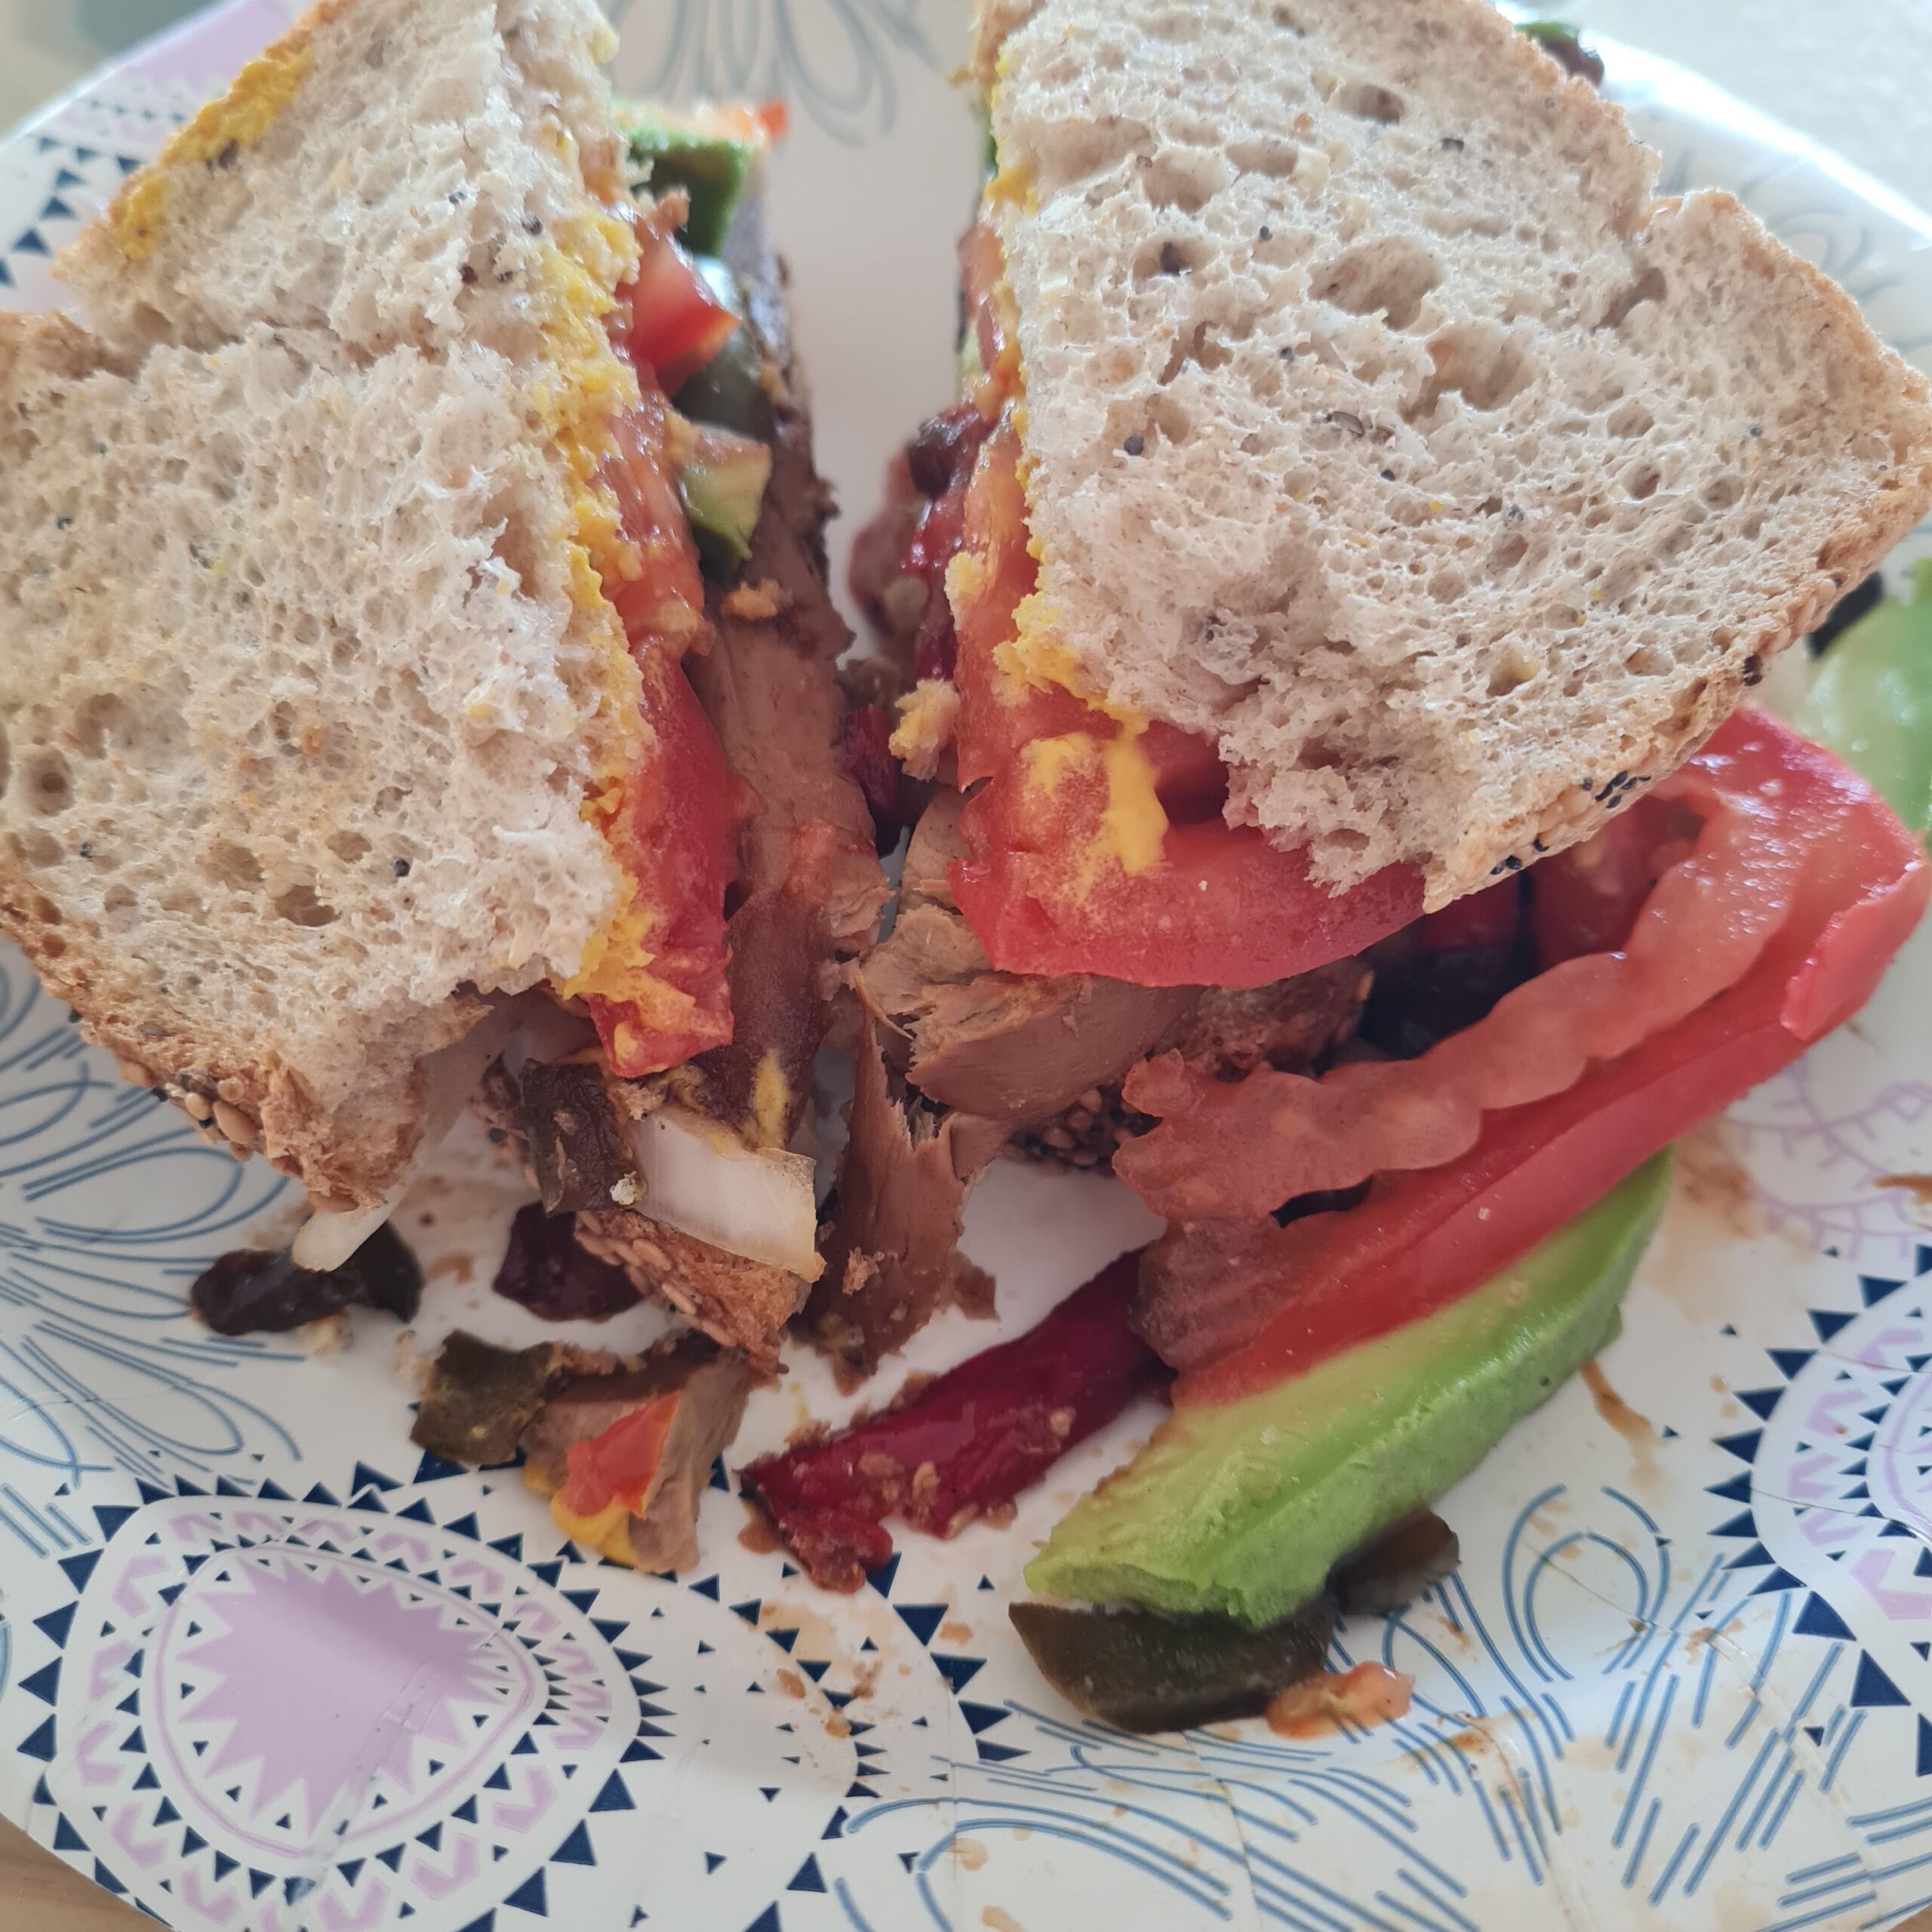
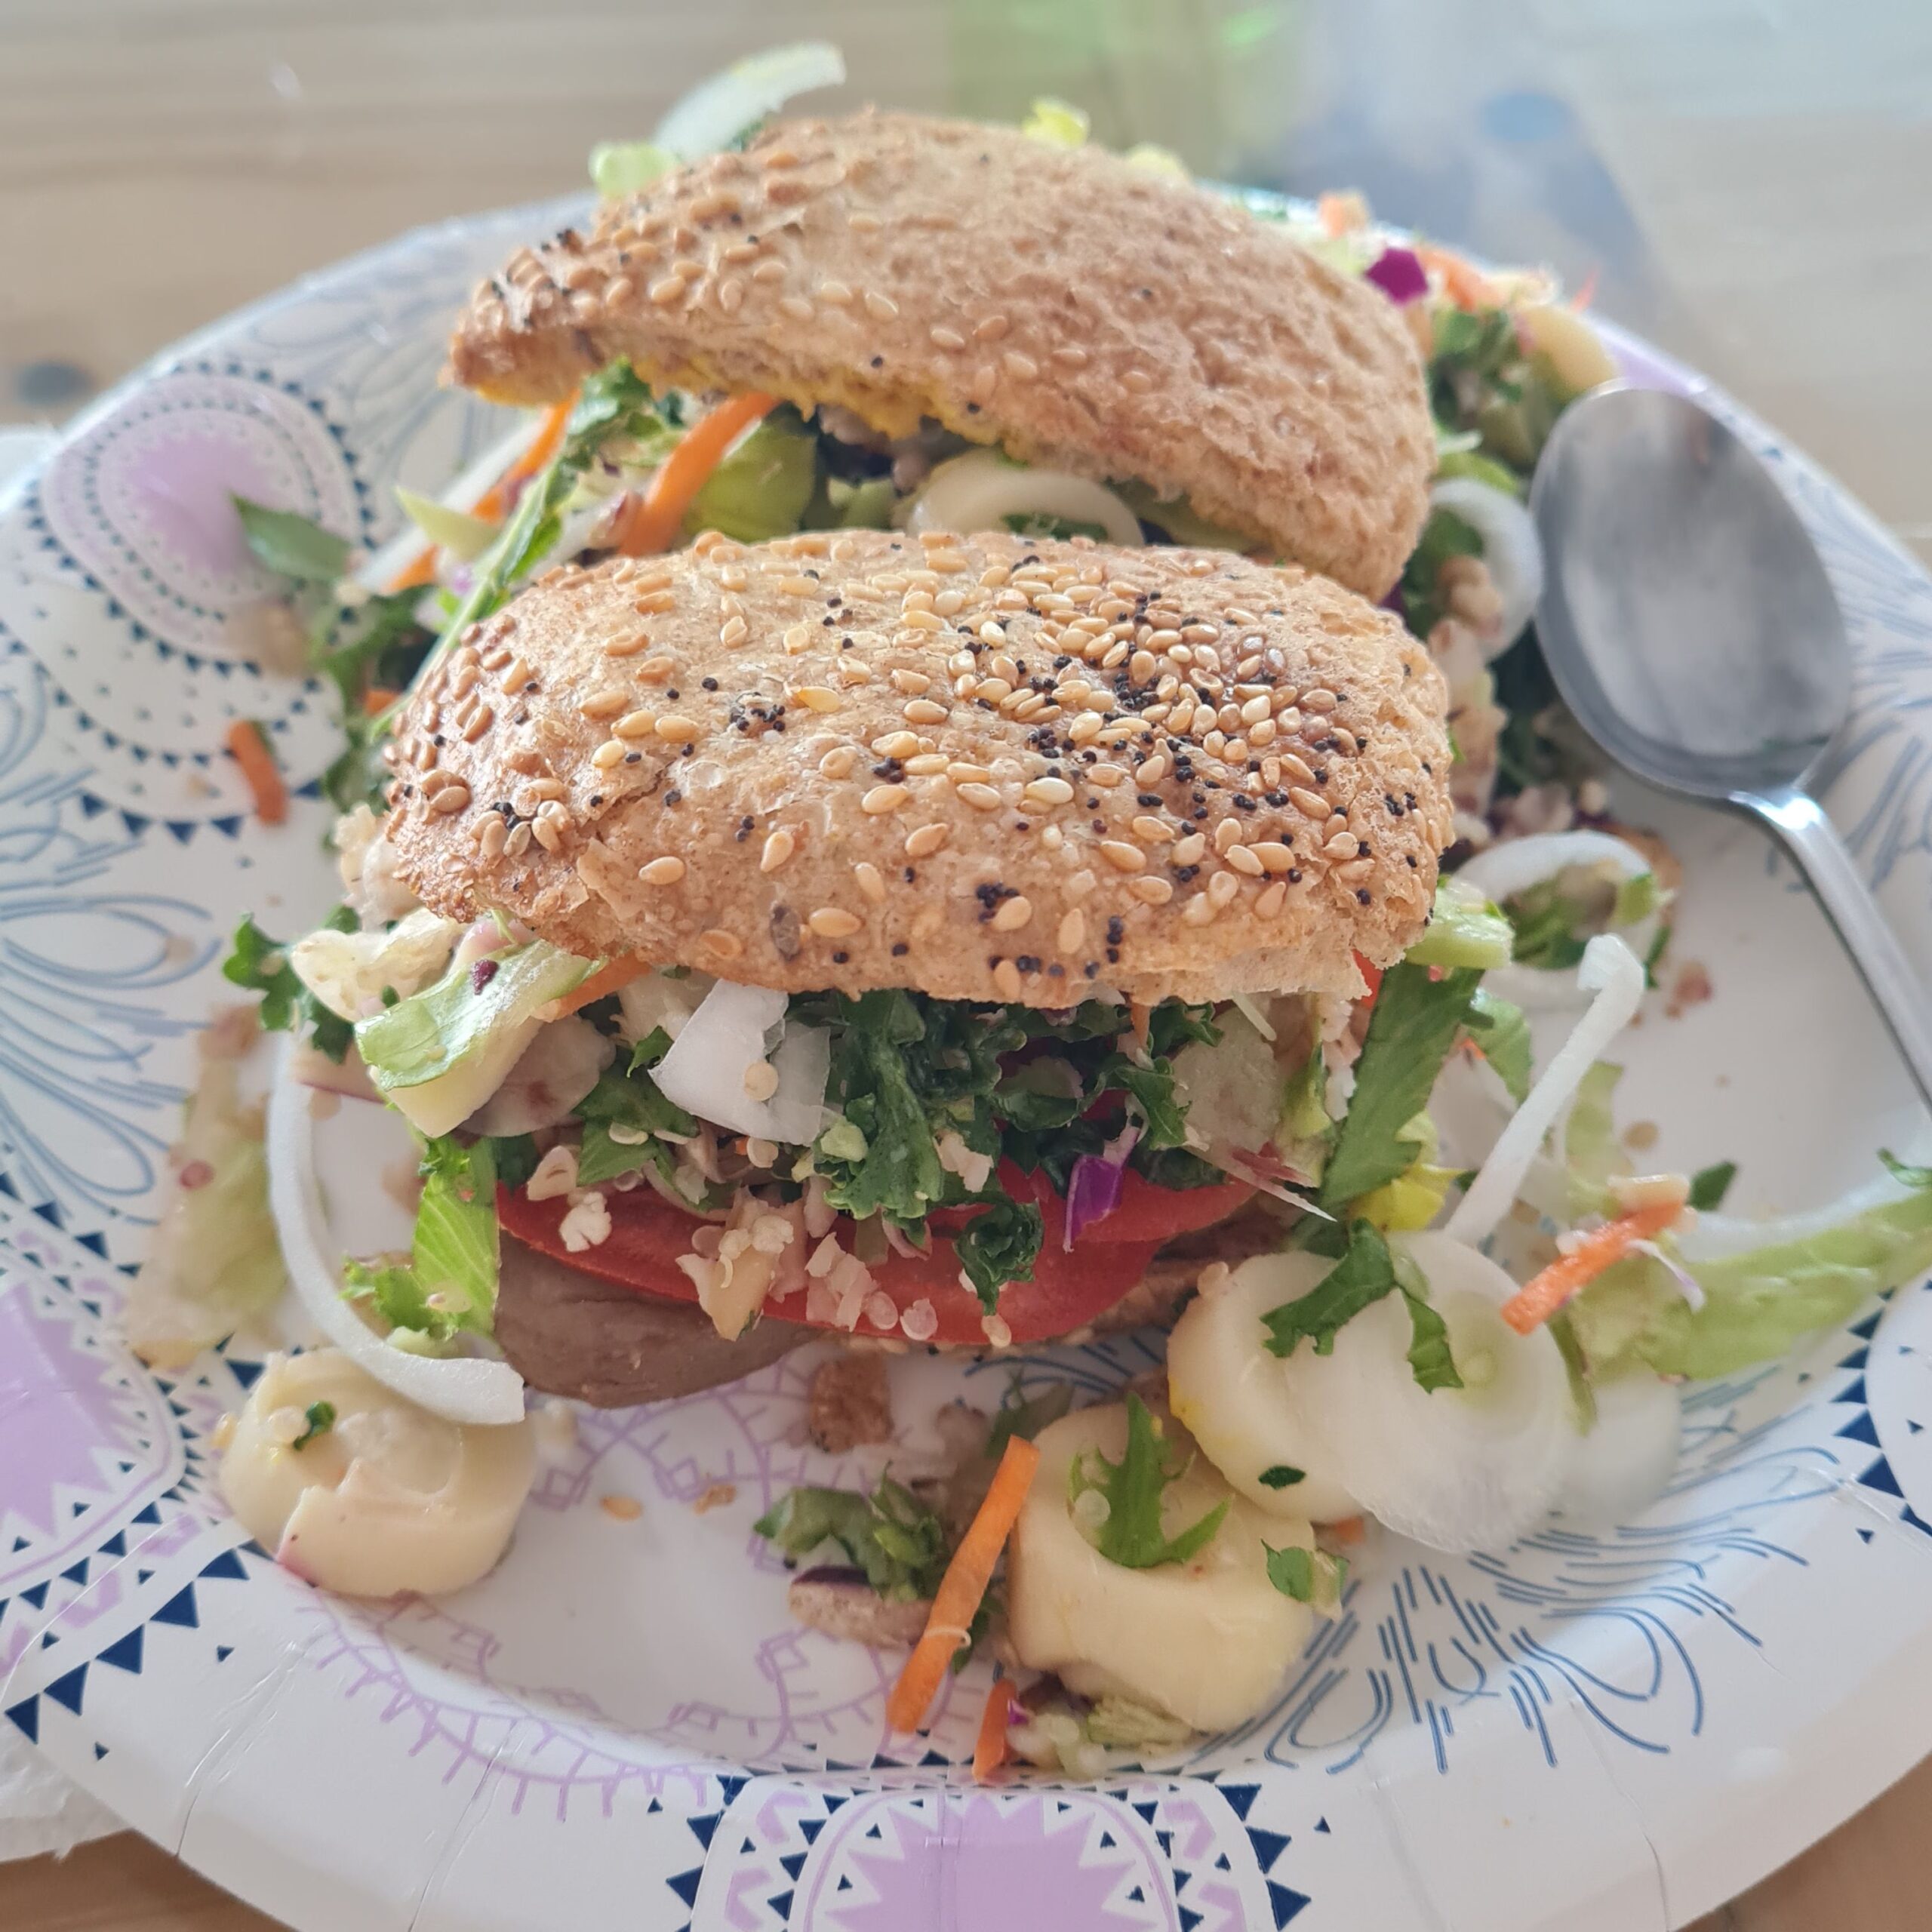
* sandwich w/ wautéed Meati patty, onion, peppers, tomato, avocado, mustard on 9 grain sourdough toast
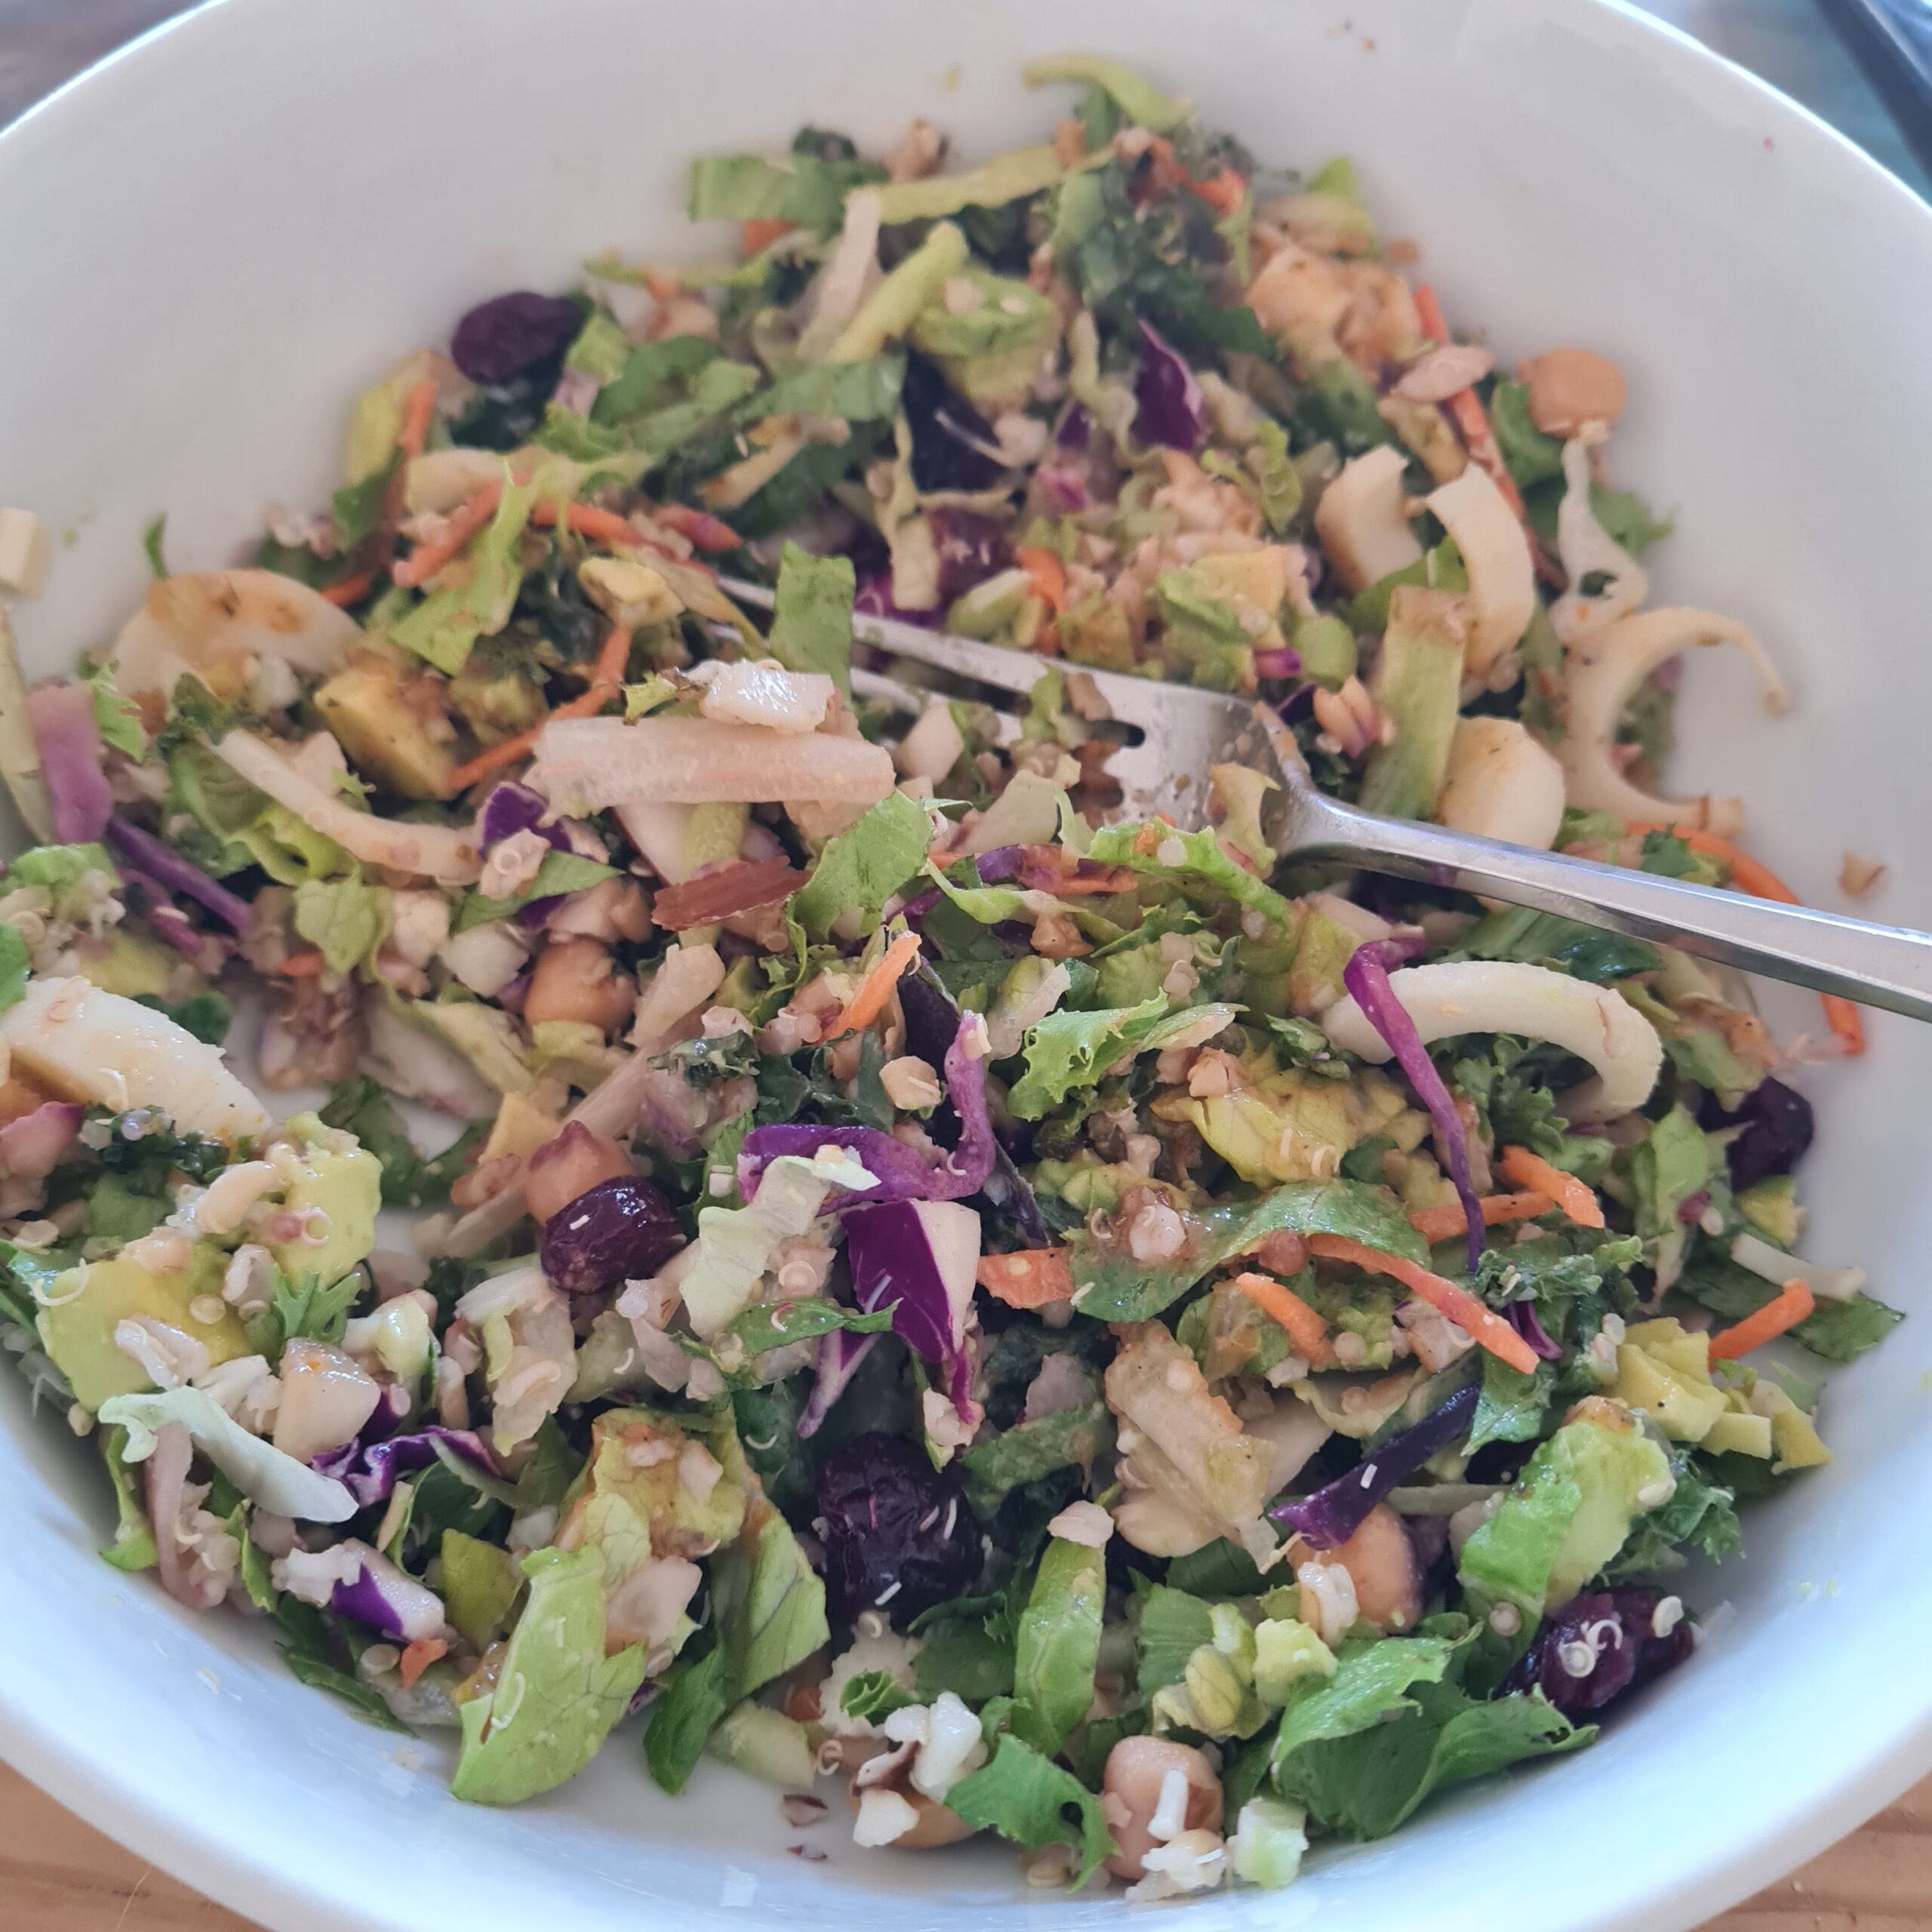
* Mediterranean chopped salad w/ grain salad, hearts of palm, avocado
* leftover pinto beans & brown basmati rice
… SUN HAS SET …
Cmmt: XL indicates uncommonly excessive food, and wautéed means water-sautéed
RECIPE
Oil-free, high in fibre and protein, and incredibly satisfying — perfect for weight loss while still feeling like comfort food 💚
Ingredients:
🫘 2 tins chickpeas (save the aquafaba)
🧅 1 tsp onion powder
🧄 1 tsp garlic powder
🌶️ 1 tsp smoked paprika
🧂 Salt to taste
Coating:
🍞 1 cup breadcrumbs
🧄 1 tsp garlic powder
🧅 1 tsp onion powder
🌶️ 1 tsp smoked paprika
🧂 Salt to taste
Spicy Maple Sauce:
🍁 2 tbsp maple syrup
🌶️ 1 tbsp sriracha
🍅 2 tbsp tomato paste
🧅 1 tsp onion powder
🧄 1 tsp garlic powder
🌶️ 1 tsp smoked paprika
🍎 2 tbsp apple cider vinegar
💧 1/4 cup water
🌽 1 tsp cornstarch
🧂 Pinch of salt
Crispy on the outside, soft on the inside, and packed with flavor — these nuggets are the ultimate healthy comfort food. High-volume, low-calorie, and completely oil-free, they’re perfect for satisfying cravings while staying on track 💪✨
What if one of the missing pieces in better breathing has been sitting on your plate all along? Dr. John McDougall explores an often-overlooked connection between food and lung health and offers a perspective that feels both surprising and practical. It’s the kind of article that makes you stop and reconsider how deeply diet shapes the way we feel, even in areas we do not usually associate with food.
https://www.drmcdougall.com/education/information-all/better-breathing-from-diet/
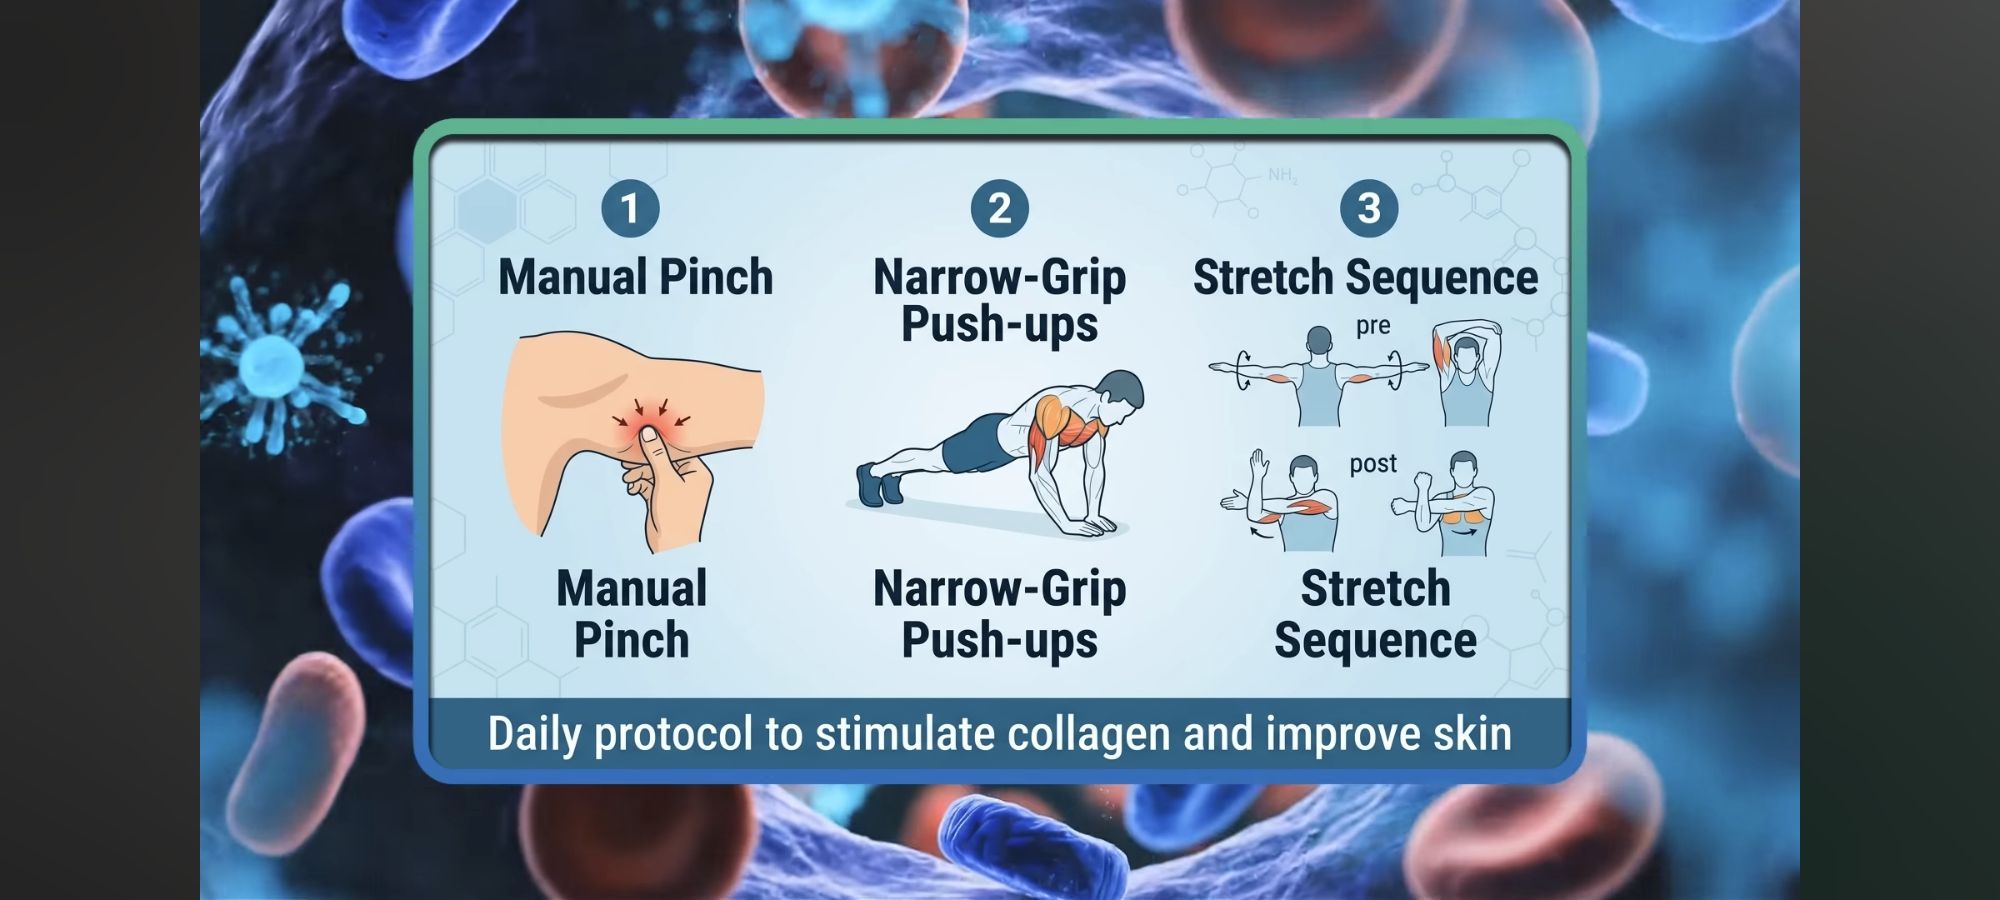
(EDITOR-EXTENDED) ALTERNATE DAYS WORKOUT:
Preferably done in morning or evening sunshine for vitamin D
* PRE-WORKOUT TRICEP STRETCH
* 5 MINUTES Manual Pinch Work on Posterior Arm
* TO FATIGUE Narrow Grip Push-Ups
* TO FATIGUE Tricep Dips
* TO FATIGUE Dumbbell Extensions
* TO FATIGUE Tricep Kickbacks
* POST-WORKOUT STRETCH
* BALLISTIC CARDIO WORK (for lymphatic circulation) – Rebound or Jumprope or Lite Jog or Powerwalk or Vibrating Platform or Dance!
(This blog began 3/15/2015)
MEDITATION:
* Charles Capps podcast
* Kenneth E. Hagin reading
* No Greater Love podcast
EXERCISE:
* Powerwalk 3 miles indoors
* Day 20 (day) of 21 Day Simple Countertop Challenge
* PT APP workout
–lower body stretch/stengthening
* Rebounding outdoors
* Face brushing
WATER:
(2) × (32) = 64 oz (+)
EATS:
* Heritage Flakes, spelt & oat cereals w/ fresh strawberries, sliced almonds & homemade almond milk
* leftover pinto beans, brown basmati rice, plain sparkling water w/ shot of Tuscanini Organic soda
* Mediterranean chopped salad w/ grain salad & Mother Raw dressing
* airfried half sweet potato
* miso soup cup w/ mac & greens bowl
… SUN HAS SET …
Cmmt: XL indicates uncommonly excessive food, and wautéed means water-sautéed
In a study published in the journal Frontiers in Nutrition, Chilean researchers found that mice given sucralose or stevia passed on changes in metabolism-related genes to their children and grandchildren even when later generations did not consume the sweeteners.
(This blog began 3/15/2015)
MEDITATION:
* Charles Capps podcast
* No Greater Love podcast
* Nothing But Bible
EXERCISE:
* Walk-about outdoors
* Day 19 (day/night) of 21 Day Simple Countertop Challenge
* PT APP workout
–lower body stretch/stengthening
* Face brushing
WATER:
(2) × (32) = 64 oz (+)
EATS:
* Heritage Flakes, spelt & oat cereals w/ fresh strawberries, sliced almonds & homemade almond milk
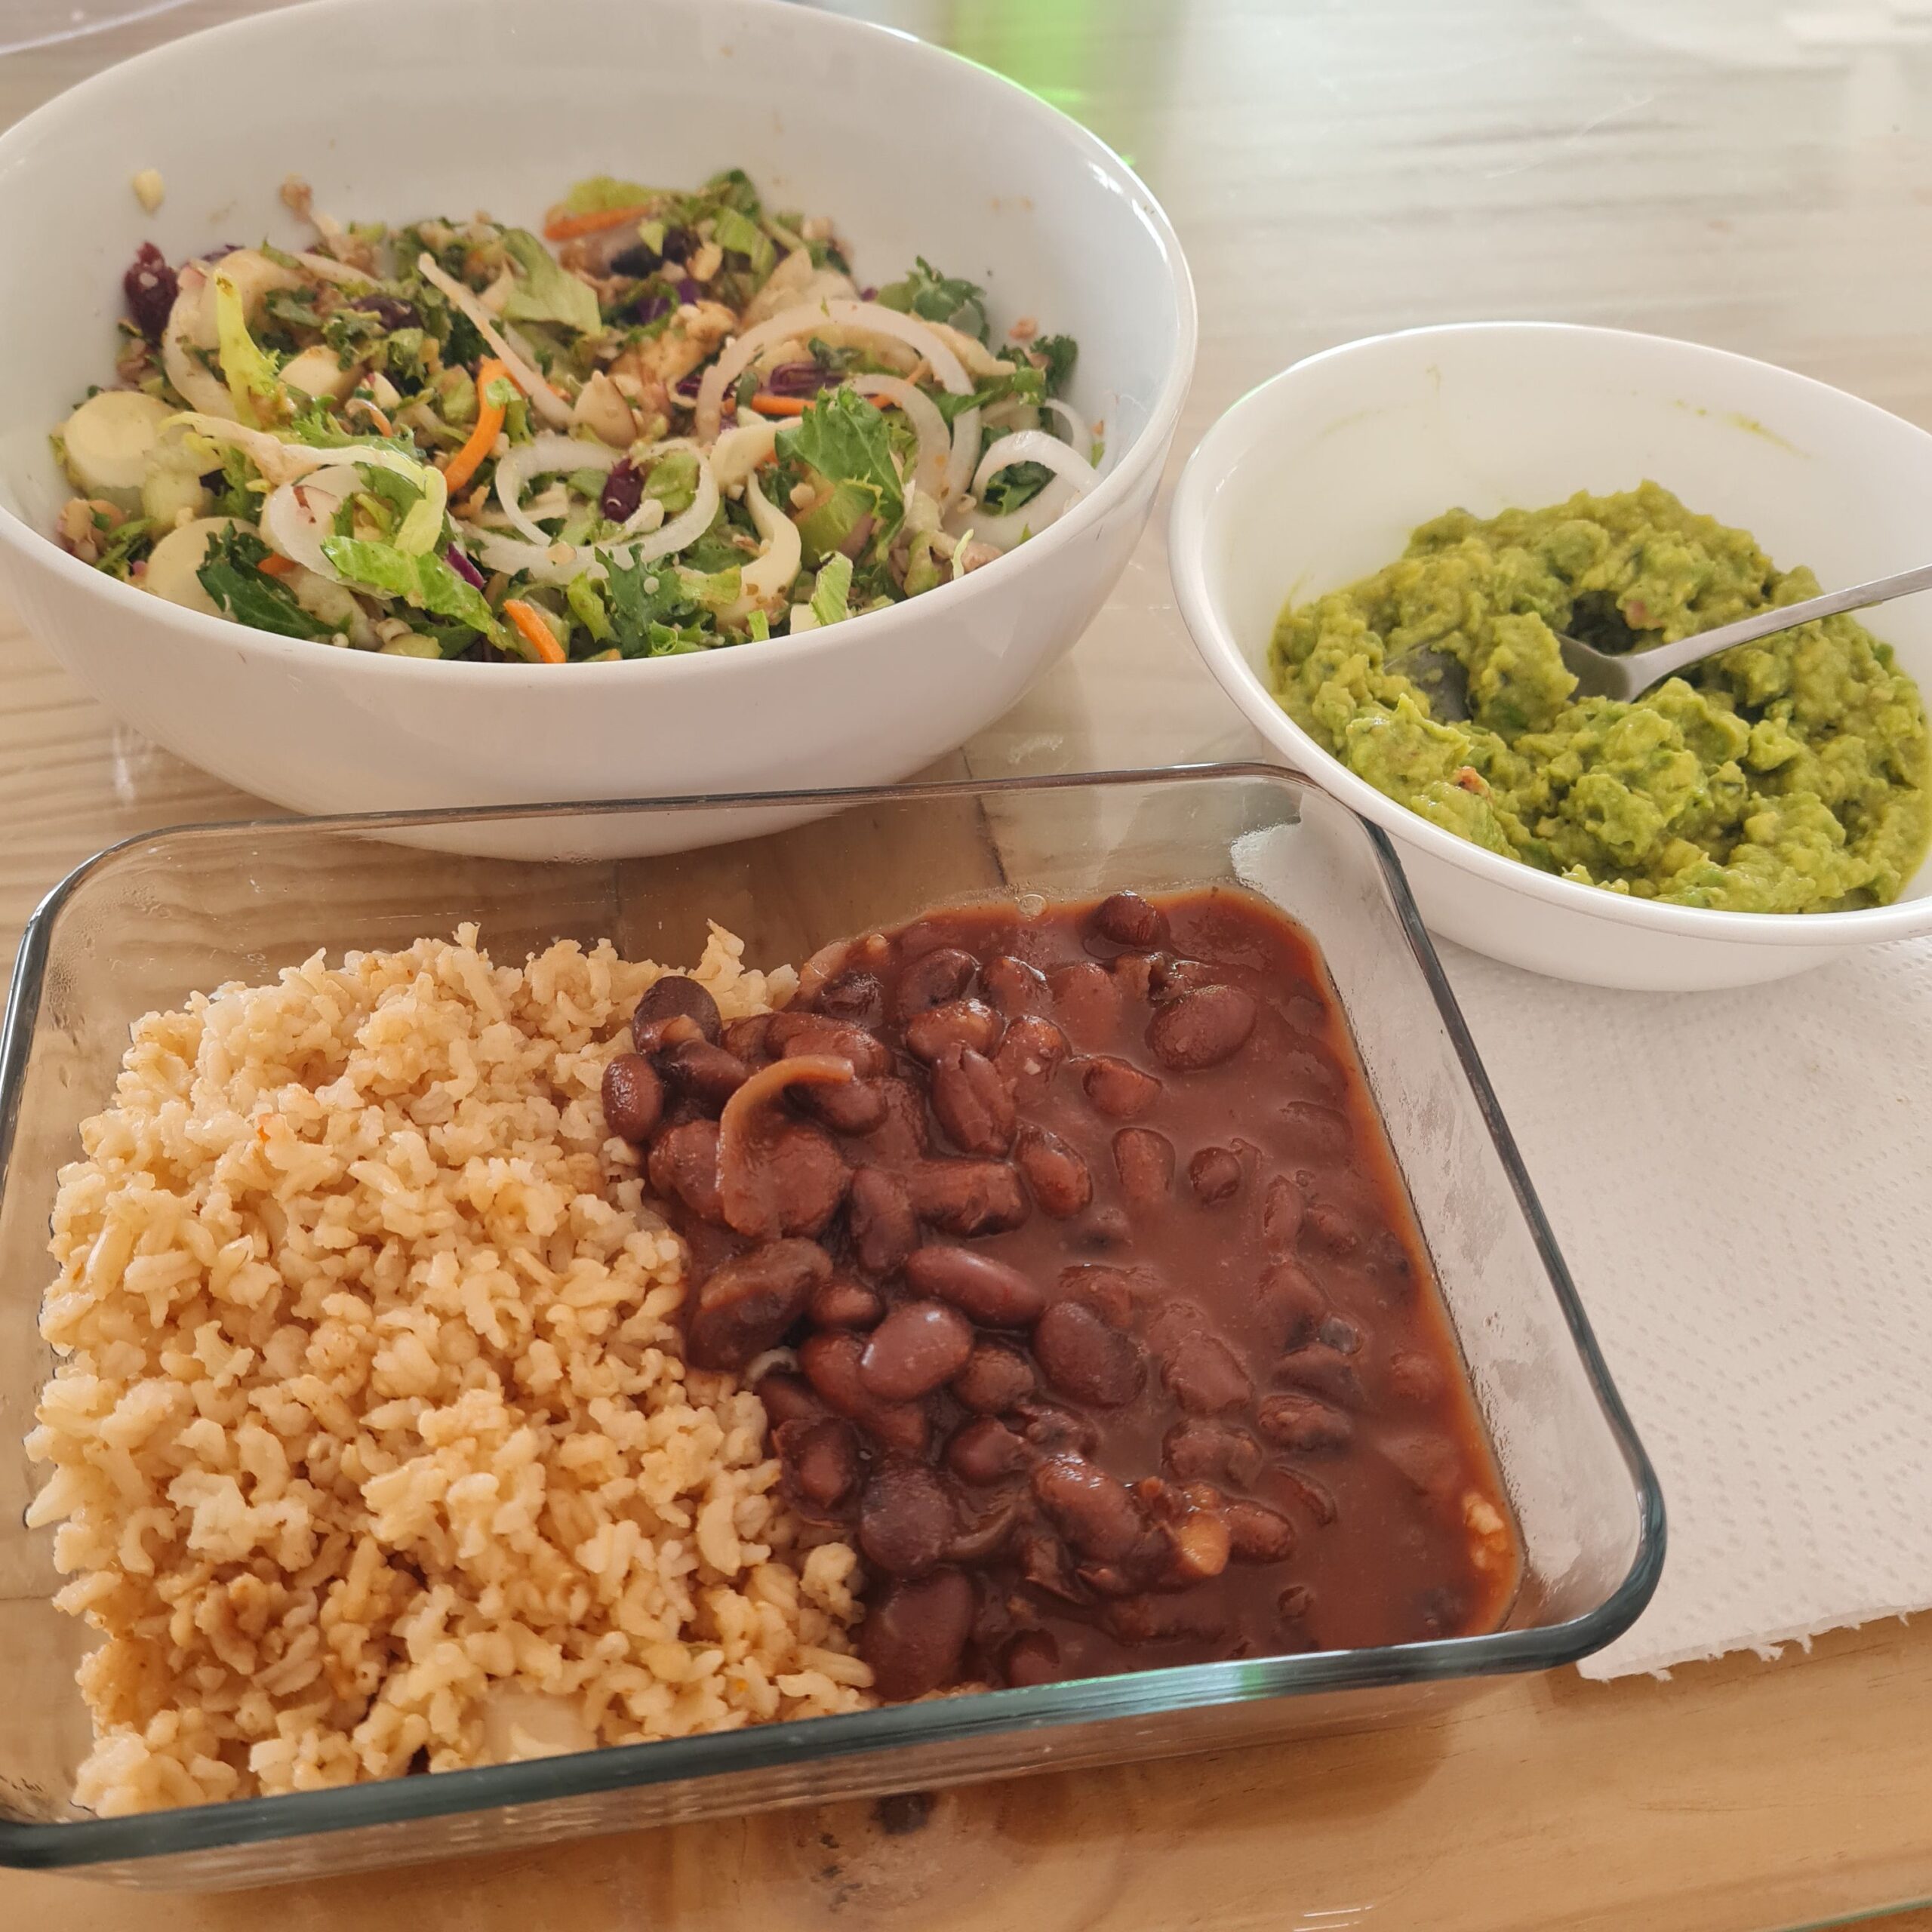
* leftover pinto beans, brown basmati rice, guacamole
* Mediterranean chopped salad w/ grain salad & Mother Raw dressing
* sandwich w/ wautéed Meati patty, onion, peppers, tomato, avocado, mustard on 9 grain sourdough toast
… SUN HAS SET …
Cmmt: XL indicates uncommonly excessive food, and wautéed means water-sautéed