Fun Merach Rocking Steppers for Exercise at Home, 3D Motion Stair Stepper
Balance Board with Resistance
Bands for Full Body Workout
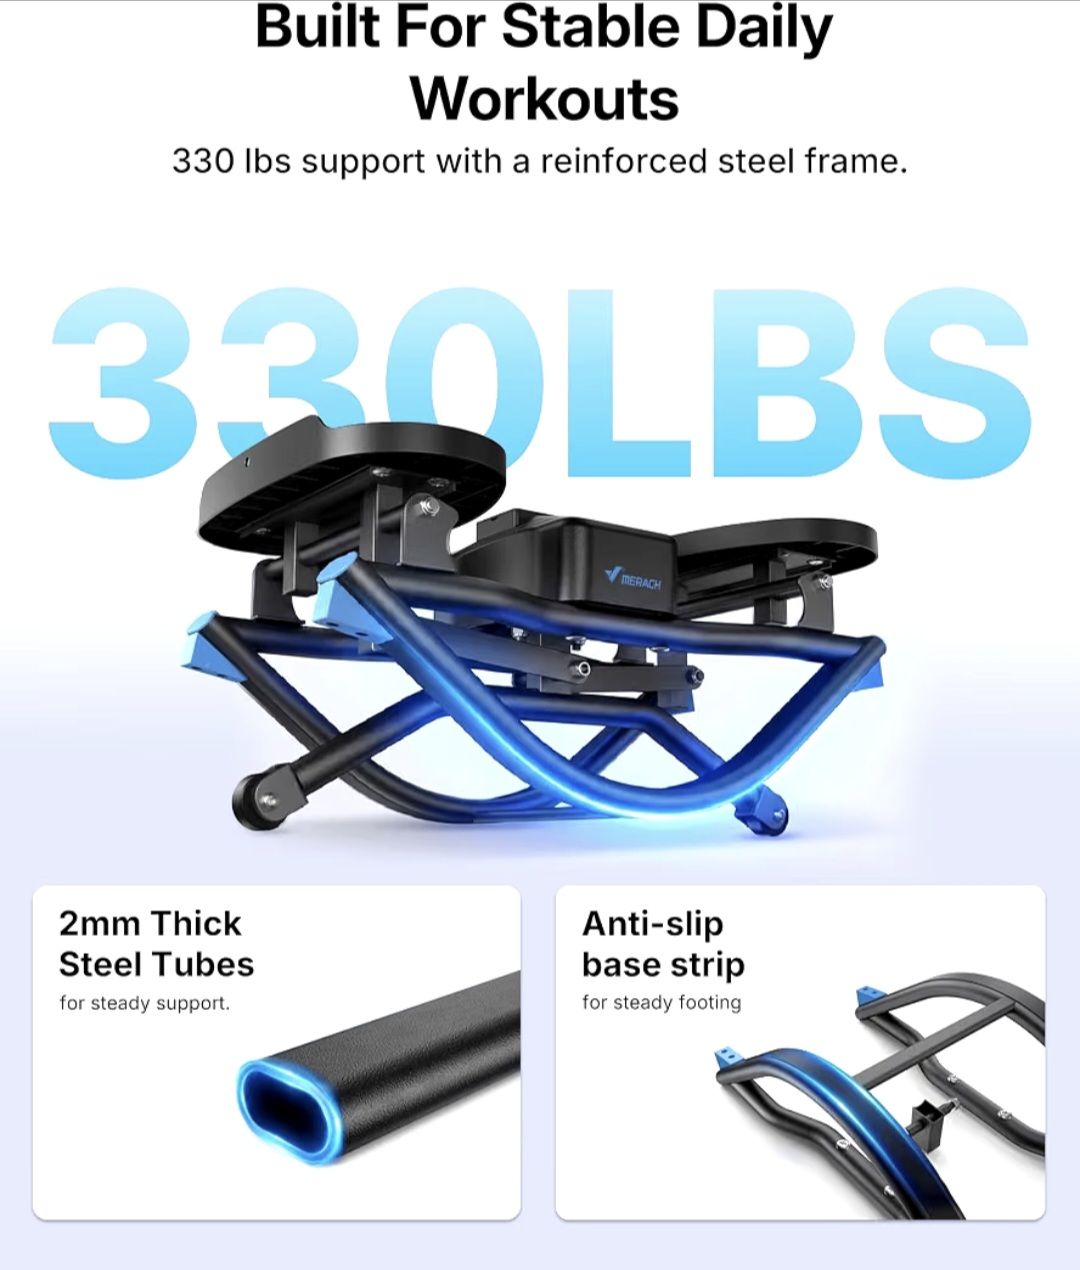
Low-Impact Cardio, 330 LBS Loading Capacity Exercise Equipment
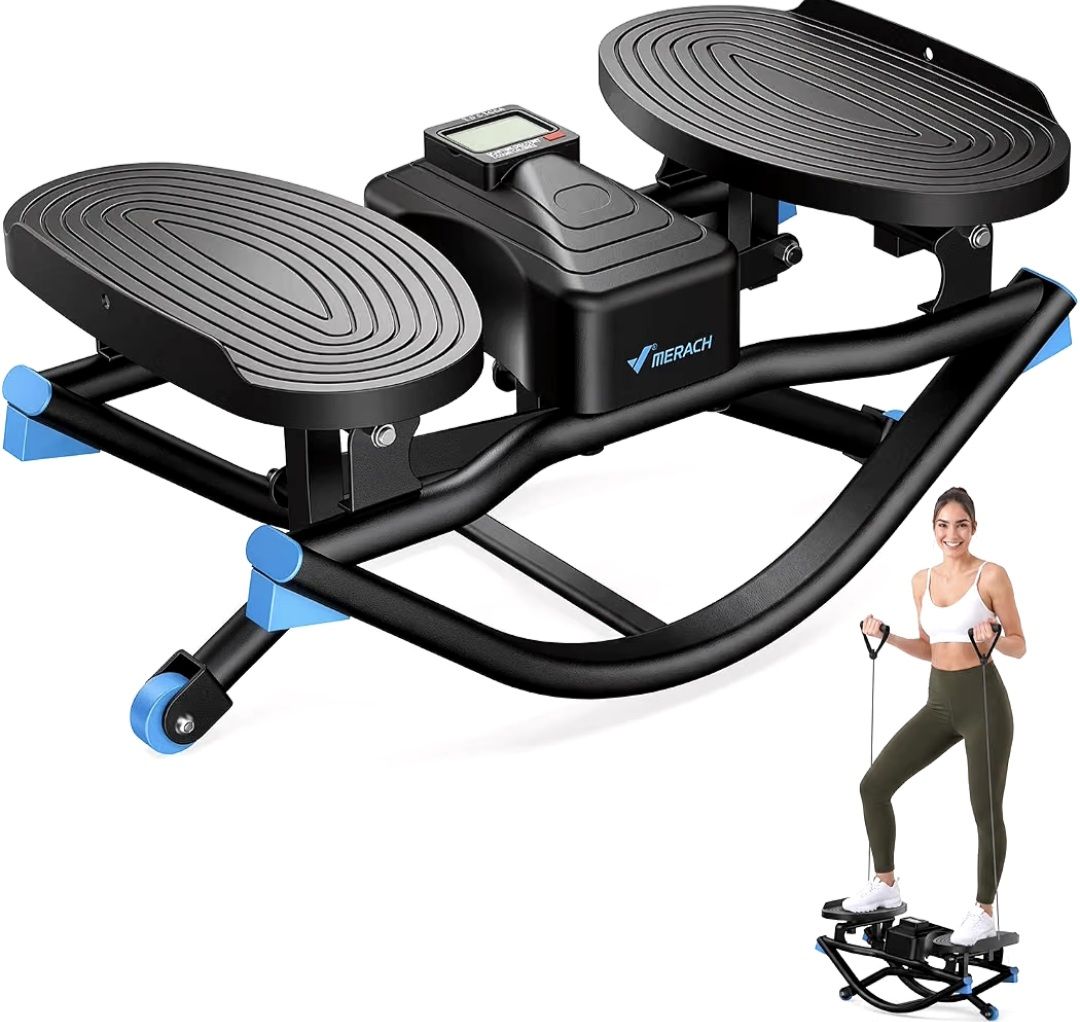
Fun Merach Rocking Steppers for Exercise at Home, 3D Motion Stair Stepper
Balance Board with Resistance
Bands for Full Body Workout
Low-Impact Cardio, 330 LBS Loading Capacity Exercise Equipment
Ingredients:
🧅 1 huge onion
🫘 Chickpea flour
🧂 Salt
🧀 Nutritional yeast
🌶️ Smoked paprika
🧄 Garlic powder
🌽 Corn flour
💧 Water
🥖 Breadcrumbs
Sauce:
🥣 Greek-style soy yogurt
🍅 Ketchup
🍎 A splash of vinegar
🧂 Salt
Optional:
🥄 Baking powder — for turning leftover batter into a savoury pancake
Method:
1️⃣ Slice the onion into rings.
2️⃣ In a bowl, combine the chickpea flour, salt, nutritional yeast, smoked paprika, garlic powder, and corn flour.
3️⃣ Add water and whisk until you have a smooth batter.
4️⃣ Place the breadcrumbs in a separate bowl.
5️⃣ Dip each onion ring into the batter, then coat thoroughly with breadcrumbs.
6️⃣ Place the coated onion rings into the air fryer and cook for around 10 minutes, or until crispy and golden.
7️⃣ While they cook, mix together the Greek-style soy yogurt, ketchup, vinegar, and salt to make a simple dipping sauce.
8️⃣ Serve the crispy onion rings with the sauce and enjoy! 🧅🔥
If you have any leftover chickpea batter, don’t throw it away! Add a little baking powder and cook it up as a huge savoury pancake.
These onion rings are crispy, crunchy, completely oil-free, and made with simple plant-based ingredients. Perfect when you want something that feels indulgent while still keeping your meal high-volume and satisfying. 💚
Ingredients
Quick Chickpea Flour Method
▢1 cup (100 g) chickpea flour
▢2-2½ cups (600 ml) of water (divided) – see notes
▢½-¾ tsp salt (optional)
▢⅛-¼ tsp turmeric (optional)
OR – Dried Chickpeas Method (Similar To Silken Tofu)
▢1 cup (200 g) dried chickpeas (raw)
▢2 cups (480 ml) water
Instructions
Quick Chickpea Flour Method
You can watch the video in the post for visual instructions.
In a bowl, mix the chickpea flour and 1 cup (240 ml) of water with a whisk. Use just ½ cup (120 ml) water for firmer tofu.
In a saucepan, bring 1½ cups (360 ml) of water to a boil. As soon as it boils, slowly pour the chickpea mixture into the water while stirring constantly.
Let simmer on low heat for at least 5-6 minutes, and make sure to keep whisking frequently. Pour the mixture into a 6×6-inch mold (or several smaller molds) and let it firm up.
Optionally, place the mold(s) into your refrigerator, to firm up even more (the longer it sits, the firmer it gets). Once the chickpea tofu is firmed up, you can unmold it and use it as you would use regular tofu. Enjoy!
Dried Chickpeas Method (Silken Tofu)
Add the dried chickpeas to a large bowl and add plenty of water until they are covered with at least 2 inches (5 cm) of water. Soak them overnight (or up to 1 day), then drain the water through a strainer and give the chickpeas a quick rinse.
Grease a mold (e.g. a 6×6-inch glass pan) or several ramekins with a little oil and set aside.
Transfer the chickpeas into a blender and add 2 cups of fresh water. Blend for about 20-30 seconds, then strain the mixture into a large bowl through a nut-milk bag and try to squeeze out as much liquid as possible. If you have some leftovers in the blender jug, then add 1-2 tablespoons of water and use a silicone spatula to get it all out.
Add the strained liquid into a medium saucepan and bring it to a boil, stirring constantly with a whisk until it starts simmering. It’s important to stir a lot because the starch of the chickpeas will float to the bottom of the pan and begin to clump, if you don’t stir constantly.
Once the mixture starts simmering, turn the heat to low and keep simmering for about 20 minutes, stirring often. The consistency will be like thick pudding. The longer you let it simmer, the firmer the silken tofu will be, as more water will evaporate.
Pour the cooked mixture into the prepared mold(s) and smooth the top with a spatula. Let it cool at room temperature for a few hours to set.
Optionally, place the mold(s) into your refrigerator, to firm up even more (the longer it sits, the firmer it gets). Once the chickpea tofu is firmed up, you can unmold it and use it as you would use silken tofu. Enjoy!
Aug 24, 2026
Short film about the willful and deliberate concealment of the known miscarriage risk — perpetrated by Drs. Anthony Fauci and Rochelle Walensky in the spring of 2021 — is one of the greatest crimes in the history of medicine.
Ingredients:
🍄 Mushrooms
🥒 Courgette
🥕 Carrot
🥬 Cabbage
🧈 Tofu
🍚 Rice paper
🥢 Soy sauce
🍶 Rice vinegar
🧄 Garlic powder
🌶️ Sweet chili sauce
✨ Sesame seeds
Method:
1️⃣ Add the mushrooms, courgette, carrot, cabbage, and tofu to a food processor and blitz until finely chopped.
2️⃣ Transfer the mixture to a non-stick pan. Add the soy sauce and garlic powder, then cook for a few minutes until the vegetables soften.
3️⃣ Dip a sheet of rice paper into water until softened.
4️⃣ Place some of the filling in the centre and fold into a sealed parcel.
5️⃣ Sprinkle sesame seeds into a non-stick pan and cook the dumplings on top of the sesame seeds until golden and crispy on both sides. [OR USE AIR FRYER!]
6️⃣ Mix together the soy sauce, rice vinegar, and sweet chili sauce for a quick dipping sauce.
7️⃣ Serve the dumplings with the dipping sauce and enjoy.
🥖 How to Bake the Parcels in a Regular Oven
Baking keeps this recipe oil-free while giving you that satisfying, crispy exterior.
* Preheat: Set your oven to 400°F (200°C).
* Prep the Baking Sheet: Line your pan with parchment paper or a silicone baking mat. This is essential because wet rice paper is incredibly sticky and will tear on bare metal.
* Space Them Out: Place the folded parcels on the tray, leaving at least 1 inch of space between each one. If they touch, they will fuse together and rip.
* Bake: Bake for 15 to 20 minutes, flipping them over halfway through the cooking time.
* Optional Crisp Boost: If you want them extra golden and crunchy, turn on your oven’s broiler for the last 2 to 3 minutes. Keep a close eye on them so the rice paper doesn’t burn!