Author: Sharon
Everyone is WRONG About FAUCI
Aug 6, 2026
The Ultimate Learning Book for Kids 📚✨
Aug 6, 2026 of Low-SOS Vegan Plan
(This blog began 3/15/2015)
MEDITATION:
* E W Kenyon Sermons w/ Insights
* Mathematics & God w/ John Lennox
EXERCISE:
* Jog 5k outdoors
* Lift back on Total Gym
* PT APP workout
–lower body stretch/stengthening
WATER:
(2) × (32) = 64 oz (+)
EATS:
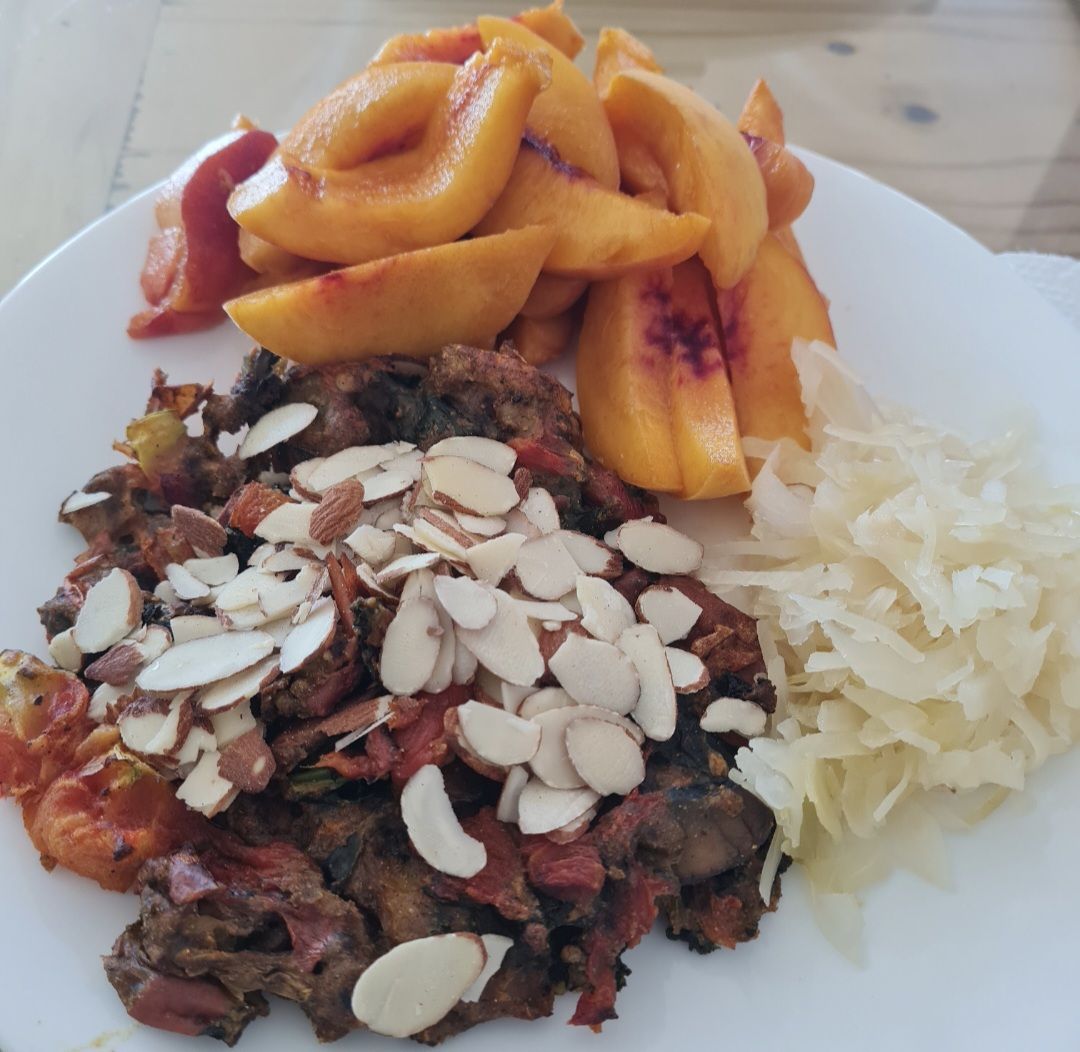
* chickpea scramble w/ fresh peach, shaved sliced almonds, sauerkraut, avocado
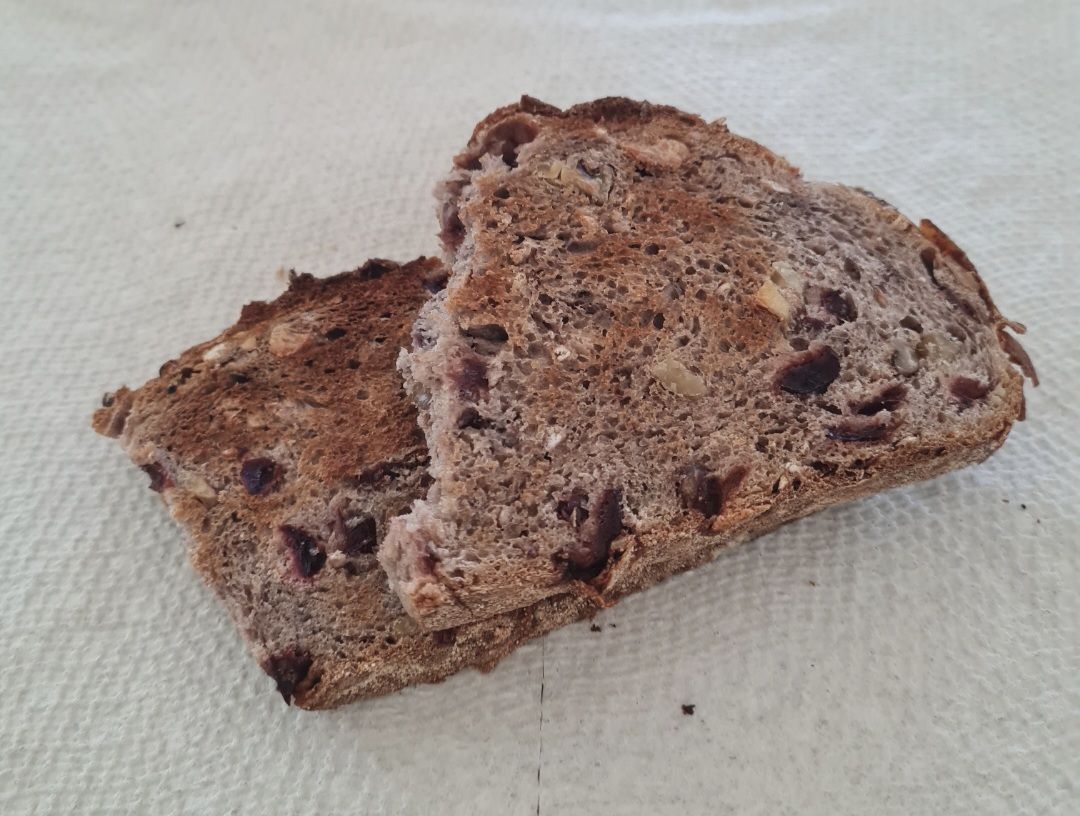
* cranberry-walnut (dry) toast
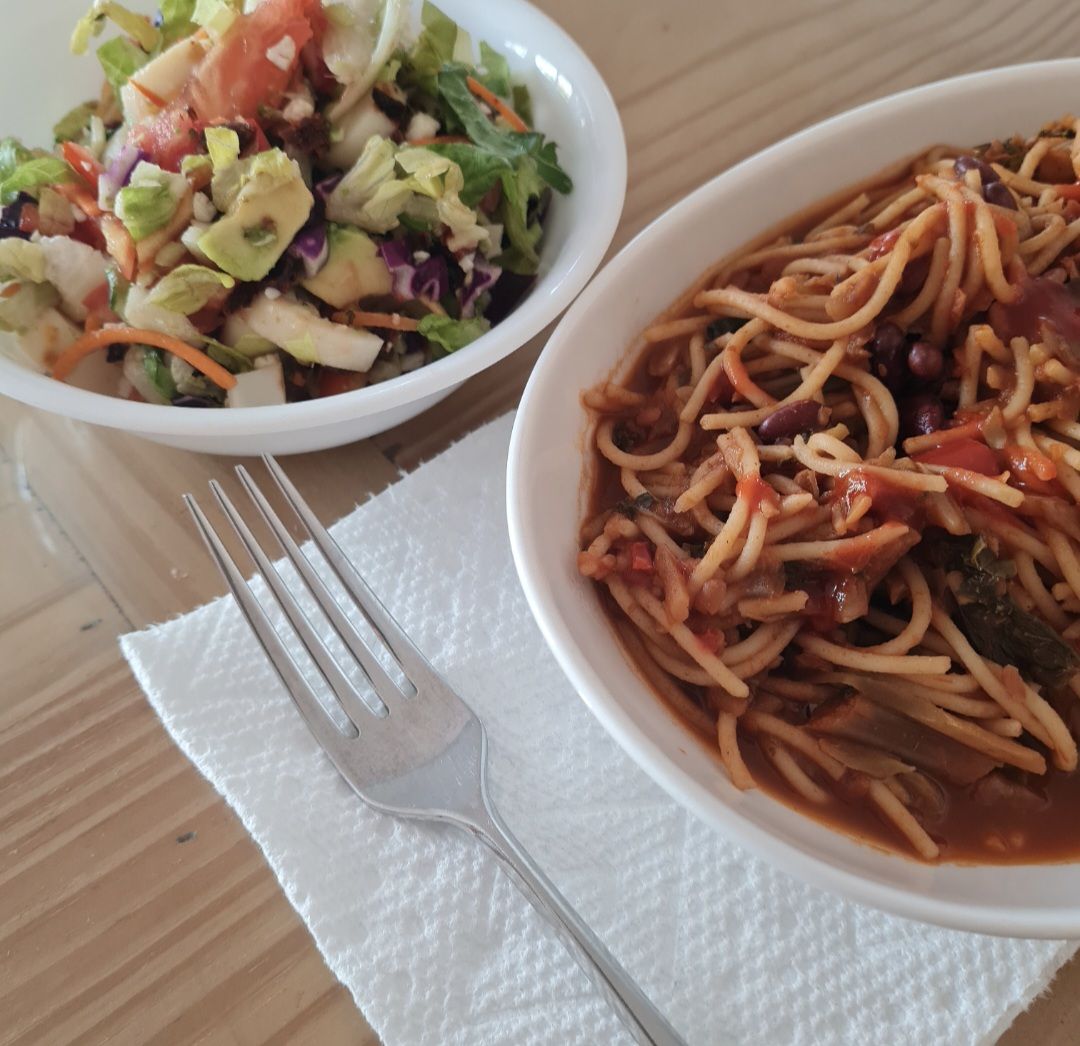
* leftover very veggie spaghetti w/ sauerkraut & gorilla salad
* fresh peach
… SUN HAS SET …
* pretzel chips w/ choco-peanut dip
Cmmt: XL indicates uncommonly excessive food, and wautéed means water-sautéed
Nuts Don’t Cause Weight Gain?!?
Summary:
- Flawed Research Studies (0:55 – 2:06): Nelson explains that many studies used to support the claim that nuts are weight-neutral were actually cholesterol studies where participants were strictly monitored and had their food intake reduced if they began to gain weight. Therefore, these studies were engineered to prevent weight gain, not to test if nuts cause it.
- The “Expected Weight Gain” Fallacy (2:37 – 4:42): When the initial claim was challenged, some nutrition experts shifted the narrative to say nuts don’t cause the “expected” weight gain. Nelson argues that this relies on a flawed mathematical model (the “3,500 calorie rule”) that does not accurately predict human weight changes.
- Common Marketing Tactics (4:43 – 8:30): The video highlights how the same logic—finding a gap between predicted and actual weight gain—is currently used to market other calorie-dense foods like avocados, full-fat dairy, and chocolate. He points out that this phenomenon is not unique to these foods; adding any 300 calories of food, including broccoli, would show similar results because of how the body naturally compensates.
- Real-World Impact (9:00 – 10:45): Nelson emphasizes that for many people, including himself, consuming calorie-dense foods like nuts without restriction does lead to weight gain. He advises viewers to be skeptical of nutrition headlines by asking three questions: Was the food added or substituted? Is the “expected” weight gain based on a reliable model? And who paid for the study?
🥔 POTATO CAESAR SALAD for Maximum Weight Loss 🔥
This potato Caesar salad is crispy, creamy, packed with chickpeas and greens — and totally oil-free!
Ingredients:
🥔 Baked potatoes (4 medium)
🫘 1.5 cans Chickpeas (drained)
🧀 5 T Nutritional yeast (divided)
🧂 Salt & pepper (to taste)
🧈 8 oz firm Tofu (for Caesar dressing, drained)
🍋 3 T Lemon juice
🧄 2 cloves Garlic & 1 T Mustard
🍁 1 T Maple syrup
💧 Water (as needed)
🌿 6 C fresh greens (romaine, kale, spinach, or a mixture)
Instructions
1. Preheat oven to 425°F.
2. Scrub potatoes, pierce with a fork, and bake for 45–60 minutes until tender.
3. Cut potatoes in half lengthwise and carefully scoop out the centers, leaving about ¼-inch potato flesh attached to the skins.
4. Return potato skins to the oven and bake another 15–25 minutes until crispy. (Dip it in salt water bath first, if desired.)
5. While potato skins bake, combine chickpeas, nutritional yeast, salt, and pepper.
6. Air fry chickpeas at 375°F for 10–15 minutes, shaking occasionally, until slightly crispy. (Alternatively, roast in the oven at 425°F for 20–30 minutes.)
7. Prepare Caesar dressing by blending tofu, lemon juice, nutritional yeast, garlic, mustard, maple syrup, water, salt, and pepper until smooth & creamy.
8. Chop fresh greens.
9. Toss chickpeas and greens with the Caesar dressing until evenly coated.
10. Fill the crispy potato skins with the chickpea Caesar mixture.
11. Serve immediately.
Approximate Nutrition Information (per serving, 4 servings)
Calories: ~390
Protein: ~24 g
Carbohydrates: ~60 g
Fiber: ~13 g
Fat: ~5 g
Saturated fat: ~1 g
Sodium: ~650 mg (varies with added salt and tofu brand)
Calcium: ~200 mg
Iron: ~5 mg
Only you can save yourself 🥴
Some tough love! 👍
BACK PAIN? Consider this muscle
The multifidus is a deeply seated, highly crucial muscle group that runs vertically along both sides of your entire spine. It fills the groove between the spinous and transverse processes of your vertebrae.
Key Details About the Multifidus:
• Function: Its primary role is to serve as a local core stabilizer. It protects individual vertebrae from shifting out of alignment and provides segment-by-segment stability to the lumbar (lower) spine.
• Movement: When both sides contract together, they help extend the spine (bending backward). When only one side contracts, it assists with side-bending and twisting.
• Clinical Significance: Weakness, wasting (atrophy), or dysfunction in the multifidus muscle is heavily associated with chronic lower back pain.
My physical therapy app taught me there are exercises I can do to essentially re-awaken the multifidus muscles.
[CRUCIAL TO GET THE APPROVAL OF YOUR OWN MEDICAL PROFESSIONAL BEFORE STARTING.]
Phase 1: Release & Decompress (The Natural Way)
Before strengthening a dormant muscle, you must relax the superficial back muscles (like the erector spinae) that are tight and overworking to compensate.
• Child’s Pose: Kneel on the floor, sit your hips back toward your heels, and reach your arms forward on the floor. Breathe deeply into your lower back for 1–2 minutes to lift pressure off the spine.
• Cat-Cow Stretch: On your hands and knees, slowly alternate between arching your back toward the ceiling and letting your belly dip toward the floor. This provides a gentle, rhythmic wave of motion that relaxes surface tension.
Phase 2: Reactivate & Rebuild (The Natural Way)
These exercises isolate the deeper stabilizing layers of the spine.
• The Quadruped Pelvic Tilt / Isolate:
• How to do it: On all fours, find a flat, neutral spine. Gently draw your belly button toward your spine and slightly flatten the curve of your lower back. Hold for 5–10 seconds while breathing normally.
• Why it works: This teaches your brain how to intentionally signal and turn the multifidus back “on” without moving your limbs.
• The Bird Dog:
• How to do it: Start on your hands and knees. Brace your core, then slowly extend your right arm straight forward and your left leg straight back. Hold for 3–5 seconds, return, and alternate sides.
• Why it works: It forces the deep spinal stabilizers to fire to keep your hips and torso level as your limbs move.
• Glute Bridges:
• How to do it: Lie on your back with knees bent and feet flat on the floor. Squeeze your glutes and lift your hips until your body forms a straight line from shoulders to knees. Hold for 5 seconds, then lower.
• Why it works: Bridges engage the posterior chain, requiring the multifidus to contract to stabilize the pelvis.
Moving to Functional Loading
Once your back pain subsides and the muscle is reactivated, research shows that basic compound movements – such as bodyweight squats, Romanian deadlifts, or standard core planks – generate excellent levels of multifidus activation and muscle growth.
T Colin Campbell told me all this – J Nelson
Chickpea Scramble (Low-Oil Version)
Batter
- 1/2 cup chickpea (besan/gram) flour
- 1/2 cup water
- 1 Tbsp nutritional yeast
- 1 Tbsp ground flaxseed
- 1/2 tsp baking powder
- 1/4 tsp salt
- 1/4 tsp turmeric
- 1/4 tsp paprika (or less)
- 1/8 tsp kala namak (black salt, for an egg-like flavor)
- Generous dash of black pepper
Vegetables
- 1/2 tsp oil (or use a nonstick skillet and a splash of water instead)
- 1 clove garlic, minced
- 1/4 cup onion, chopped
- 2 Tbsp chopped asparagus
- 2 Tbsp chopped green bell pepper
- 2 Tbsp chopped zucchini (or other vegetables)
- 1/2 green chile, chopped (optional)
- 2 Tbsp chopped red bell pepper or tomato
- Chopped cilantro (optional, for garnish)
Directions
- Whisk together all batter ingredients until smooth. Set aside.
- Heat 1/2 tsp oil in a nonstick skillet over medium heat.
- Cook the onion and garlic for about 3 minutes, adding a splash of water if needed to prevent sticking.
- Add the asparagus, green pepper, zucchini, and chile. Cook 2 minutes.
- Stir in the red bell pepper (or tomato).
- Pour the batter over the vegetables. Cook 2 minutes, until the edges begin to set.
- Gently scramble with a spatula. Let the mixture sit for about 2 minutes between stirring so it can brown slightly. Continue cooking until set, about 4–5 minutes total.
- Remove from heat and let rest 1–2 minutes. Break into bite-size pieces.
- Sprinkle generously with black pepper, garnish with cilantro if desired, and serve.
Serving Ideas
- Whole-grain or multigrain toast
- Tacos
- Burritos
Makes: 1–2 servings.