### Ingredients
* 1 block extra-firm tofu (previously frozen)
* 1 tablespoon balsamic vinegar
* 1 tablespoon lemon juice
* 1 tablespoon nutritional yeast
* 2 teaspoons smoked paprika
* 1 teaspoon garlic powder
* 1 teaspoon onion powder
* ½ teaspoon black pepper
* ¼ teaspoon ground cumin (optional)
* 2–3 tablespoons water
### Directions
1. Thaw the frozen tofu overnight in the refrigerator or in cold water until completely thawed.
2. Press the tofu for 15–20 minutes to remove as much water as possible.
3. Slice into very thin strips (about ⅛ inch thick). Thin slices become the crispiest.
4. Mix the balsamic vinegar, lemon juice, nutritional yeast, smoked paprika, garlic powder, onion powder, pepper, cumin, and water.
5. Marinate the tofu for at least 30 minutes, or overnight for a stronger flavor.
### Air Fryer (Recommended)
* Preheat to **375°F**.
* Arrange slices in a single layer.
* Cook **10–14 minutes**, flipping halfway.
* For extra crispness, cook an additional 2–4 minutes, watching carefully to prevent burning.
### Oven
* Bake at **400°F** on parchment paper.
* Bake **15 minutes**, flip, then bake another **10–15 minutes** until browned and crisp around the edges.
### Ways to Enjoy
* Crumble over baked potatoes.
* Add to salads.
* Layer on a whole-grain sandwich with lettuce and tomato.
* Sprinkle over tofu scramble.
* Chop into bean soup for a smoky flavor.
**One tip:** This won’t taste exactly like pork bacon because it doesn’t contain fat or smoke-cured meat. Think of it more as **crispy, smoky, savory strips** that capture the smoky flavor of bacon while staying much healthier. Freezing and thawing the tofu beforehand gives it a chewier texture that’s especially good for this recipe.
Author: Sharon
Tofu Scramble (Using Frozen Tofu)
### Ingredients
* 1 block extra-firm tofu (previously frozen)
* ½ teaspoon turmeric
* 1 teaspoon garlic powder
* 1 teaspoon onion powder
* ½ teaspoon black pepper
* 1 tablespoon nutritional yeast (optional)
* ¼ teaspoon poultry seasoning (optional)
* 2–4 tablespoons water or unsalted vegetable broth
### Optional Vegetables
* Mushrooms
* Spinach
* Bell peppers
* Onions
* Tomatoes
* Green onions
### Directions
1. Remove the frozen tofu from the freezer and thaw it overnight in the refrigerator, or place the sealed package in cold water for about 1–2 hours until thawed.
2. Press the thawed tofu firmly between clean towels for 10–20 minutes to remove as much water as possible. This gives it a pleasantly chewy texture and helps it absorb flavors.
3. Crumble the tofu into bite-sized pieces with your hands or a fork.
4. Heat a nonstick skillet over medium heat. Add a few tablespoons of water or unsalted vegetable broth.
5. Add any vegetables you’re using and cook for 3–5 minutes, adding a splash of water as needed to prevent sticking.
6. Stir in the crumbled tofu, turmeric, garlic powder, onion powder, black pepper, nutritional yeast, and poultry seasoning.
7. Cook for 5–8 minutes, stirring occasionally, until the tofu is heated through and lightly browned in spots. Add a little more water if the pan becomes dry.
8. Taste and adjust the seasonings. Finish with a squeeze of fresh lemon juice for a brighter flavor, if desired.
### Serve With
* Roasted potatoes or baked sweet potato
* Unsalted black beans
* Fresh fruit
* Whole-grain toast
* Sliced avocado (optional)
For an “eggier” flavor, you can add just a tiny pinch of kala namak (Indian black salt). Because it’s high in sodium, a very small amount is all that’s needed.
Freezing before making a scramble is unnecessary, but actually an advantage—the tofu becomes firmer and chewier, giving the finished dish a heartier texture that many people prefer over fresh tofu.
Chicken-Style Tofu Marinade (SOS-Free)
**Ingredients**
* 2 tablespoons lemon juice
* 1 tablespoon nutritional yeast
* 1 teaspoon garlic powder
* 1 teaspoon onion powder
* ½ teaspoon poultry seasoning
* ½ teaspoon ground sage
* ½ teaspoon black pepper
* ¼ teaspoon turmeric (just for a light golden color)
* 1–2 tablespoons water to thin, if needed
Marinate the tofu for **at least 1 hour** (overnight is even better).
### Cook
* **Grill:** 5–6 minutes per side over medium heat.
* **Air fryer:** 375°F for 12–15 minutes, flipping halfway.
### Optional (if sodium isn’t a concern)
A teaspoon of low-sodium soy sauce or coconut aminos adds even more “chicken-like” umami. But if you’ve been avoiding sodium, I’d skip it.
### A trick that makes a big difference
After pressing the thawed tofu, **lightly score the surface** with shallow crisscross cuts (about ⅛ inch deep). The marinade gets into the tofu instead of just coating the outside, giving it much more flavor.
I think this version fits our preferences well because it’s:
* ✅ No added oil
* ✅ No added sugar
* ✅ No added salt
* ✅ High in protein
* ✅ Mild, savory flavor similar to grilled chicken
Smoky Grilled Tofu Steaks (SOS-Free)
**Ingredients**
* 1 block extra-firm tofu (frozen, thawed, and pressed)
* 1 tablespoon lemon juice
* 1 tablespoon balsamic vinegar
* 1–2 teaspoons smoked paprika
* 1 teaspoon garlic powder
* 1 teaspoon onion powder
* ½ teaspoon black pepper
* 1 tablespoon nutritional yeast (optional)
* 1–2 tablespoons water, if needed to thin the marinade
**Directions**
1. Press the thawed tofu well.
2. Marinate the slices for 30 minutes to several hours.
3. Grill over medium heat for about **5–6 minutes per side**, until grill marks appear and the edges begin to brown.
### If using your air fryer, my top recommendation would be:
* Preheat to **375°F**.
* Cook **12–15 minutes**, flipping halfway.
* For extra crispness, cook another 2–3 minutes.
### Serve with
* 🥦 Steamed broccoli or asparagus
* 🍠 Baked sweet potato
* 🫘 Unsalted black beans or lentils
* 🥗 A large salad with balsamic vinegar or lemon juice
### Extra flavor without salt
Sprinkle the finished tofu with:
* Smoked paprika
* Fresh cracked pepper
* Nutritional yeast
* A squeeze of fresh lemon
This smoky tofu pairs especially well with **unsalted black beans** and a baked sweet potato. It makes a filling, high-protein meal that’s consistent with low-sodium eating goals.
SOS-Free Peanut & Orange Sweet Potato Ice Cream
Ingredients
* 2 & 3/4 cups orange sweet potato chunks (peeled, chopped, boiled, and frozen solid)
* 3/4 cup Medjool dates, pitted (soak in hot water for 10 minutes if very firm)
* 1/2 cup pure peanut butter powder (SOS-free)
* 1/2 cup to 1 cup cold unsweetened plant milk (add slowly as needed)
* 1 tsp vanilla extract
Instructions
1. Prep & Boil: Peel your orange sweet potatoes and chop them into small, even 1-inch cubes. Bring a pot of water to a boil, add the cubes, and cook for 10 to 12 minutes until fork-tender. Drain well.
2. Freeze Chunks: Spread the cooked potato cubes in a single layer on a parchment-lined baking sheet. Freeze for at least 4 hours until frozen completely solid.
3. Blend Instant Soft Serve: Place the rock-solid frozen sweet potato chunks, pitted dates, peanut powder, vanilla, and an initial 1/2 cup of plant milk into your high-speed blender or food processor.
4. Process: Blend on high, using the blender tamper stick to continuously push the ingredients down into the blades. If using a food processor, stop and scrape down the sides frequently.
5. Adjust Liquid: If the blades spin in place, add more plant milk 1 tablespoon at a time just until a thick, frosty, soft-serve consistency forms. Do not add too much liquid, or it will turn into a smoothie. Serve immediately!
Pro-Tips for Blender Success
* Use a Tamper: A high-speed blender tamper is essential here to keep the frozen chunks moving without needing to add excess liquid.
* Keep It Thick: Because orange sweet potatoes release more moisture as they thaw, work quickly so the friction of the blender blades doesn’t melt your ice cream.
Compare this recipe to Chocolate Peanut Butter Sweet Potato Nice Cream recipe.
E. W. Kenyon’s Jesus the Healer
Rip’s Grilled Peanut Curry Tofu
Ingredients
* 1 block extra-firm or super-firm tofu
* Plant Strong Peanut Curry Secret Sauce
* Fresh cilantro (optional)
* Lime wedges (optional)
Instructions
* Press tofu only if using extra-firm tofu.
* Cut the block in half.
* Prepare the Peanut Curry Secret Sauce to package instructions.
* Brush one side generously with Peanut Curry Secret Sauce.
* Place the sauced side face down on a hot grill.
* Brush the top side with more sauce.
* Once the tofu releases easily, flip and continue grilling until lightly caramelized.
* Brush with additional Peanut Curry Secret Sauce after cooking, if desired.
* Serve immediately.
What to Serve with Grilled Tofu
Rip loves serving grilled tofu alongside:
Brown rice
Grilled vegetables
Big salads
Roasted sweet potatoes
Corn on the cob
Whole grain wraps
Quinoa bowls
Fresh fruit like mango or pineapple
It’s a simple meal that’s satisfying enough for weeknights but impressive enough for summer cookouts.
The Bottom Line
Great grilled tofu isn’t about complicated marinades or fancy techniques.
Start with super firm tofu, give it time to cook undisturbed, and don’t be afraid to let the grill do the work.
If you have a few extra hours, letting the tofu marinate beforehand builds even deeper flavor. If not, brushing on the sauce near the end still delivers a beautifully caramelized finish.
With just a few simple techniques, grilled tofu can become one of the easiest and most flavorful proteins in your summer rotation.
FAQ
What type of tofu is best for grilling?
Extra-firm or super-firm tofu works best because it holds its shape and develops the best texture. Rip’s preference is super-firm tofu because it doesn’t require pressing.
Do I need to press tofu before grilling?
Only if you’re using extra-firm tofu. Super-firm tofu contains much less moisture and is usually ready to grill straight from the package.
Should I marinate tofu before grilling?
If you have time, yes. Marinating for a few hours or overnight allows the tofu to absorb even more flavor. If you’re short on time, Rip’s method of saucing the tofu as it grills still creates delicious flavor, and an extra brush of sauce after grilling adds even more.
When should I add barbecue or peanut sauce?
Rip brushes one side before the tofu goes on the grill, brushes the second side while the first cooks, and then adds another layer after grilling if desired. This builds layers of flavor while creating a delicious caramelized finish.
Day 30 of Alzheimer’s Month: The Grand Finale
June 30, 2026 of Low-SOS Vegan Plan
(This blog began 3/15/2015)
MEDITATION:
* No Greater Love podcast
* E. W. Kenyon’s Jesus Our Healer
EXERCISE:
* PT APP workout
–lower body stretch/stengthening
* Walk outdoors 35 minutes
* Session on Vibrating Platform
* Brief outdoor walk @ farmer’s mkt
WATER:
(2) × (32) = 64 oz (+)
EATS:
* oatmeal, blueberries, shaved almonds & almond milk
* red grapes
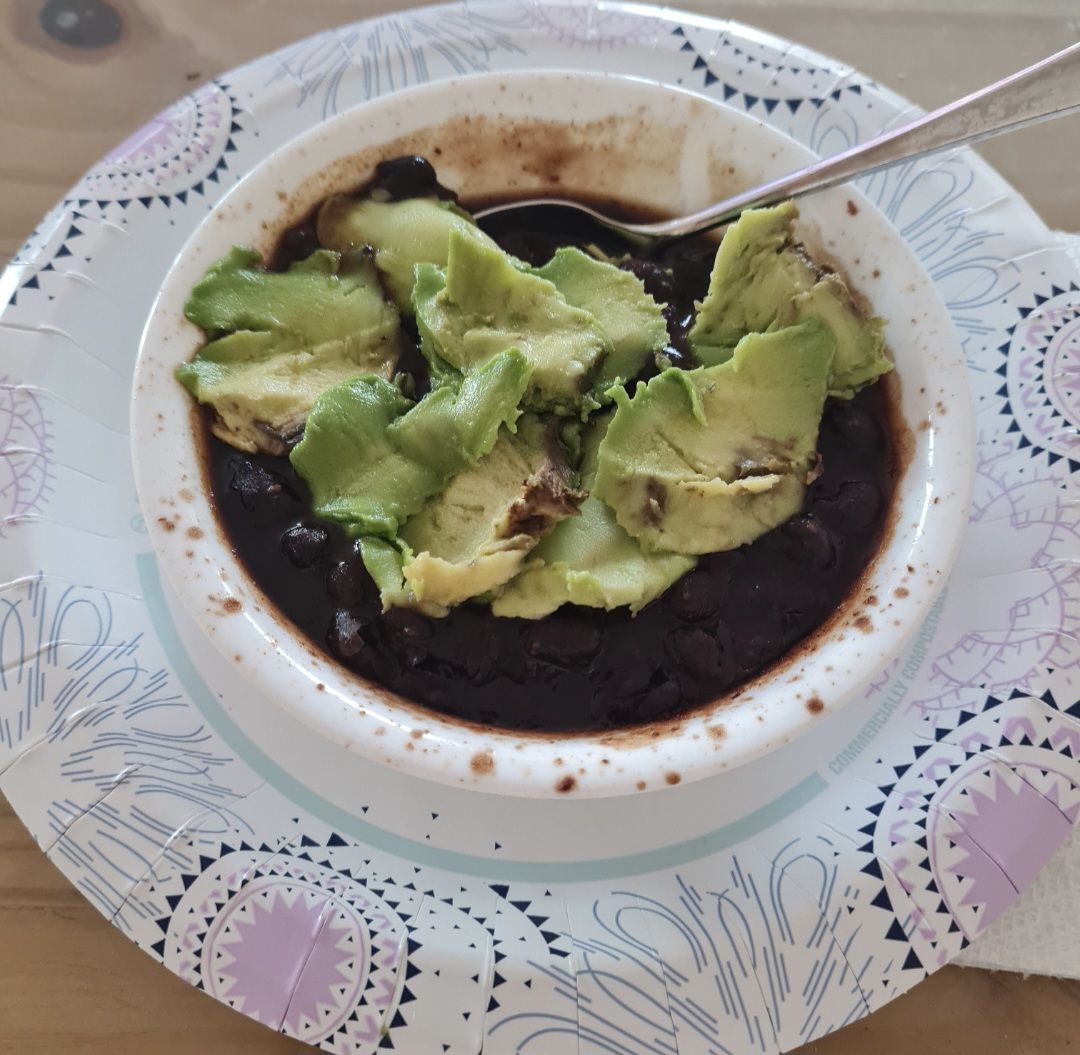
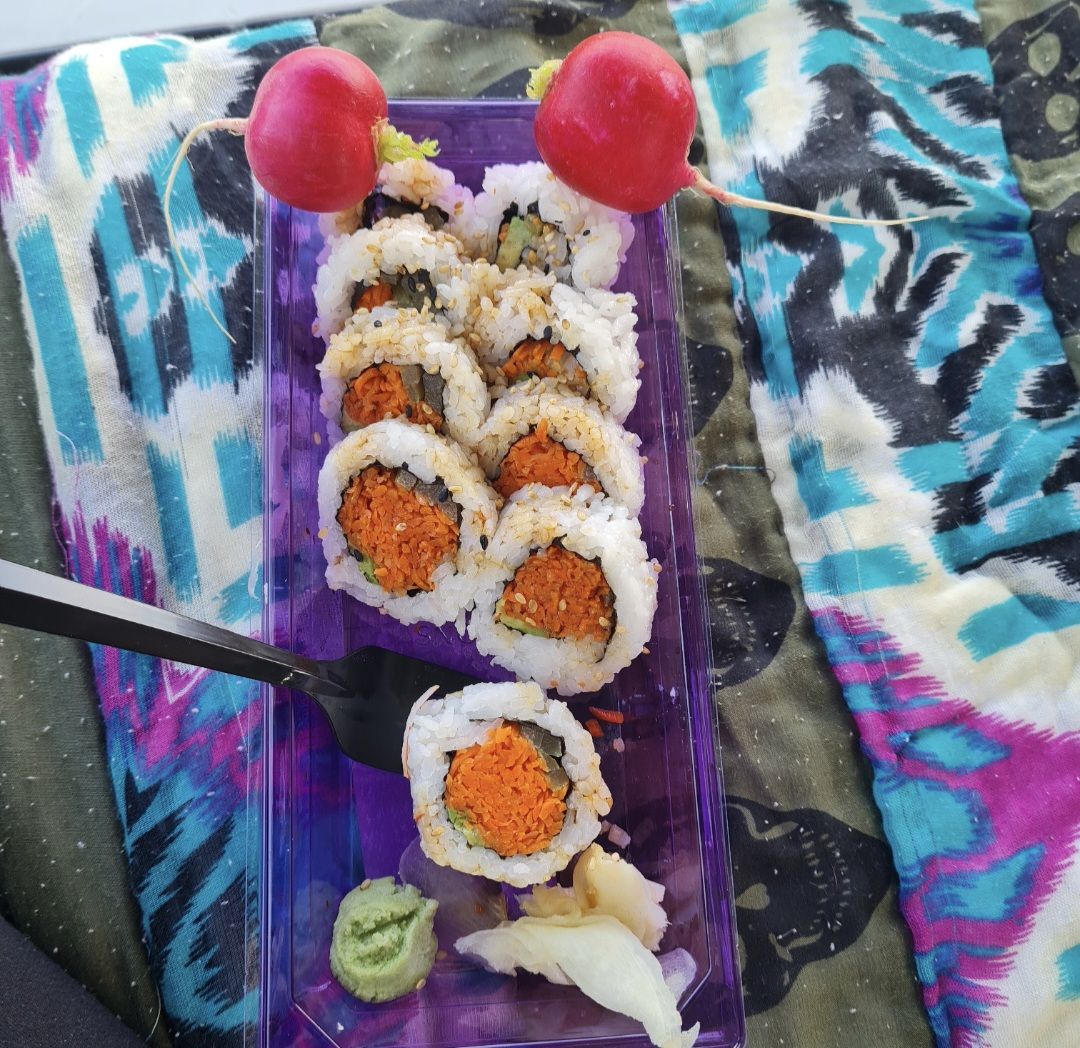
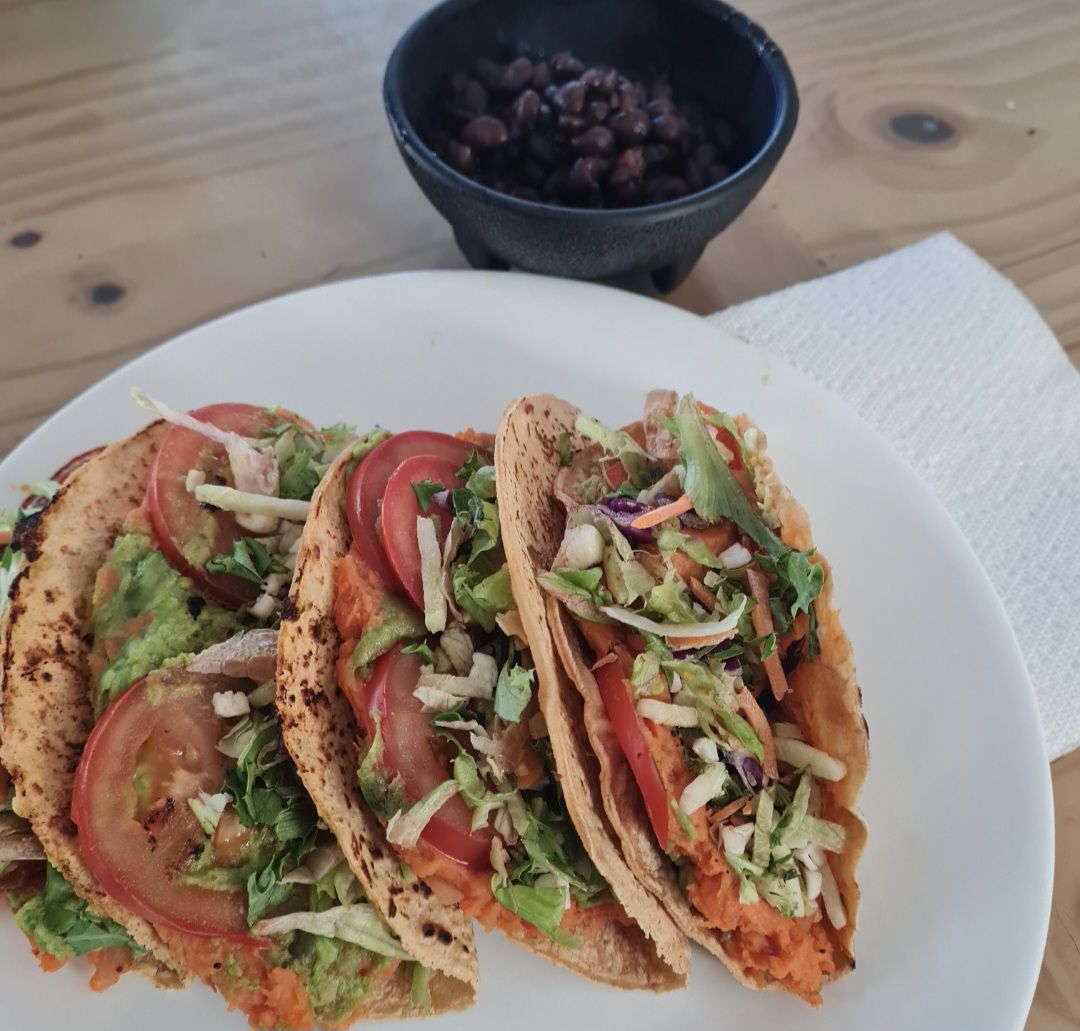
* lemon brown rice, bbq black beans, guacamole, mushroom taquitos
* ice cream sandwich
… SUN HAS SET …
Cmmt: XL indicates uncommonly excessive food, and wautéed means water-sautéed
Whole Chickpea Scrambled Eggs

Essential Chickpea Scramble Seasonings for an “Eggy” Flavor
To make your whole chickpea scramble taste remarkably like traditional scrambled eggs, add these four ingredients to your pan during the last two minutes of cooking:
* Kala Namak (Black Salt): This is non-negotiable. Its natural sulfur content replicates the distinct smell and flavor of real chicken eggs. Always add it at the very end of cooking, as heat diminishes its flavor.
* Nutritional Yeast: Add 1 to 2 tablespoons. It provides a savory, rich background depth that mimics the natural umami found in egg yolks.
* Turmeric Powder: Use just a tiny pinch ($\frac{1}{8}$ to $\frac{1}{4}$ teaspoon). It is used purely to give the mashed chickpeas that classic, bright yellow egg color.
* A Splash of Plant Milk: Stirring in 2 tablespoons of unsweetened almond or soy milk right at the end keeps the mashed chickpeas moist, creamy, and velvety, preventing them from drying out.
## The Best Vegetable Mix-Ins
To give your scramble great color, texture, and a nutritional boost, sauté these vegetables in your skillet before adding the mashed chickpeas:
* The Base: Finely diced red onion, minced garlic, and red bell peppers provide a sweet, aromatic foundation.
* The Greens: Toss in baby spinach, chopped kale, or Swiss chard during the last 60 seconds of cooking just until they wilt.
* The Hearty Option: Sautéed sliced cremini mushrooms or small cauliflower florets add an excellent, meaty chew to the dish.
SAMPLE RECIPIES
* Fluffy Breakfast Plate: Prepare the fluffy, 30-minute [Minimalist Baker Chickpea Scramble] (https://minimalistbaker.com/fluffy-chickpea-scramble-30-minutes/) alongside roasted sweet potato wedges and fresh avocado.
* Hearty Smashed Skillet: Make the loaded [Feasting At Home Chickpea Scramble] (https://www.feastingathome.com/chickpea-scramble/) tossed with sautéed mushrooms, cauliflower florets, wilted spinach, and warm toast. [6, 7, 8]
* 10-Minute Toast Topper: Follow the quick [Eating by Elaine Fluffy Chickpea Scramble] (https://www.eatingbyelaine.com/chickpea-scramble/) to pulse the beans in a food processor before piling them onto crusty whole-grain toast with microgreens.
* Simple Avocado Toast: Sauté diced bell peppers into the mix with the [Darn Good Veggies Chickpea Scramble] (https://www.darngoodveggies.com/chickpea-scramble/) for a vibrant breakfast spread. [9]
* [Easy Chickpea Scramble | Minimalist Baker Recipes] (https://minimalistbaker.com/fluffy-chickpea-scramble-30-minutes/)
* [Chickpea Scramble (Vegan Scrambled Eggs) | Feasting At Home] (https://www.feastingathome.com/chickpea-scramble/)
* [10-Minute Fluffy Chickpea Scramble – Eating by Elaine](https://www.eatingbyelaine.com/chickpea-scramble/)
* [15 Minute Chickpea Scramble – Darn Good Veggies] (https://www.darngoodveggies.com/chickpea-scramble/)
* [Easy Chickpea Scramble | Minimalist Baker Recipes] (https://minimalistbaker.com/fluffy-chickpea-scramble-30-minutes/)
* [Chickpea Scramble (Vegan Scrambled Eggs) | Feasting At Home] (https://www.feastingathome.com/chickpea-scramble/)
* [10-Minute Fluffy Chickpea Scramble – Eating by Elaine](https://www.eatingbyelaine.com/chickpea-scramble/)
* [15 Minute Chickpea Scramble – Darn Good Veggies](https://www.darngoodveggies.com/chickpea-scramble/)
## Quick Preparation Tips
1. Draining is Key: Always thoroughly rinse and pat dry your canned chickpeas before mashing them so they crisp up nicely in the pan instead of steaming. [10, 11, 12, 13, 14]
2. Don’t Over-Mash: Use a potato masher or the back of a fork to break up the beans, but leave about a quarter of them completely whole to maintain a great texture variety. [15, 16, 17, 18, 19]
REFERENCES:
[1] [https://silverhillsbakery.ca](https://silverhillsbakery.ca/chickpea-scramble-breakfast-sandwich/)
[2] [https://www.vitacost.com](https://www.vitacost.com/blog/savory-breakfast-chickpea-scramble/)
[3] [https://www.smithsfoodanddrug.com](https://www.smithsfoodanddrug.com/r/vegan-chickpea-flour-scramble-recipe/5e67f8e99da07c1e96f40ed3)
[4] [https://theurbenlife.com](https://theurbenlife.com/2019/02/04/chickpea-scramble/)
[5] [https://dailyveganmeal.com](https://dailyveganmeal.com/scrambled-chickpea-and-avocado-toast/)
[6] [https://christinebailey.co.uk](https://christinebailey.co.uk/recipe/scrambled-chickpeas-with-lime-spinach/)
[7] [https://www.wenthere8this.com](https://www.wenthere8this.com/cauliflower-mushroom-chickpea-scramble/)
[8] [https://food52.com](https://food52.com/story/17763-a-stewy-cozy-pan-of-chickpeas-for-cooler-evenings-your-ripest-tomatoes)
[9] [https://dailyveganmeal.com](https://dailyveganmeal.com/scrambled-chickpea-and-avocado-toast/)
[10] [https://www.instagram.com](https://www.instagram.com/reel/DaF6r6tANmM/)
[11] [https://simplybeautifuleating.com](https://simplybeautifuleating.com/2020/02/17/cinnamon-roasted-sweet-potato-kale-and-crispy-chickpea-salad-with-lemon-tahini-dressing/)
[12] [https://www.dishingupthedirt.com](https://www.dishingupthedirt.com/recipes/spicy-roasted-chickpeas/)
[13] [https://www.bunsenburnerbakery.com](https://www.bunsenburnerbakery.com/sweet-potato-kale-chickpea-bowl/)
[14] [https://plantbasednews.org](https://plantbasednews.org/lifestyle/food/vegan-chickpea-recipes/)
[15] [https://www.tasteofhome.com](https://www.tasteofhome.com/recipes/chickpea-chicken-salad/)
[16] [https://veggiefunkitchen.com](https://veggiefunkitchen.com/crunchy-bbq-chickpea-salad-sandwich/)
[17] [https://vegetariansouth.com](https://vegetariansouth.com/vegan-chickpea-salad/)
[18] [https://www.parsnipsandpastries.com](https://www.parsnipsandpastries.com/smashed-chickpea-and-goat-cheese-wraps/)
[19] [https://www.woodwardcornermarket.com](https://www.woodwardcornermarket.com/tastesblog/chickpea-chicken-salad-recipe)