You can’t go wrong with leafy greens, but these standouts offer the biggest nutritional payoff.
By Lisa Valente, MS, RD Published on January 8, 2026
While you might be wondering which green is best to eat, they’re all pretty good for you, and eating a mix is a good idea. “Variety in greens gives you variety in nutrients as well as texture, flavor, and cooking times,” says Maggie Moon, MS, RD. “The darker the green, the more nutrient-dense it’ll be,” she adds.
If you enjoy or crave lighter lettuces, by all means add them to your plate. But if maximizing nutrition is your goal, consider these dietitian-recommended greens and lettuces.
1. Watercress
2. Arugula
3. Kale
4. Collard greens
5. Pea leaves (pea shoots)
6. Spinach
7. Perilla leaves (aka kkaennip in Korean cuisine)
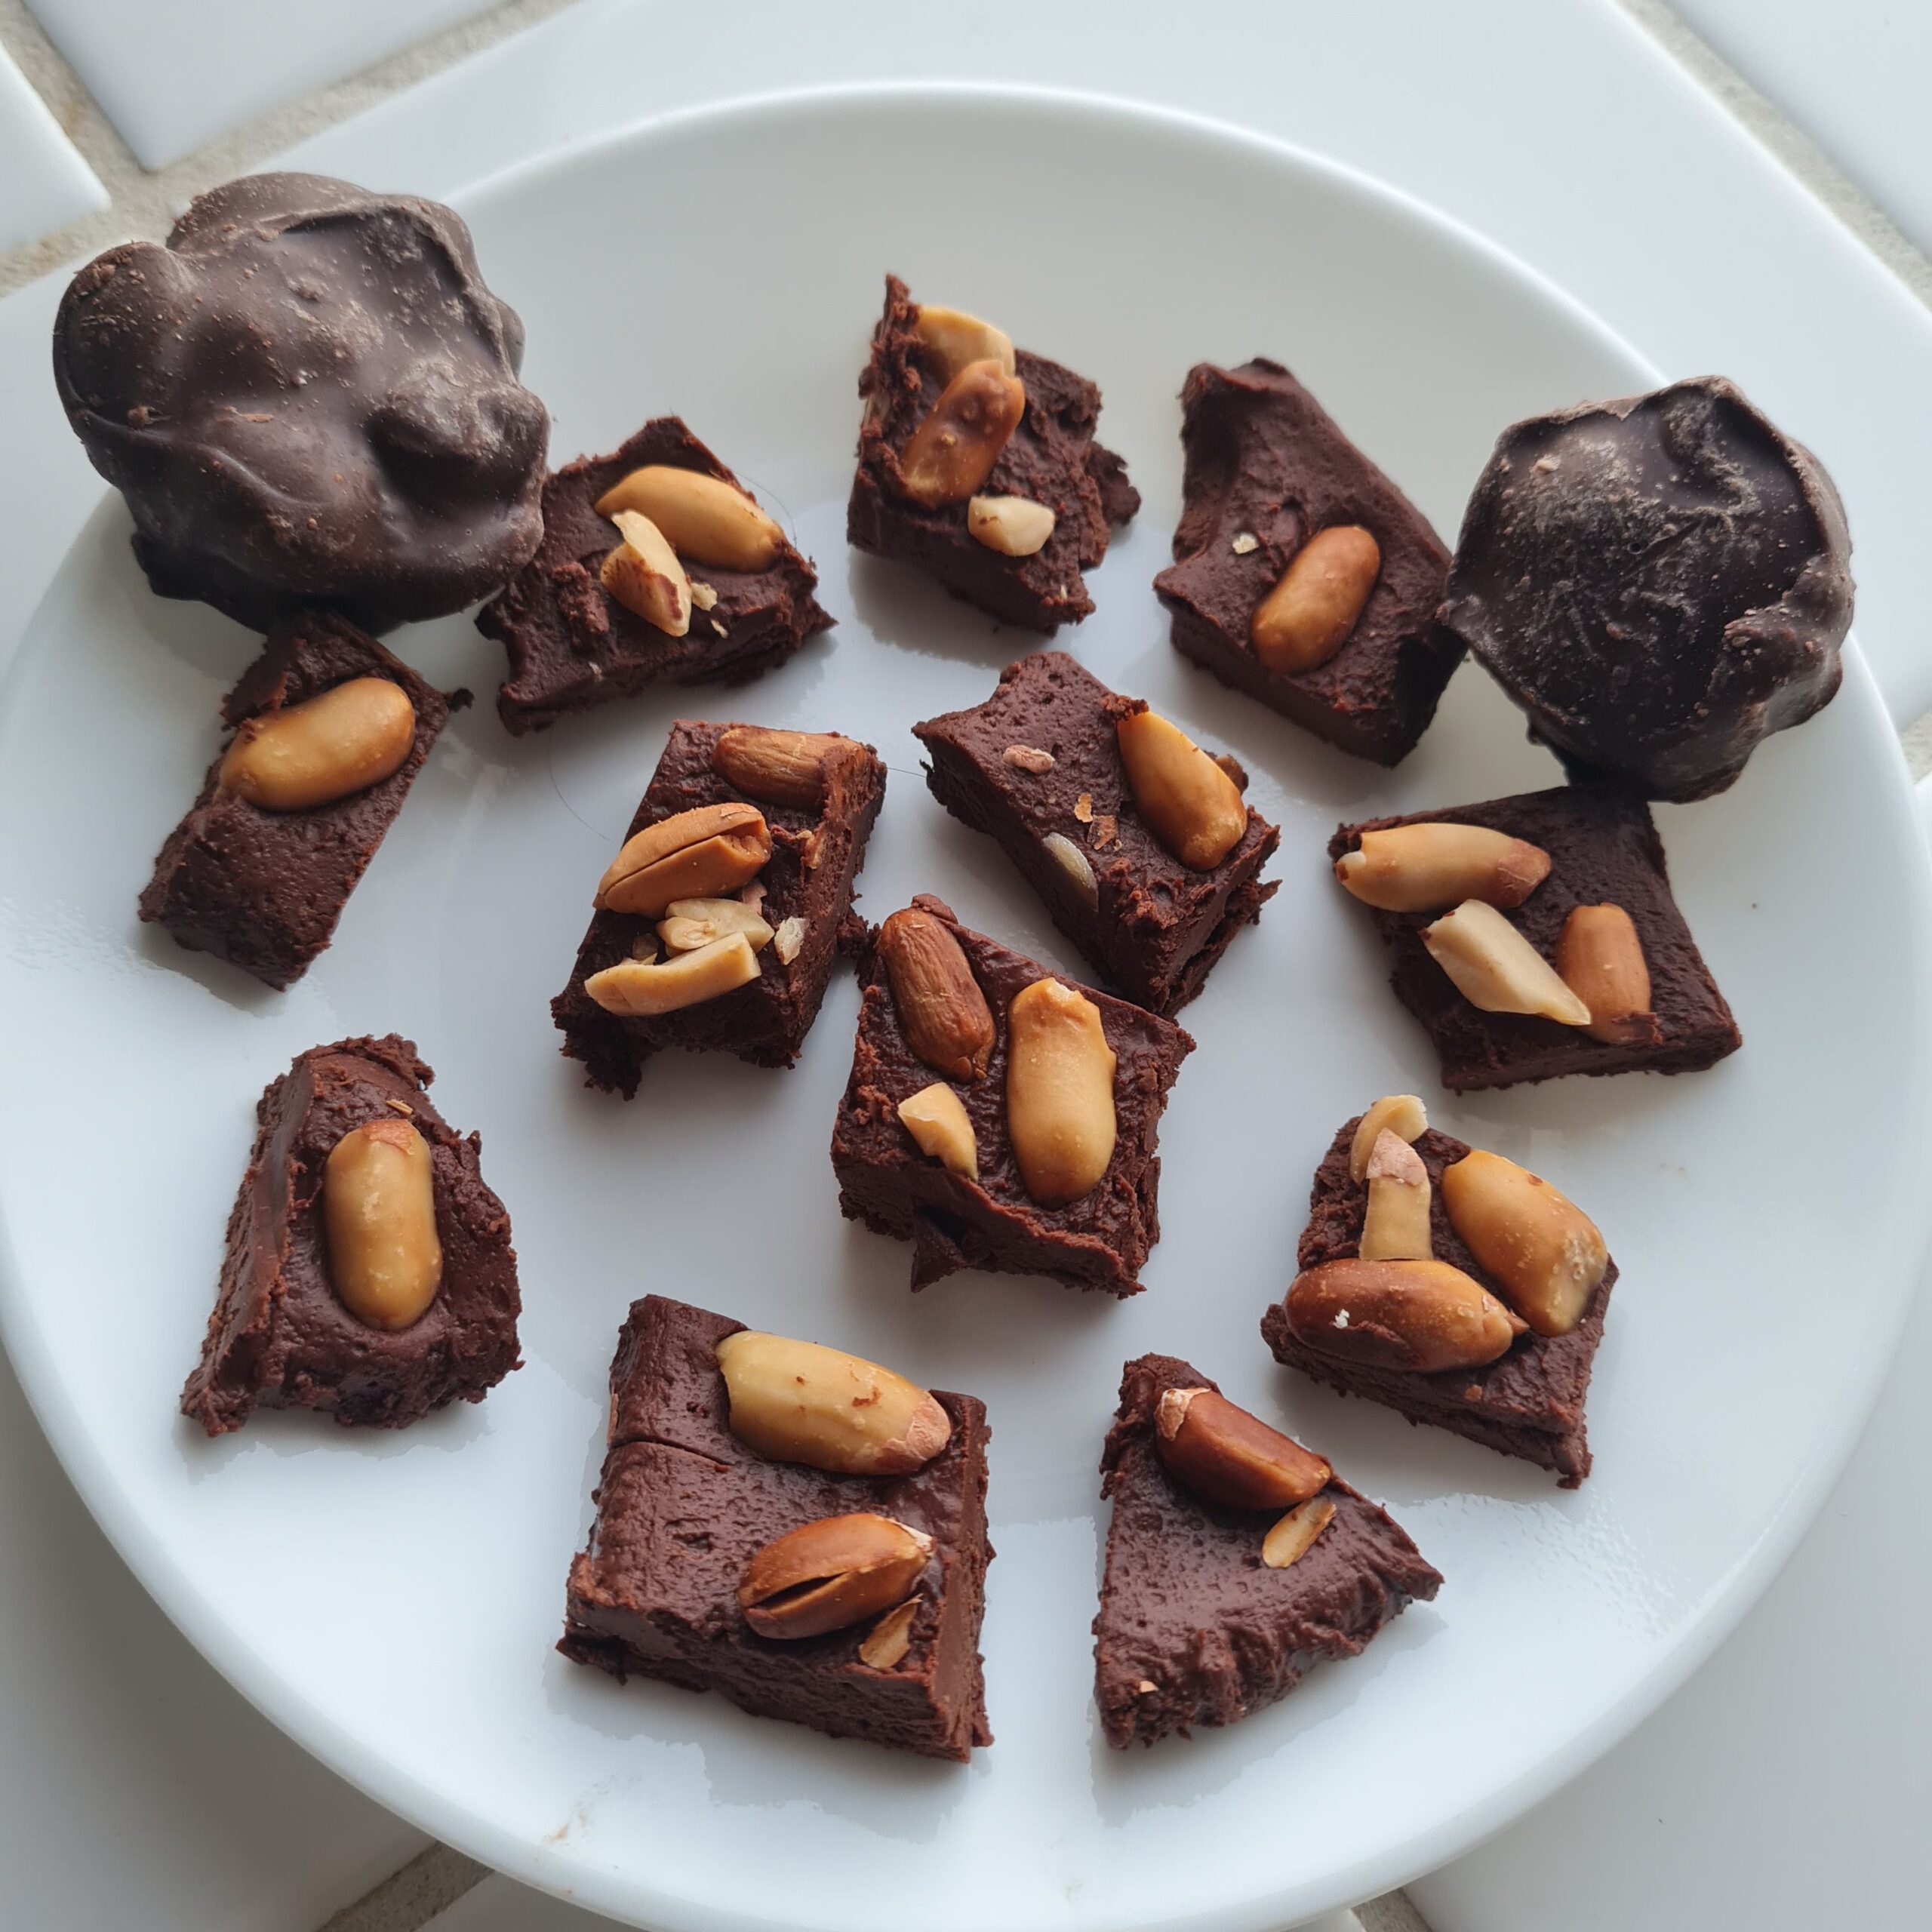
Two highfat store bought pieces, along w/ lowfat home made versions… healthy & tastes great!
COPYCAT RECIPE
Best when you want something **intense and dessert-like**, but still lighter.
**You’ll need**
* 4 tbsp (same as ¼ cup) PB2 PURE peanut powder * 2 tbsp simple cacao powder * 1 tbsp maple syrup or date paste * 2–3 tbsp water (add slowly) * Few roasted peanuts (optional)
**How**
1. Mix everything but nuts into a thick paste. 2. Press into a small container. 3. (Optional) Press few peanuts into the paste 4. Chill until firm, then cut into squares.
**Texture**
* Like dense chocolate fudge * Strong cocoa flavor = less sweetner needed
Marinade 1/4 cup Soy Sauce (low sodium) 1/4 cup Apple Cider Vinegar (Braggs) 1/4 cup Vegetable Broth (low sodium) 2 Tbs Maple Syrup 1 Tbs Liquid Smoke 1 tsp Yellow Mustard 1 tsp Fresh Garlic (minced) 1 tsp Pickled Jalapeno Juice 1/2 tsp Onion Powder
Instructions Cut and peel carrots to make them “bun length’. Boil carrots in water until just fork tender. About 10-15 minutes. Drain carrots, rinse with cold water, and drain again. Place carrots in a ziplock freezer bag. Whisk all marinade ingredients together and pour into bag with carrots.
Marinate for 4-6 hrs. Grill carrots on an open grill, basting occasionally. Grill to heat all the way through and to get some blackened grill marks on each side.
UPDATED INSTANT POT INSTRUCTIONS Add cut carrots and marinade to Instant Pot. Attach and seal lid, then cook on MANUAL for 3 minutes. After doing a Quick Release you can then leave the carrots in the pot until you are ready to grill.
Marinate the carrots after the pressure has been released for at least 1 hour. If not grilling soon – remove carrots and marinade and transfer to a container you can store in the fridge.
Notes Garnish with your favorite Hot Dog toppings. Goes great with my Vegan BBQ Beans, Vegan Potato Salad, or Vegan Pasta Sal
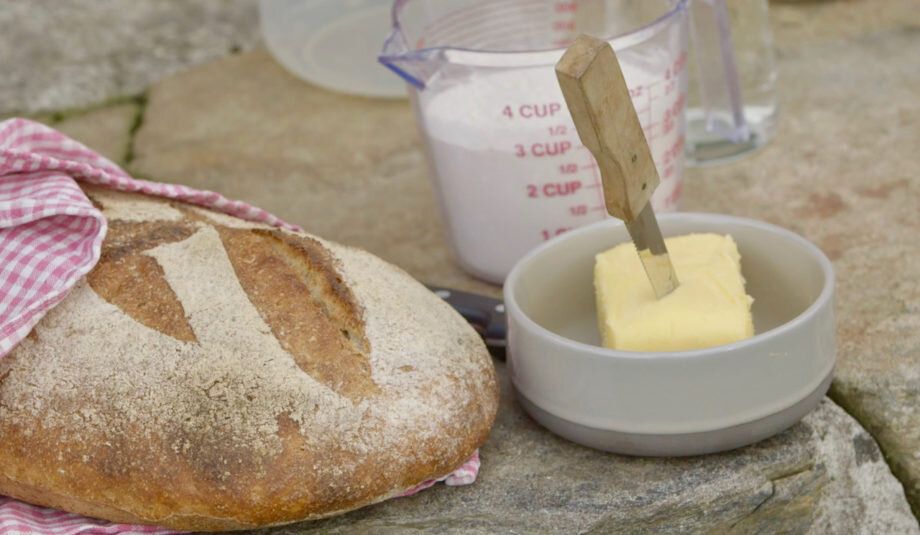
INGREDIENTS: Makes two loaves of bread 2 ½ cup, 7 dl wheat flour (one lb, almost 500 g)
¾ cup, 2 dl whole wheat
¾ cup, 2 dl of liquid and active sourdough culture (or 1 teaspoon active)
about. 2 cups, 5 dl of cold water
1 teaspoon salt
PREPARATION: Let the mixture of cereals, water and a very little amount of yeast rest in a cool place (temperature around 55 F/12 C) overnight, and magic things happen. This way you give the dough a nice texture, and the bread will taste better and be more nutritious.
This recipe will be even better if you use sourdough culture instead of yeast. If using store-bought yeast, it is important not to use very little, or else the bread can obtain an unpleasant taste of alcohol (fermenting with yeast – natural or store-bought – produces alcohol as a bi-product). If you have a wine cabinet or a cellar, you have the perfect place for developing such a dough, but you can also use your fridge, even if it is a bit cold. If the days are not too hot, you can even just leave it covered on your kitchen countertop or in the hallway, but then for a much shorter time, maybe 2-3 hours.
Do like this:
Day 1:
Mix finely milled and whole flour together with some amount of sourdough culture, salt and cold water, to a smooth mixture. Use a wooden spoon or a large spatula. Place the dough in a large baking bowl and cover with a kitchen towel. Keep in a cool place overnight.
Day 2:
Set the oven temperature at 220 C (450 F) degrees.
Turn the dough out onto your counter-top, and shape into round loaves. Put the loaves on a baking plate, dust with a little flour, and let them to rise for 45 minutes, under a kitchen towel. The fabric prevents moisture from evaporating from the surfaces of the loaves, which would lower the temperature inside the dough, with less rising of the loaves as a result.
Bake for about 50 minutes, varying a little from oven to oven.
Course: Main CourseCuisine: MexicanKeyword: instant pot tamales, no oil tamales, pumpkin tamales, sos tamales Servings: 12 tamales Calories: 82kcal Author: Kathy Hester
Equipment 1 LB Bag ALL NATURAL PREMIUM Corn Husks for Tamales Wrappers,Super Fresh Gold Mine Organic Masa Harina Corn Flour, Yellow, 2 Pound Frozen Banana Leaves (Hojas de Platano) by La FE – 1 Lb Pack (Count of 2)
Ingredients 1 1/2 cups pumpkin purée 2 tsp dried oregano 1½ tsp ground cumin 1 tsp ground chipotle pepper 1 tsp baking powder 1 tsp salt optional 2 cups corn masa 1 1/4 cups water 12 corn husks soaked in warm water for at least 2 hours then drained
Instructions Add the pumpkin, oregano, cumin, chipotle, baking powder and salt to your mixer (or mixing bowl). Mix until everything is incorporated. Put the masa in a medium-size mixing bowl, add the water and mix well. Add the masa mixture to the pumpkin mixture in golf-ball-sized balls while the mixer is running. This will create a fluffier mixture and the texture should be like a soft play dough. Add 1½ cups water to the bottom of your Instant Pot and put a steamer or mesh insert in next. Set up a workstation with a cutting board, the tamale batter and the soaked corn husks. Put ⅓ cup (80 g) tamale batter in the top half of the corn husk and spread into a thick rectangle that goes to the top (or wide part) of the husk. I do this with a spatula so that I can scrape the dough into the shape I want. Fold the pointed end up to the top, fold one side over the other and tightly roll it into a flat tube. Place with the open side up in the steamer and repeat until all the batter is used. Add at least 1 cup of water to the bottom of your Instant Pot insert. (You may need to use more water if you are using an 8 quart or larger electric pressure cooker) Put the steamer of tamales into your Instant Pot insert. Cook on high pressure for 25 minutes and let the pressure release naturally. Serve topped with your favorite salsa and other toppings.
Spicy and hearty, these Instant Pot Chipotle Black Beans are a crowd pleaser! They’re easy to make too – all you need is 5 simple ingredients.
[If you forget to soak beans see note below!]
Author: Caitlin Shoemaker
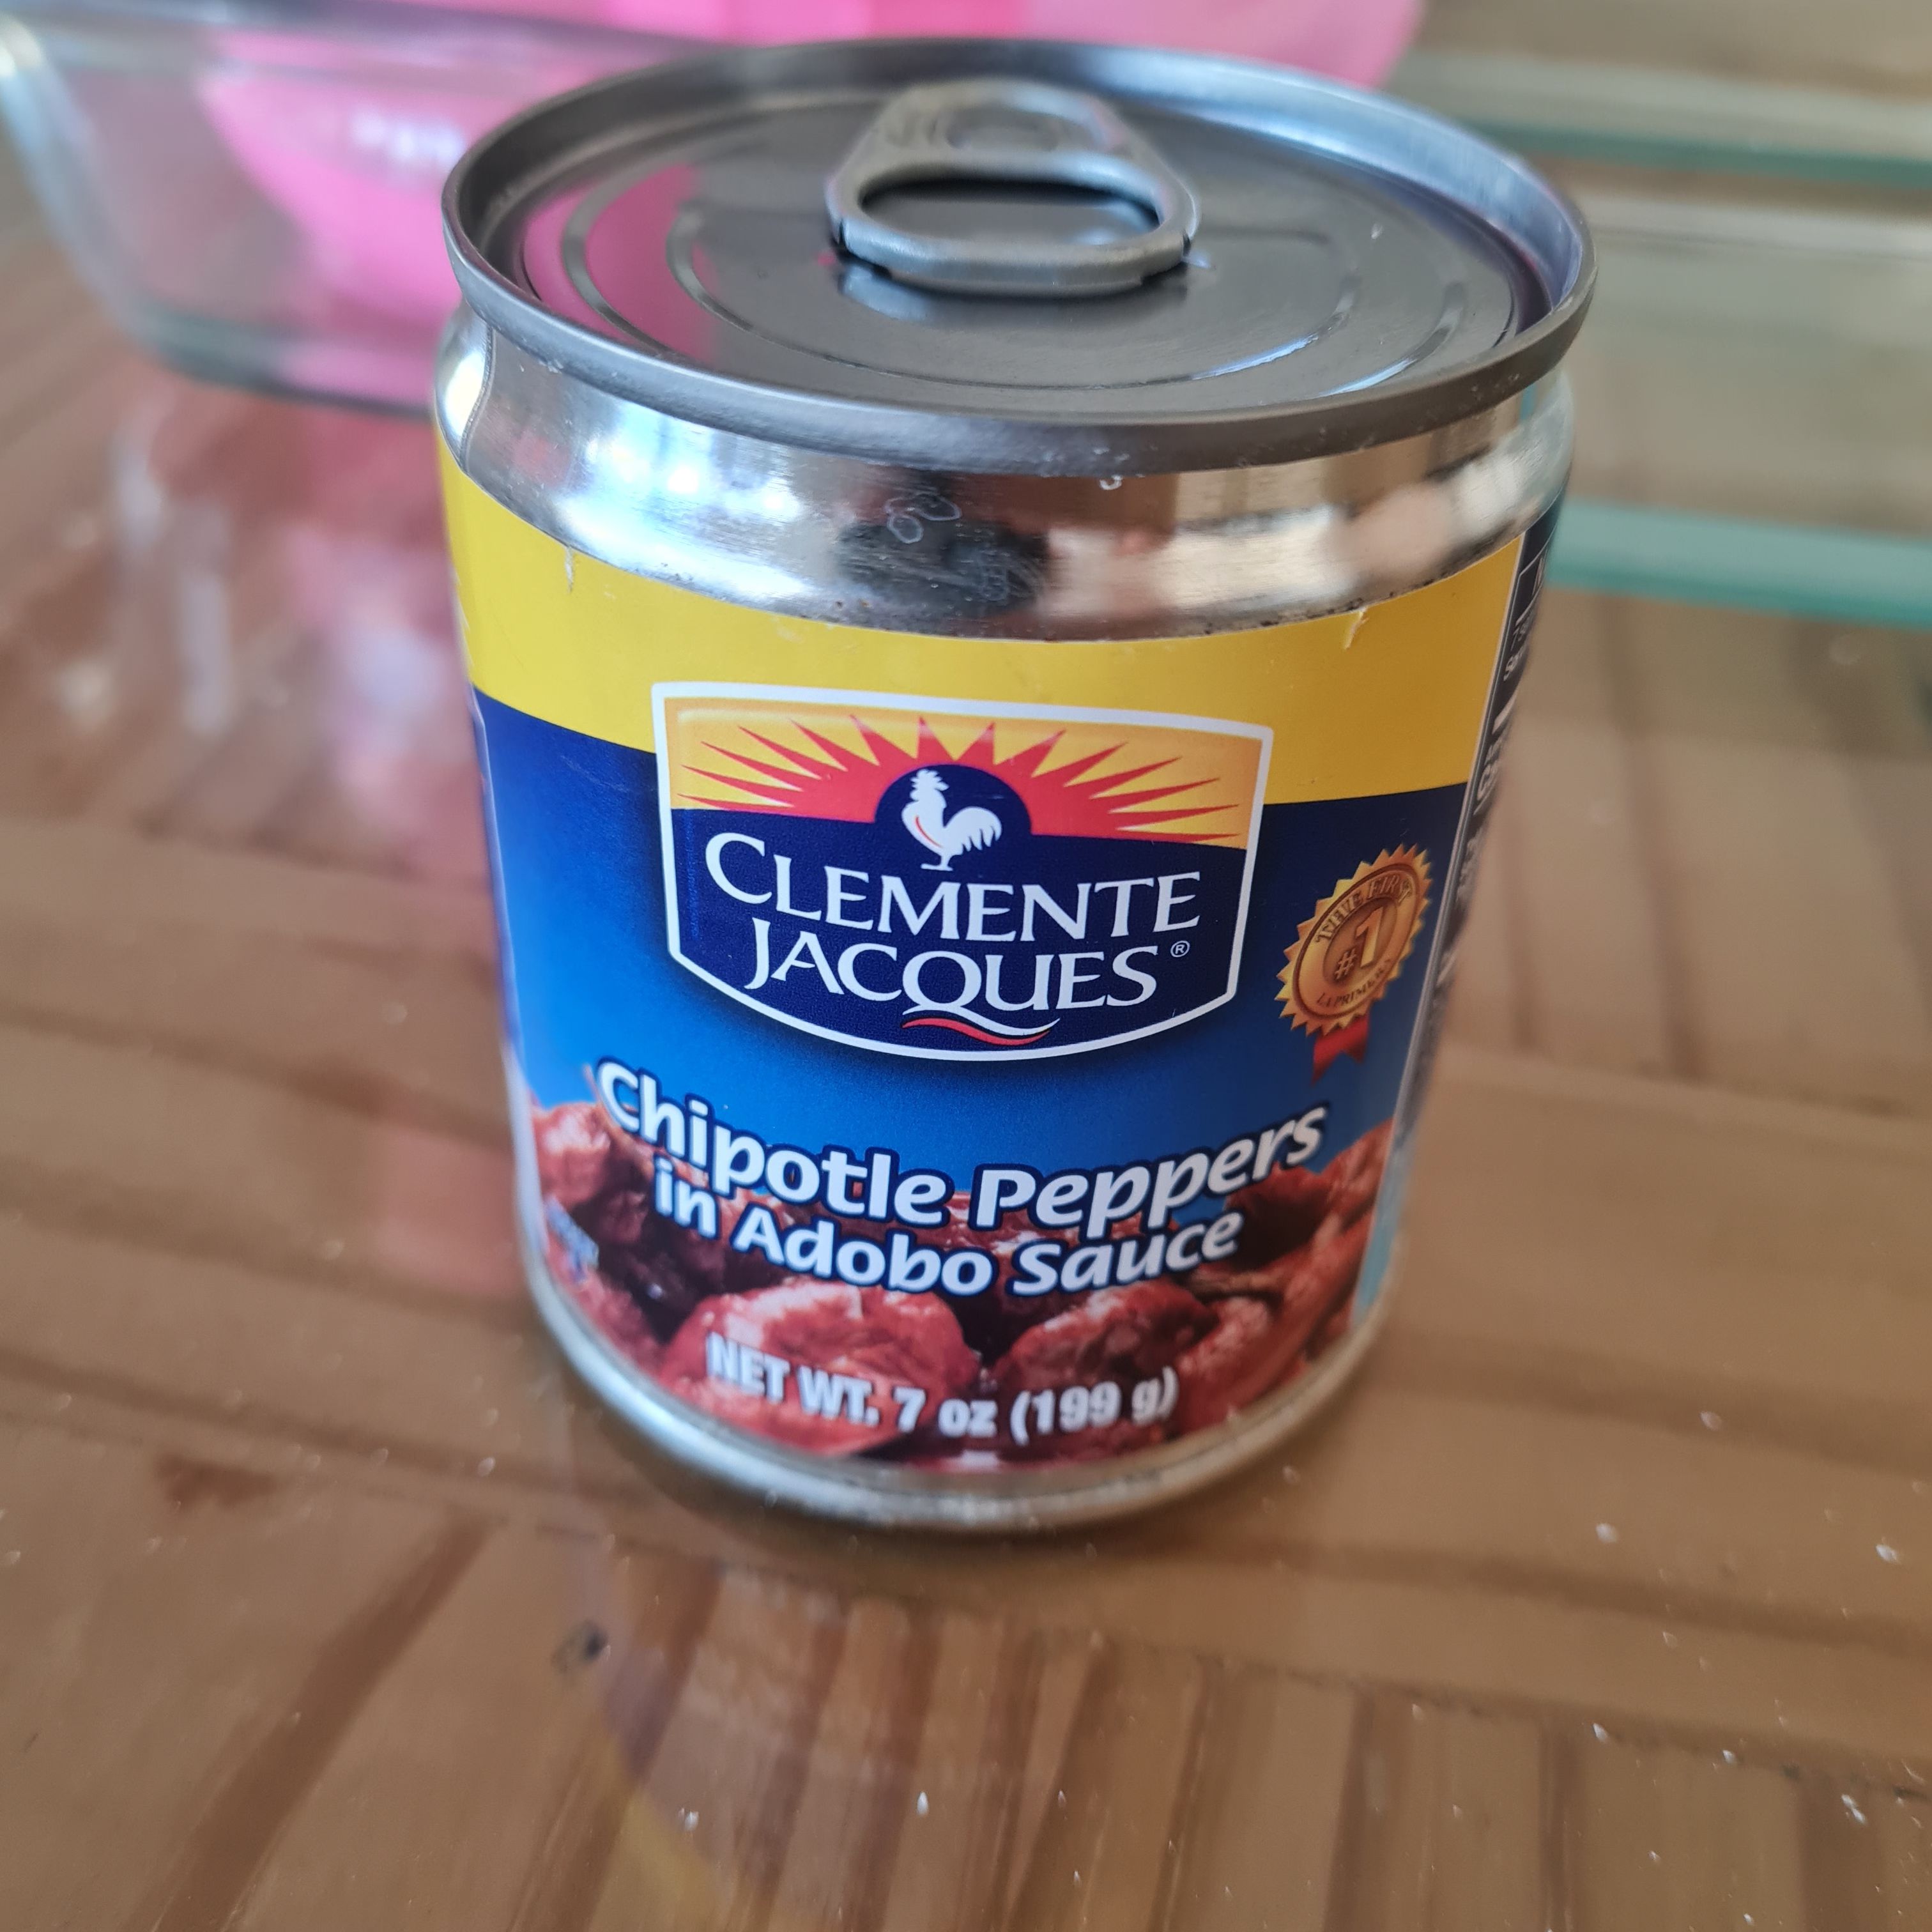
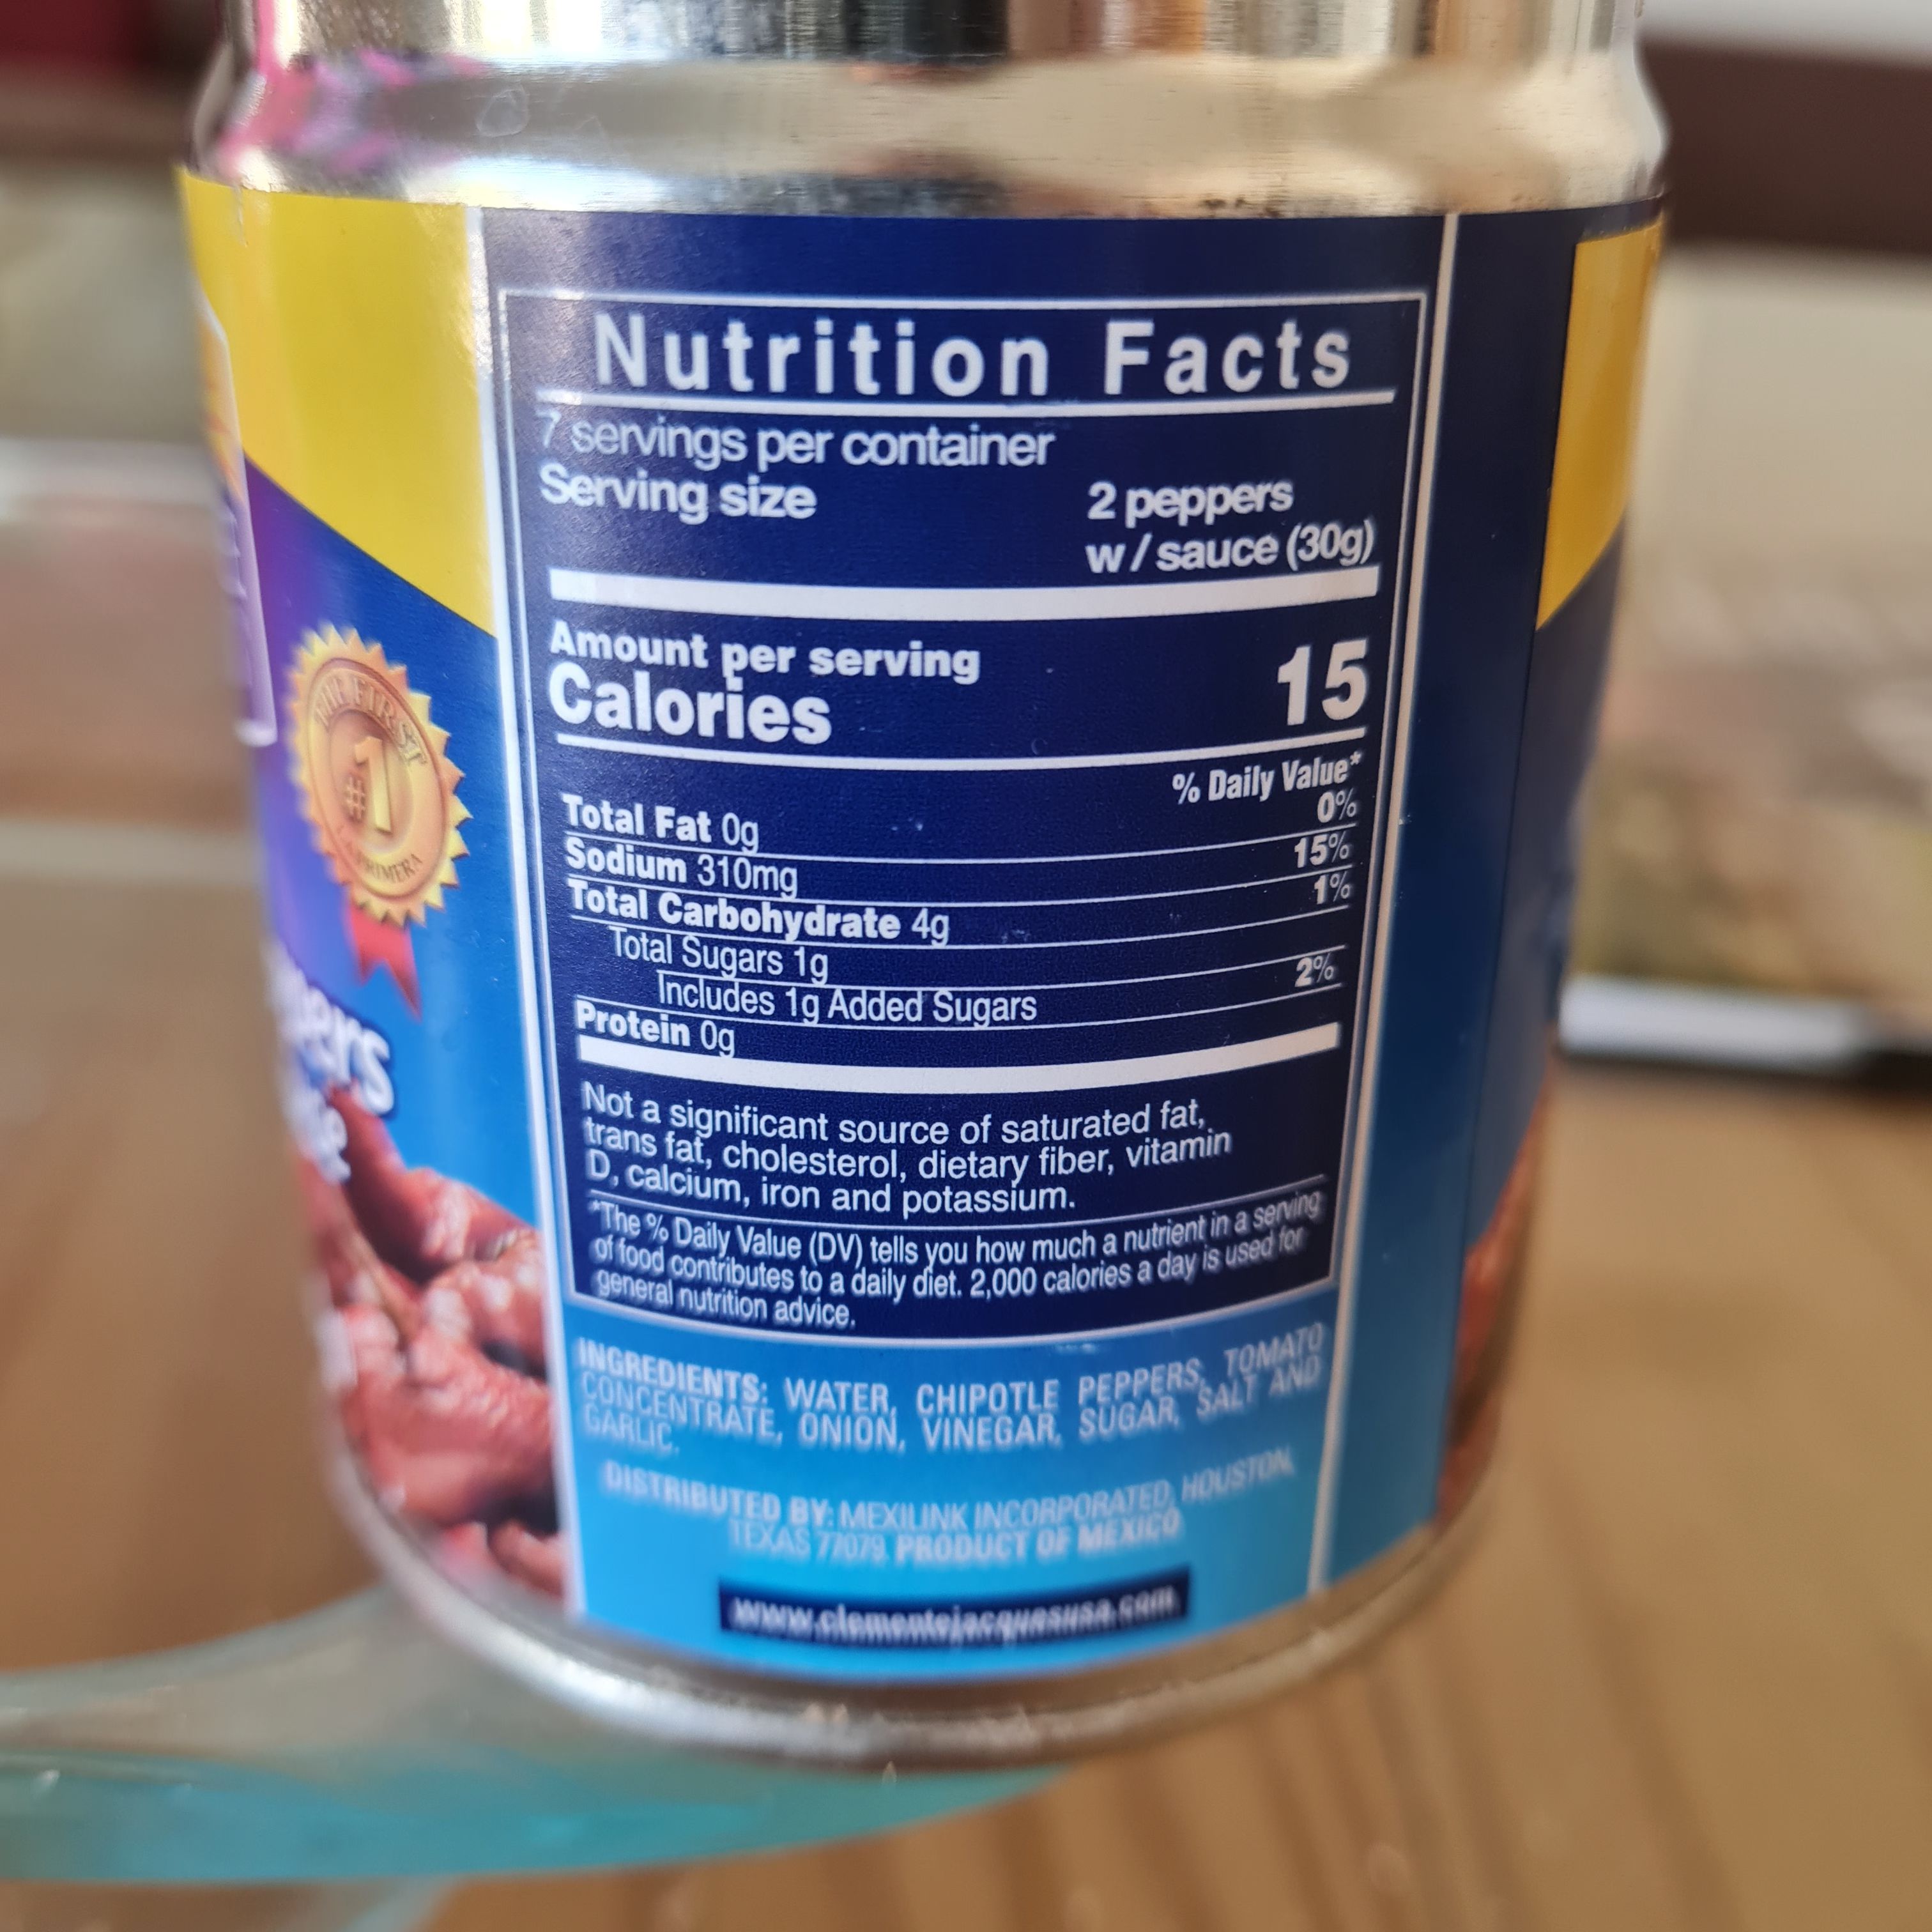
Ingredients * 14 oz dried Black Beans (1 3/4 cups), soaked in water overnight * 3 cloves Garlic, crushed * 3 cups Vegetable Broth * 3 Chipotle Peppers in Adobo (from a can) * 2-4 cups Water * Juice of 1 Lime
Instructions * First, drain your soaked Black Beans and give them a good rinse. Place them into the metal container of your Instant Pot along with the Garlic, Vegetable Broth, and Chipotle Peppers.
* Add enough Water to the Pot so that there is around 2″ of free water above the Beans. Close the Instant Pot, set the dial to sealing, and cook on Manual High pressure for 10 minutes.
* Let the Instant Pot naturally release pressure for 5 minutes, then carefully set the lid to venting and manually release pressure.
* Remove the Chipotle Peppers from the liquid – they should be floating at the top. Carefully drain most of the liquid from the Beans (I like to leave a little behind, so they don’t dry out in the fridge), then return them to the Instant Pot. Stir in the Lime Juice, and add any extra Salt to taste, if necessary. (Note: I like to finely dice the cooked Chipotle Peppers and mix them in with the Lime Juice to really make things spicy).
* Serve as desired. Refrigerate leftovers in an airtight container for up to 7 days.
Notes * If you forgot to soak your Black Beans, add an additional 3 cups of Water to the iPot and cook for 30 minutes instead.
* Stovetop Instructions: Drain and Rince 3 CANS of Black Beans, then add them to a pot with the Garlic, Vegetable Broth, and Chipotle Peppers. Add enough Water to just cover the beans; bring everything to a simmer over medium-low heat, then reduce the heat to low and simmer for an additional 10-12 minutes. Drain the excess liquid, stir in the Lime Juice, and serve as desired
2 medium yellow onions chopped 6 cloves garlic minced 1 pound dried black beans (2 cups) rinsed, sorted, and soaked overnight 2 chipotle chilies plus 2 teaspoons adobo sauce (see photo) 1 teaspoon ground cumin 1 teaspoon dried oregano 2 bay leaves 6 cups water (enough to cover beans) fresh lemon juice to taste fresh lime juice to taste Salt and freshly ground black pepper
INSTRUCTIONS:
* In a Dutch oven or large pot over medium high heat, heat a small amount of water to “wauté. Add onion and cook until softened, about 5 minutes. Stir in garlic until fragrant, about 30 seconds. * Add beans, chipotle peppers and adobo sauce, cumin, oregano, and bay leaf. Add enough water to cover and stir to combine. Bring to a boil over medium high heat. Reduce heat and simmer until beans are tender, about 1 ½ to 2 hours. * Remove from heat. Remove chipotle chilies if desired and bay leaf. Stir in lemon and lime juices, and season to taste with salt and pepper.
*******
Chipotle Oilfree Lime Rice (copycat recipe)
INGREDIENTS:
2 cups basmati rice unrinsed, or any long-grain white rice, rinsed 1 bay leaf Salt 2 tablespoons fresh cilantro minced (or omit or sub parsley) 2 tablespoons fresh lime juice from 1-2 limes 2 tablespoons fresh lemon juice from 1-2 lemons
INSTRUCTIONS:
To cook basmati rice on the stove top:
* Bring 8 cups water to a boil in a large pot. * Add rice, bay leaf and salt to taste (I like 2 teaspoons). * Stir and return to a boil. * Boil uncovered for 10 to 12 minutes (for me it’s always 12, but some readers have reported mushy rice after 12 minutes, so keep an eye on yours). * Remove bay leaf. * Using a fine mesh strainer, drain rice and rinse with hot water. * Pour into a large bowl. * Stir in cilantro, lime juice, and lemon juice. * Season to taste with salt (I like an additional ¼ teaspoon). * Serve hot or at room temperature.
To cook any long-grain rice on the stove top:
* Bring 4 cups water to a boil in a large pot. * Add rice, bay leaf and salt to taste (I like 2 teaspoons). * Stir and return to a boil. * Reduce heat to low, cover, and cook for 15 minutes. * Remove bay leaf. * Stir in cilantro, lime juice, and lemon juice. * Season to taste with salt (I like an additional ¼ teaspoon). * Serve hot or at room temperature.
To cook long-grain rice in a rice-cooker:
* Add rinsed rice (see notes), water (according to manufacturer’s instructions, see notes), bay leaf, salt (I like 1 teaspoon). * Close rice cooker, plug in, and turn on. * Cook according to manufacturer’s instructions. * When the rice is finished, remove bay leaf. * Stir in cilantro, lime juice, and lemon juice. * Add more salt to taste (I like ¼ teaspoon). * Serve hot or at room temperature.
To cook brown rice:
* Follow the instructions above using the following times: * 40 minutes for Basmati on the stove top * 45 minutes for long-grain on the stove top * 60 – 70 minutes for a rice cooker (or according to manufacturer’s instructions). * 2 cups brown rice makes 16 servings, ½ cup each (higher yield than white rice).
Notes 1. Long-grain rice (not Basmati): If using a long-grain rice other than Basmati, I recommend rinsing it before cooking it to remove excess starch. To rinse the rice, place it in a fine-mesh sieve under cool water and rinse until the water runs clear. Drain well before adding the rice to the pot or rice cooker. Or, soak the rice in a large bowl of water for up to 30 minutes to help remove starch while conserving water.
2. When using a rice cooker, it is important to follow the manufacturer’s instructions for rice and water portions. Many rice cookers come with a specific “measuring cup” that may not be equivalent to a standard 8-ounce cup. They will also specify exactly how much water to use in relation to their measuring cup for best results. Those instructions supersede my quantities of rice and water here, but the other ingredients should remain the same (subject to your own taste preference, of course). If you’re looking to buy a rice cooker, I use and recommend the Aroma Housewares Rice Cooker, which you can buy from Amazon.
3. Yield: 1 cup uncooked white rice makes 3 cups cooked white rice. 1 cup uncooked brown rice makes 4 cups cooked brown rice. This recipe will make about 6 cups Cilantro-Lime Rice, enough for 12 (½ cup) servings. That means it’s great for plenty of burrito bowls and meal prep!
4. Storage: Store leftovers covered in the refrigerator for up to 4 days.
5. Freezer: Rice is one of the easiest things to freeze. I love to pack it into 2-cup portions (in plastic bags). Label, date, and lay flat in the freezer. Freeze for up to 3 months. Thaw as needed or add to soups or stir-fries straight from the freezer.
ADDITIONAL VEGGIES
You may wauté chopped onion, red, yellow & green bell peppers, mushrooms, etc to add to your chipotle bowls!